UV vs. UV-LED Lamps for Japanese Resin Craft: How to Choose the Perfect Curing Lamp
yassy
Crafters!

Hello, everyone! It’s Yassy from Crafters! (・∀・)
Have you ever popped a resin piece out of a silicone mold only to find a thin, uneven film protruding around the rim or edges so sharp they actually hurt to touch? That leftover excess film of thin resin is called a "burr" (or flash), and the process of rounding off those sharp corners and smoothing them out is known as "edge smoothing" or "beveling."
Over the years, I’ve made countlessly many resin pieces myself and bought many at handmade craft markets. No matter how gorgeous the inner design is, if burrs are left behind or the edges remain rough and sharp, the overall quality drops instantly. Whether a piece feels smooth and comfortable in your hands is a crucial factor that determines its ultimate craftsmanship.
However, many beginners hit a wall here, asking: "How do I sand off these burrs?" "Why did the surface turn cloudy after sanding?" or "I sanded too much and ruined the shape!"
Let me assure you: there is a clear, foolproof step-by-step method for deburring and edge smoothing resin pieces. By choosing the right tools and following the correct order, anyone can achieve a crystal-clear, professionally smooth finish.
In this guide, I’ll share all my personal tips and techniques—from understanding why burrs happen in the first place to essential tools, a 5-step foolproof process, and coating secrets that restore 100% transparency after sanding!
Before diving into the steps, it’s important to understand the fundamental mechanisms behind why burrs and sharp edges form. Knowing the root causes helps you take preventative steps before curing the resin.
Here are the three main reasons why burrs and sharp edges occur:
When pouring liquid resin into a mold, surface tension causes the center to bulge slightly or pulls the resin up along the edges. Curing the piece under a UV or LED light in this state hardens that raised thin layer along the mold's rim, creating a burr.
Resin shrinks in volume by a few percent as it reacts and turns from a liquid into a solid. Because it pulls inward toward the center while adhering to the mold's edges, the perimeter gets pulled thin, leaving sharp, knife-like edges.
When using open bezel frames with masking tape on the back, or two-part combined molds, resin can seep into tiny microscopic gaps. Once cured, this liquid creates stubborn strips of burrs.
Because of these material characteristics, having burrs or sharp edges on fresh pieces straight out of the mold is completely normal. Coming out with burrs doesn't mean you've failed! Deburring and smoothing after demolding is where the true finishing process begins in resin crafting.
You might think, "It’s just on the back or side, so a little rough edge won't hurt, right?" Leaving them untreated is a big mistake that comes with major risks for your craft.
Here are the three reasons why I never skip deburring and edge smoothing:
Once cured, resin becomes a hard plastic. The tip of a burr or the bottom edge of a mold can be as sharp as broken glass. If used as a keychain or jewelry, it could scratch fingers or snag and tear delicate clothing fibers.
If you apply a doming or top-coat resin layer to make your piece glossy, surface tension will cause the coating liquid to slip away from sharp points. As a result, the resin won't stick to the edges, leaving behind an uneven, messy finish.
No matter how breathtaking your glitter, inclusions, or color gradients look inside, jagged edges or raw burrs immediately give off an unfinished, amateur impression. Creating neat, rounded bevels is an absolute requirement for creating shop-quality pieces.
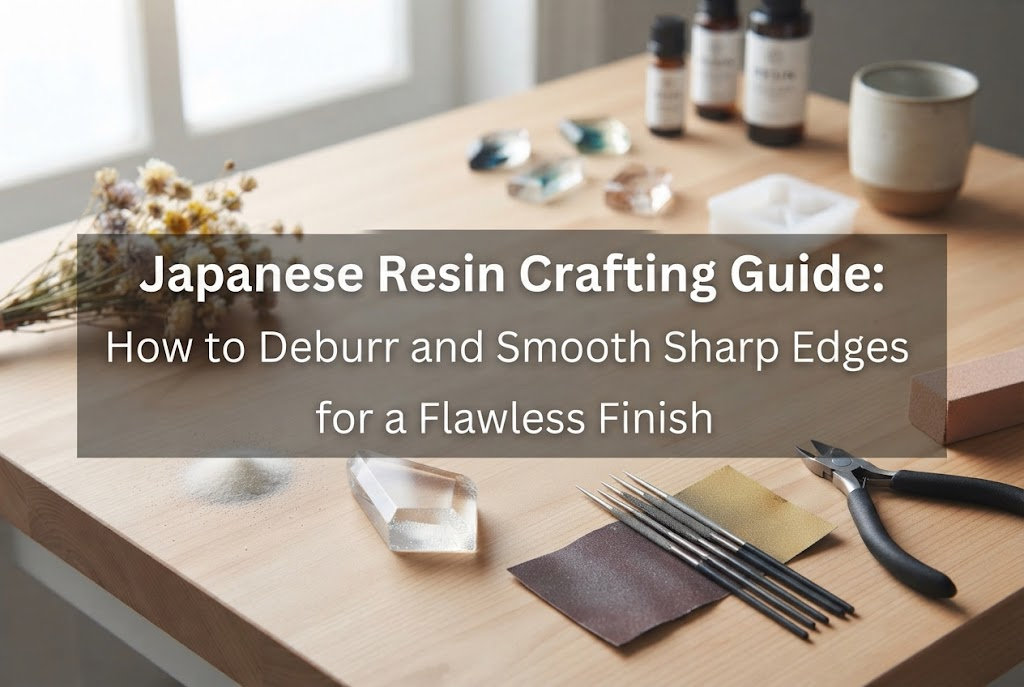
Tool selection is everything. Trying to do this with a household utility knife or standard sandpaper alone almost guarantees frustration. You need tools designed specifically for plastic and resin work.
Here are the 5 essential tools I personally use and recommend:
Used to trim away large, thick chunks of excess resin quickly. Choose flush cutters made for plastic model kits rather than wire cutters. The flat outer blade lets you snip burrs right at the base flush against the surface.
Ideal for shaving off thin, delicate burrs or getting into small crevices where nippers cannot reach. Standard utility knives have wide, unstable blades that can be dangerous. Use a dedicated craft knife with a firm handle and a sharp 30-degree blade to shave clean cuts with minimal effort.
These are rigid sticks made of wood or plastic with abrasive paper attached. They help keep flat surfaces straight without accidentally rounding out flat geometry. Nail buffers or files from a 100-yen shop or local drugstore work great as budget options.
Crucial for rounding sharp corners and refining sanded surfaces. While paper-backed wet/dry sandpaper is good, sponge sanding pads are best for curved or contoured pieces. The sponge conforms to curves, preventing over-sanding while creating smooth rounded edges.
Prepare these three grit ranges:
Essential for instantly restoring cloudy, sanded surfaces back to crystal-clear gloss. Prepare a low-viscosity, runny coating resin along with a silicone brush or flat synthetic brush to apply thin layers without creating air bubbles.
Once your tools are ready, it's time to start. The golden rule is to work in stages: start by removing large burrs first before moving on to smoothing out the surface grit by grit.
Here is my foolproof 5-step method:
Examine your piece right after demolding. If there are thick burrs or hardened resin sprues protruding from the pouring opening, use your plastic nippers to trim them back.
Important note: Do not cut flush right against the body of the piece yet! Snapping nippers too close to the main body can apply excessive pressure, causing micro-cracks inside the piece or gouging holes into the main shape. Always clip roughly 1 mm away from the body.
Once the bulk is removed, shave off the remaining thin burrs using a precision craft knife.
The rule of thumb: Do not hold the blade upright or saw back and forth forcefully. Hold the blade at a low angle along the side, gently gliding it like a woodworking plane to slice thin ribbons of resin off.
Keep the blade angle around 30 to 45 degrees relative to the side. Slide the blade forward away from you in short, controlled strokes. A sharp craft knife will peel the excess away effortlessly without requiring heavy force.
After burrs are shaved down, move on to beveling the sharp rims of the piece.
The bottom edge that rested against the mold base is often razor-sharp. Apply a #600 grit sanding stick to this rim.
To round off sharp edges, hold the sanding tool at a 45-degree angle against the corner and push gently in one direction. Sanding back and forth causes uneven spots, so always stroke in a single direction for a clean, uniform bevel.
For geometric pieces (squares, polygons), use a rigid sanding stick to preserve flat faces. For rounded pieces (spheres, drops), use a flexible sponge sander to wrap around the curved shape gently.
Progressively increase grit sizes from #600 to #1000, and up to #2000 to refine the sanding marks.
At this stage, you must perform wet-sanding.
Wet-sanding means keeping the sandpaper and resin piece wet with water during sanding. Keep a small bowl of water nearby or wipe continuously with wet wipes.
Wet-sanding is essential for three reasons:
Once wet-sanded with #1000 grit, white dust stops appearing and the sanded section turns into a soft, smooth frosted-glass texture. When it feels completely smooth with zero snags under your fingers, sanding is complete.
At the end of sanding, the edge will look cloudy and opaque, making you worry if you ruined the clarity. Don't worry! The final step restores full transparency instantly.
First, wash the piece in water or wipe it down thoroughly with anhydrous ethanol wipes to remove all fine sanding dust. If dust remains, coating over it will create a gritty texture. Allow the piece to dry completely.
Once dry, use a flat brush or silicone brush to apply an ultra-thin, even layer of coating resin over the sanded area.
Inspect for air bubbles, then cure under a UV/LED lamp for the recommended duration (usually 2 to 3 minutes).
When you take it out, the cloudy sanded edge will look completely crystal-clear and glossy—as if it was never sanded at all! The corners will feel delightfully rounded and soft to the touch.
Even with instructions, small hiccups can happen. Here are four common mistakes resin crafters encounter and how to fix them based on my own trial-and-error experience.
Getting overly enthusiastic about rounding corners can lead to sanding one spot too much, distorting the piece's clean lines.
Cause & Solution: Focusing too long on a single spot. Rotate the piece constantly as you sand so that the paper contacts the piece evenly. If you do accidentally create a dent, place a small drop of high-viscosity hard resin over the dent, cure it, and re-sand it flat to repair the shape seamlessly.
When you coat the piece and cure it under the light, the resin pulls away from the corners, leaving raw patches exposed.
Cause & Solution: Either the corner is still too sharp, or grease/dust remains on the surface. Make sure to slightly knock down sharp apexes using #1000+ grit paper to create a tiny rounded edge. Always degrease thoroughly with ethanol before applying a topcoat.
Applying too much coating resin in an attempt to hide cloudy spots causes gravity to pull liquid down the sides, creating uneven waves.
Cause & Solution: Coating resin is meant to form a thin film, not build volume. Wipe excess resin off your brush and spread it thinly. After brushing, let the piece rest horizontally for about 10 seconds to self-level before placing it under the UV light.
White gummy buildup sticks to the sandpaper, making it impossible to sand smoothly.
Cause & Solution: Friction heat generated during sanding is softening the resin, causing it to melt into the sandpaper grit. The only cure is wet-sanding! Keep both the piece and paper wet, and apply light pressure while sanding slowly.
While fixing cured resin is great, minimizing burrs before curing saves 90% of your labor later! Here are three professional tips I use when pouring resin:
After pouring resin to the brim of a mold, lay a bamboo skewer or mixing stick flat across the top and glide it smoothly along the rim. This scrapes away excess liquid bulging above the edge, preventing surface tension humps.
Pouring thick pieces all at once causes high thermal reaction and strong volume shrinkage, leading to sharp burrs. Pouring halfway, flash-curing, and then pouring the second layer spreads out shrinkage rates and dramatically reduces edge warping.
When applying masking tape behind open metal frames, tiny air pockets between tape and metal let resin leak underneath into thick burrs. Press down firmly along the inner frame rim with a fingernail or burnisher to guarantee a tight seal before pouring resin.
Not every project needs the exact same rounded edge. I tailor edge finishes depending on how the piece will be used. Here is my approach:
For items that touch ears or skin directly, safety comes first. I use a soft sponge sander to round every single corner into a smooth, organic curve. Aim for a touch that feels soft and velvety against the skin.
Keychains experience frequent friction and impacts. Rounding them too much can blur crisp design outlines, so I use a #1000 sanding stick to add a light 45-degree bevel—just enough so it doesn't feel sharp when handled. This strikes the perfect balance between sharp visuals and safety.
Flat items like coasters must rest flat without wobbling. To process bottom edges, place wet/dry sandpaper flat on your workbench, wet it, and move the resin piece over it in a figure-8 pattern. Handheld sanding often tilts the piece unevenly, but tabletop figure-8 sanding keeps the base perfectly flat while cleanly removing burrs along the perimeter.
We’ve covered everything from why burrs occur to tools, step-by-step techniques, and troubleshooting for perfect resin finishes!
Let’s recap the main takeaways:
A resin piece straight out of a mold is like an unpolished gem. By taking the time to carefully remove burrs, smooth sharp corners, and apply a glass-like glaze, it transforms into a stunning, gem-like piece you’ll be proud to share!
At first, using craft knives and sanders might feel intimidating, but if you go step-by-step without rushing, you won't fail. Give these techniques a try and create ultra-smooth, high-quality resin crafts that feel amazing in your hands!
If you found this helpful, please share this article with your craft friends on social media! See you in the next article! This was Yassy from Crafters!




For example, if you are looking for articles about mizuhiki, try searching for "mizuhiki"; if you are interested in tools, try keywords like "nippers" or "pliers."
