Why Clay Cracks and How to Prevent It: Expert Tips by Clay Type and Repair Techniques
yassy
Crafters!

Hello, everyone! This is Yassy from Crafters! (・∀・)
I absolutely love making handmade crafts, browsing through inspiring work online and in shops, and collecting pieces crafted by talented artists. In particular, the glass-like transparency and deep, glossy shine of two-part epoxy resin never fail to fascinate me, no matter how many years I work with it.
However, epoxy resin is a very delicate chemical material. Have you ever carefully measured the mixing ratios, only to end up with resin that refuses to cure, remains sticky on the surface, or suddenly overheats into a boiling mess of bubbles?
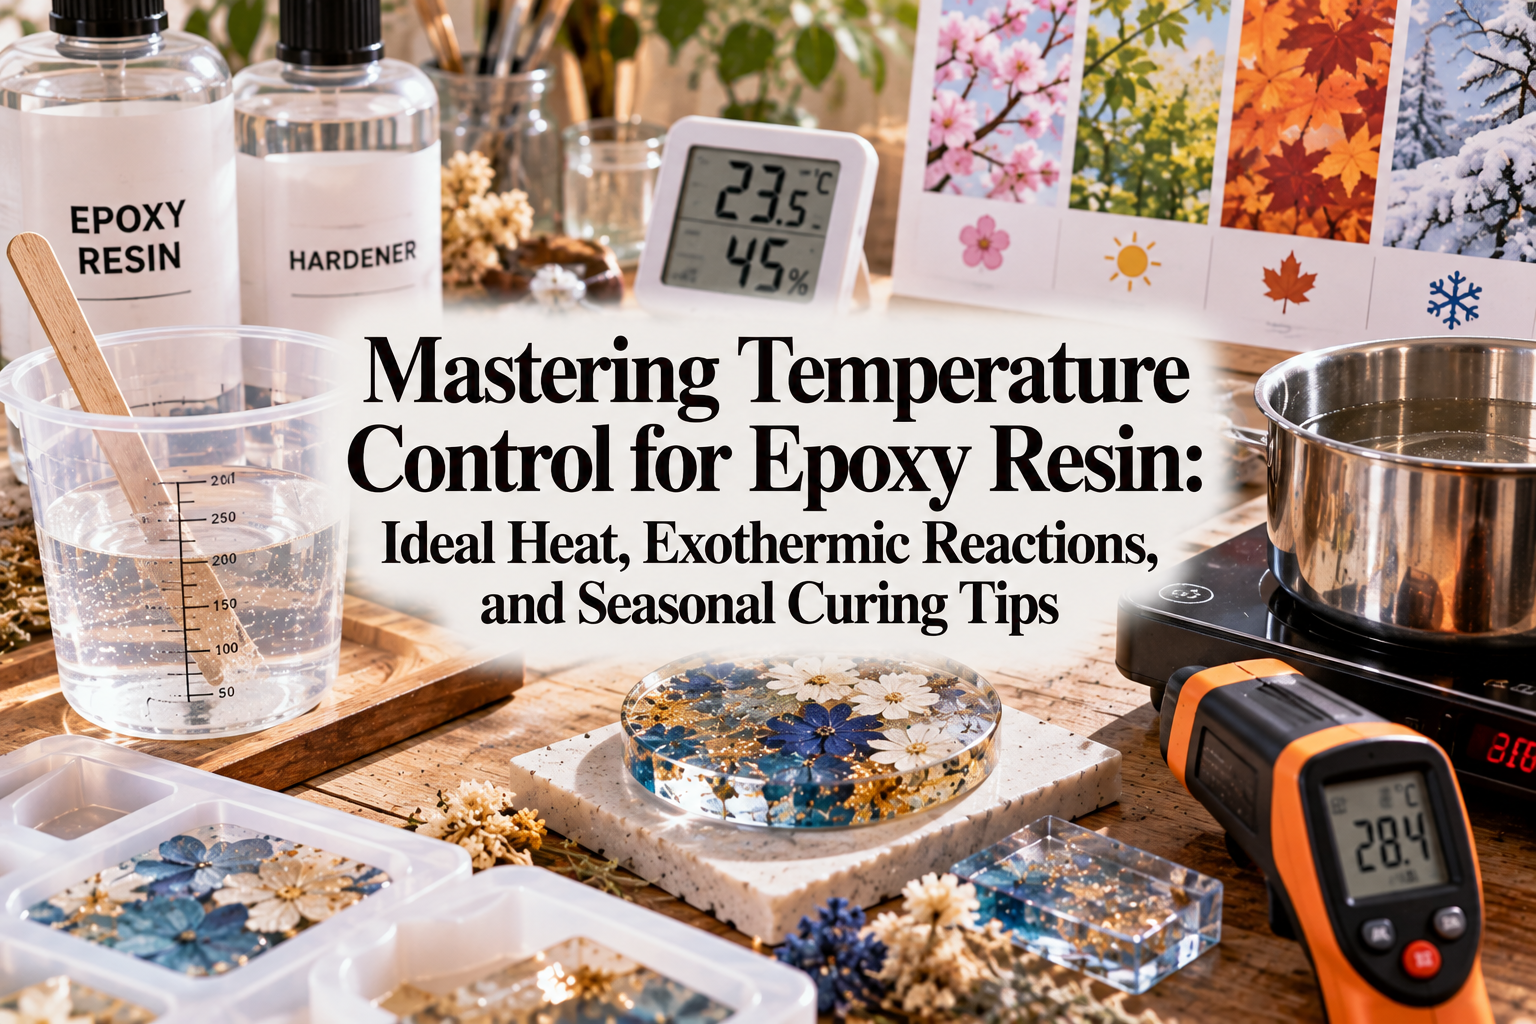
The primary culprit behind these frustrating issues is none other than temperature control. The speed at which epoxy resin cures and the quality of its final finish change dramatically depending on the ambient room temperature and the temperature of the resin liquid itself. Mastering temperature management is the ultimate key to achieving flawless epoxy resin creations.
In this guide, I will share all of my practical techniques—from identifying the ideal temperature range and understanding how heat affects the curing reaction, to actionable tips tailored to every season of the year.
Unlike UV resin, which cures when exposed to ultraviolet light, epoxy resin does not cure under light. Instead, it hardens through a chemical cross-linking reaction that occurs when you mix two liquids together: the resin base (Part A) and the hardener (Part B). Temperature is the driving force that directly controls the speed and success of this chemical process.
It is an absolute rule of chemistry that higher temperatures accelerate chemical reactions, while lower temperatures slow them down. If your working space or your resin liquid is not within an appropriate temperature range, the chemical reaction will not proceed normally—no matter how precisely you measure and how thoroughly you stir.
Common pitfalls for beginners—such as sticky surfaces, a soft interior, excessive trapped bubbles, and warping caused by sudden overheating—almost always stem from improper temperature management. Once you understand and regulate the effects of temperature, you can prevent more than 90% of these typical failures before they happen.
To achieve crystal-clear transparency and dependable hardness, temperature knowledge is an essential step. Rather than simply mixing the materials and leaving them to sit, we need to provide an optimal environment where the resin can complete its ideal chemical reaction.
When working with epoxy resin, there is a clear, target temperature range you should aim for. Relying on numbers rather than guesswork is the quickest way to guarantee consistent results.
The ideal room temperature for your workspace is between 20°C and 25°C (68°F to 77°F). Within this range, the reaction between the resin base and hardener proceeds smoothly, minimizing the risk of thermal runaway while allowing the piece to cure properly within the specified timeframe. If the room temperature drops below 20°C, the reaction slows down; if it rises above 25°C, the reaction accelerates.
Equally critical is the temperature of the liquid inside the bottles. The optimal liquid temperature is also 20°C to 25°C. Even if your room is heated to a comfortable 20°C in winter, working with resin bottles that have been stored on a chilly floor or in a cold closet will cause incomplete curing because the liquid itself is cold.
Another factor that crafters often overlook is humidity. As epoxy resin cures, it tends to absorb moisture from the surrounding air. The ideal relative humidity for working with epoxy resin is 50% or lower. In environments where humidity exceeds 60% or 70%, the risk of surface cloudiness and hazing increases significantly. Therefore, it is important to monitor humidity alongside temperature.
During the colder months—from autumn through winter and early spring—problems caused by low temperatures occur frequently. Understanding exactly how the cold harms epoxy resin allows you to take the right precautions.
When room or liquid temperatures drop below 15°C (59°F), the chemical reaction of epoxy resin slows down drastically. Even if the manufacturer specifies a 24-hour curing time, the surface may remain tacky or soft enough to leave a fingernail mark after 48 hours or longer. In severe cases, unreacted components remain behind, preventing the piece from ever curing rock-hard.
Additionally, cold resin liquid becomes much more viscous, resembling thick syrup. When you stir high-viscosity resin, large amounts of air bubbles get trapped inside. Because the liquid is so dense, these bubbles cannot rise to the surface and remain permanently trapped in your finished cast.
Another major issue in cold conditions is a phenomenon known as "amine blush." When curing is delayed, the amine compounds in the hardener react with moisture and carbon dioxide in the air, forming a cloudy, greasy, or sticky film across the surface of the work.
Once amine blush occurs, the surface loses its clear transparency, and wiping it down rarely restores the original shine. The only reliable way to prevent this is to maintain a temperature of 20°C or higher from the start, allowing the initial chemical reaction to form a smooth surface film quickly.
If your resin has become thick and cold during winter, bring it back to an optimal temperature using a warm water bath before you begin mixing. Here is the safe, reliable step-by-step procedure I always follow:
Warmed resin and hardener flow smoothly like water, making it easy to stir without introducing stubborn bubbles. Taking just a few minutes for this step makes a massive difference in winter crafting success.
In contrast to the cold, hot summer days or excessive heating can trigger a dangerous phenomenon known as thermal runaway (exothermic spike). This is the most critical hazard to watch out for when working with epoxy resin.
The curing reaction of epoxy resin is exothermic, meaning it generates heat. As the resin and hardener bond, they release thermal energy, which in turn accelerates the reaction even further—creating a self-reinforcing loop of rising heat.
If the ambient temperature is too high, or if too much resin is mixed in a single container, the heat cannot dissipate quickly enough. The internal temperature can rapidly spike to 100°C–150°C (212°F–302°F) or even higher. This is thermal runaway.
When thermal runaway occurs, the resin begins to emit harsh fumes and smoke, and plastic mixing cups or silicone molds can melt and deform. Inside the resin, tiny bubbles form violently as if boiling, and the entire mass can turn yellow, crack, and harden into a distorted block within minutes. In severe cases, the resin permanently bonds to the mold, destroying it completely.
To avoid thermal runaway, managing both thickness and volume is essential. The larger and more concentrated the volume of liquid resin, the more heat gets trapped inside. Conversely, spreading resin out over a shallow, wide surface allows heat to escape into the air.
For standard high-clarity casting resins intended for thin applications, the safe pour depth for a single layer is typically around 1 cm to 1.5 cm (about 0.4 to 0.6 inches). Attempting to pour thicker than this in one go risks overheating.
When making larger pieces, deep coasters, or thick pyramids, you should always pour in multiple layers, allowing each layer to partially cure before adding the next. Alternatively, use a deep-pour casting resin formulated specifically for slow, low-exotherm curing.
If the mixing cup feels uncomfortably hot in your hand, or if you notice swirling heat lines (the Schlieren effect) and tiny bubbles rising rapidly from the center of the cup, these are early warning signs of thermal runaway.
Take immediate action if you notice these signs—never leave an overheating cup unattended:
To prevent this entirely: avoid working in rooms above 28°C (82°F), do not mix excessively large batches at once, and pour the mixture into your molds promptly rather than letting it sit in the mixing cup.
Here in Japan, we experience four distinct seasons, each bringing substantial shifts in ambient temperature and humidity. Sticking to the exact same crafting routine year-round is bound to cause trouble at some point. Here is my practical guide for adjusting your workflow by season.
In hot summer conditions, your main challenges are rapid curing and thermal runaway. Stick strictly to these precautions:
During cold winter months, the priorities are preventing incomplete cures, reducing high viscosity, and stopping amine blush:
While spring and autumn generally offer mild weather, significant temperature drops between day and night pose a hidden risk. Even if your room reaches a comfortable 22°C during the day, nighttime drops toward 10°C can shock partially cured resin, leading to cloudy surfaces or an incomplete cure. Using an insulated curing box overnight provides valuable protection.
During the humid rainy season, humidity control is paramount. Run a dehumidifier or use the dry mode on your air conditioner to ensure room humidity stays below 50% before you begin your project.
Here is a look at the equipment and preparation routine I personally rely on in my workspace. You do not need expensive, specialized equipment; a few simple habits are enough to achieve clean, professional results.
I keep a digital thermometer and hygrometer right on my work desk. Relying on physical sensations like "it feels warm enough" is risky. I only start working once the display confirms a room temperature around 22°C and humidity under 45%–50%.
Additionally, having an infrared thermometer gun on hand is incredibly helpful. Pointing the beam at the surface of the resin liquid tells you its exact temperature in seconds. Verifying that the liquid is between 22°C and 25°C after a warm water bath eliminates guesswork entirely.
Warming your resin liquid is only half the battle; if you pour warm resin into an icy cold silicone mold or metal bezel, the liquid chills instantly upon contact, trapping bubbles and causing bonding issues.
In winter, I lightly pass an embossing heat tool over my molds or place them on a small warming mat for a few minutes before pouring. Matching the mold temperature to the resin liquid temperature ensures a smooth, glossy surface free from gaps.
Before mixing, I run through this quick checklist to ensure smooth results:
Here are clear answers to questions I frequently receive from crafters regarding temperature and curing.
Please avoid doing this. Forcing heat onto uncured resin artificially induces thermal runaway. Extreme heat introduces internal stress, which causes pieces to warp, crack, or turn yellow once cured. Epoxy resin is designed to cure slowly and steadily at 20°C to 25°C. Patience is essential for a clean result.
During the peak cold of winter or the height of summer, this can lead to issues. The first several to 12 hours after pouring are the most critical window for the chemical reaction. If the room drops drastically to 5°C or 10°C overnight, curing stalls, leaving you with a permanently sticky surface. If you need to turn off the climate control, be sure to place your curing pieces inside an insulated box to maintain warmth.
Yes, when used correctly, it is very effective. Passing warm air quickly across the surface lowers the resin viscosity momentarily, allowing surface bubbles to pop cleanly. However, holding the heat tool over a single spot for several seconds will cause localized overheating and degrade the resin. Always keep the tool moving smoothly over the surface.
Epoxy resin responds directly to the invisible element of temperature. No matter how premium your resin brand is or how skilled your coloring techniques are, neglecting temperature conditions can easily ruin an otherwise beautiful pour.
To recap, keep these key points in mind:
While temperature management might sound demanding at first, it is easily handled using standard tools like thermometers, water baths, and insulated boxes. Once you provide the right environment, epoxy resin rewards your effort with a clear, durable, and glossy finish.
Give these temperature techniques a try on your next project and watch your results improve!
If you found this guide helpful, sharing it with your fellow crafters on social media is always appreciated. See you in the next article! This was Yassy from Crafters!








For example, if you are looking for articles about mizuhiki, try searching for "mizuhiki"; if you are interested in tools, try keywords like "nippers" or "pliers."
