Japanese Clay Crafting Guide: Resin Clay vs. Lightweight Clay Explained
yassy
Crafters!

Hello everyone, this is Yassy from Crafters! (・∀・)
As someone who absolutely loves making, viewing, and buying handmade crafts, today I want to give a detailed, passionate breakdown of a material that many crafters have been curious about: two-part epoxy resin.
You have likely seen stunning resin coasters overflowing with clarity, ocean resin art that looks like a real slice of the beach, or stylish interior items combining wood and resin on social media or online handmade marketplaces.
If you have questions like "How is this made?", "How is it different from UV resin?", or "It seems too difficult to make at home…", don't worry. This guide covers everything about two-part epoxy resin for beginners, held back by nothing!
Having made and admired countless handmade items myself, the incredible clarity and substantial feel of two-part epoxy resin give it a unique charm found in no other material. As long as you have the right knowledge and workspace setup, even a beginner can create professional-quality, beautiful pieces. By the end of this article, you will have a clear understanding of two-part epoxy resin and the confidence to try it yourself!
First, let's understand how two-part epoxy resin works at a basic level. Grasping this fundamentals will drastically reduce project failures.
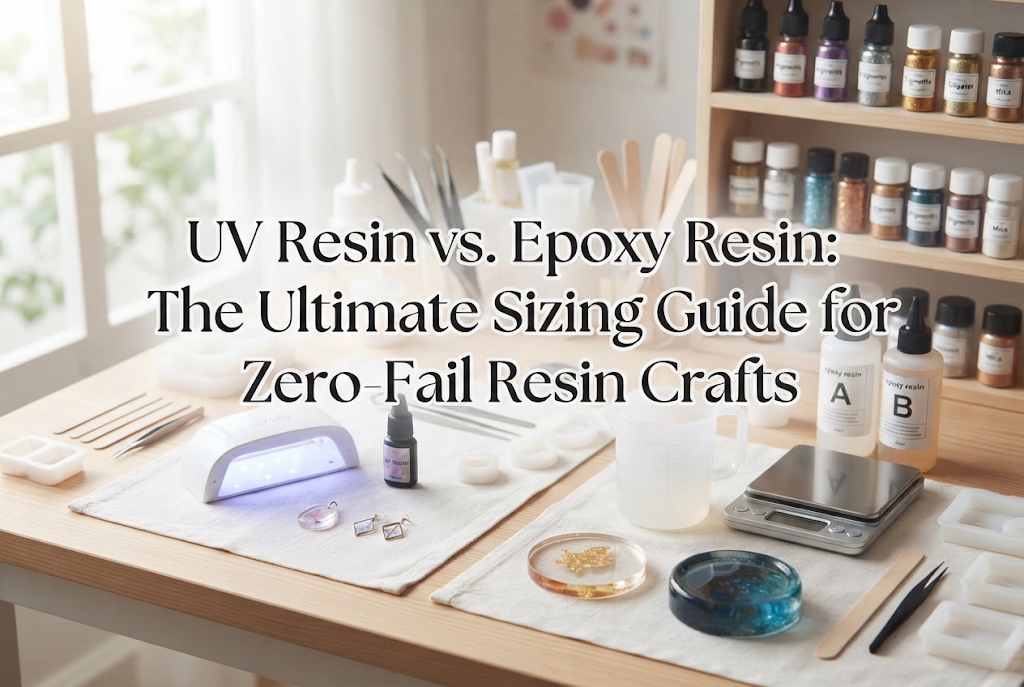
Two-part epoxy resin is a synthetic resin that hardens through a chemical reaction created by mixing two liquids—a "Main Component (Liquid A)" and a "Hardener (Liquid B)"—at a precise ratio. Unlike UV or LED resin, which hardens in a few minutes under ultraviolet light, epoxy resin hardens slowly and naturally over time.
Here is a comparison table to easily highlight the differences between UV/LED resin and two-part epoxy resin:
As you can see from this table, two-part epoxy resin is the ultimate material designed for thick or large-scale creations. Even when poured into deep molds where UV light cannot penetrate, it hardens thoroughly and evenly throughout.
In addition, because it experiences minimal shrinkage while curing, you can create precise 3D forms that perfectly replicate the shape of your silicone mold without warping. Its glass-like clarity is breathtaking, and many high-quality epoxy resins are resistant to yellowing, allowing your crafts to stay beautiful for a long time.
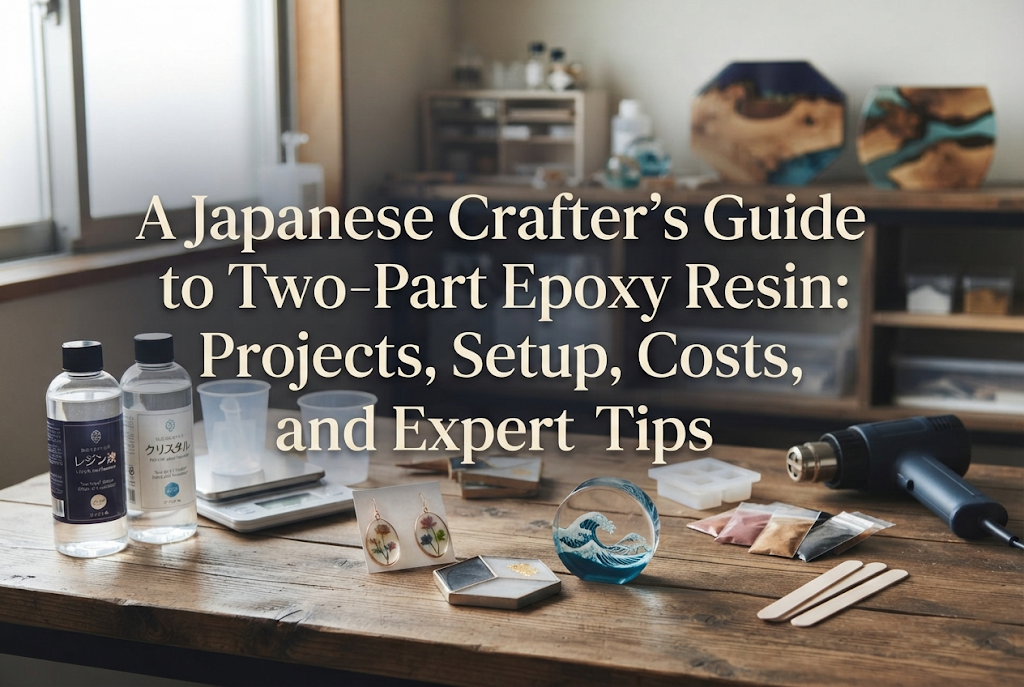
Let's look at what kinds of wonderful items you can craft using two-part epoxy resin. It allows you to freely create thick home decor items and larger sizes that were difficult to achieve with UV resin. Every time I see these creations at craft fairs or online shops, I am blown away by their expressive possibilities!
Pouring blue-tinted resin onto wooden panels or coasters and creating wave lacing is a signature epoxy resin craft. Because of its low viscosity and fluid nature, colors blend beautifully, allowing you to achieve natural ocean wave patterns. Applying this to wooden trays or panels turns them into stylish interior pieces that bring the feel of the sea into your home.
Combining the natural grain and live edges of wood with crystal-clear resin is another immensely popular genre. Crafters make everything from small pendant necklaces to full-sized river tables. Fusing wood and resin creates a unique, one-of-a-kind presence.
This involves enclosing dried or preserved flowers inside deep, cube-shaped silicone molds. Attempting to make large blocks with UV resin often results in uncured centers due to blocked light, or discoloration of petals from heat generation. Two-part epoxy resin preserves the vivid colors of flowers, creating ethereal objects that look as though blossoms are frozen in ice.
You can craft practical everyday items such as bookmarks, pen holders, ashtrays, jewelry trays, and clock faces. Thanks to its high strength and durability, finished items resist scratching during daily use. For crafters, embedding your favorite pigments, glitters, or gold leaf into unique everyday goods is an absolute joy.
Many people feel that mixing chemical components sounds too advanced or daunting. However, if you follow the fundamental rules, the difficulty level is actually not high at all!
It doesn't require special artistic intuition or complex techniques; success relies almost entirely on precise measurement and following the correct steps. If you are good at measuring ingredients carefully when baking or cooking, you will definitely succeed with epoxy resin.
On the flip side, trying to estimate measurements by eye will result in failure 100% of the time.
Beginners often find epoxy resin challenging simply because they are used to UV resin. UV resin offers instant gratification—it hardens under a light in minutes, and if you make a mistake, you can adjust quickly. Epoxy resin takes 1 to 2 days to cure, so you have to wait to see the final result.
Over 90% of curing failures are caused by either measurement errors or insufficient mixing. If you master these two points, even a complete beginner can produce glossy, beautiful resin pieces on their very first try. Think of it not as a difficult craft, but as one that demands care and attention to procedure.
To work with two-part epoxy resin safely and comfortably at home, setting up your environment in advance is essential.
Epoxy resin takes half a day to several days to cure completely. During this time, your table must be perfectly level so the liquid doesn't tilt or pool to one side. A workspace covered with old newspapers or plastic sheeting measuring around 70cm × 50cm is plenty to get started.
Moving the project while curing can cause ripples on the surface, so choose a spot where it can rest undisturbed until fully cured. Rather than using the kitchen dining table that you use every day, a dedicated craft desk in a corner of a room or a spare room is ideal.
When mixing the two liquids, the chemical reaction releases a subtle odor and vapors. To protect your health, always work in a well-ventilated space. Open at least two windows to create a breeze, or work near an exhaust fan. Avoid placing your project directly under air conditioning vents, as blowing air will stir up dust that sticks to the resin surface.
Because epoxy resin takes a long time to harden, dust and tiny airborne particles settling on the sticky surface are a common issue. To prevent this, you must place a protective cover over your project immediately after pouring. Cardboard boxes, deep plastic containers, or collapsible mesh/plastic dust covers work wonderfully. Make sure your cover is tall enough so it doesn't touch the resin surface.
Epoxy resin is highly sensitive to temperature. If the room is too cold, the chemical reaction slows down dramatically, causing incomplete curing or trapped air bubbles that refuse to rise. Aim to keep your workspace between 20°C and 25°C. If working in a cold room during winter, heat the room thoroughly before starting your project.
How much does it cost to start working with epoxy resin? Unlike UV resin, you don't need to purchase an expensive UV lamp, which keeps initial costs surprisingly affordable!
Here is an overview of the basic tools and estimated prices:
If you buy all tools from scratch, the total initial setup cost is around ¥8,000 to ¥15,000 (approx. $50–$100). If you already own a digital scale or use disposable cups and wooden stirrers, you can easily set up a complete workspace for under $70. Compared to other crafts, it is a very reasonable investment for starting a rewarding new hobby!
Here are the top three mistake patterns beginners encounter with epoxy resin, along with my personal hands-on techniques to avoid them entirely!
The most frequent failure is resin remaining tacky or soft even after several days. This is almost always caused by inaccurate measurement or inadequate mixing.
Most epoxy resins require mixing by weight ratio (grams), not volume (milliliters). If the instructions say "100g of Main Component to 50g of Hardener", you must weigh them precisely in grams.
【Yassy's Guaranteed Avoidance Technique】Always use a digital scale that measures in 0.1g increments. Standard 1g kitchen scales have too much margin of error. Place your cup on the scale, press "Tare" (zero out), and pour the main component. Tare the scale again, then carefully pour the hardener. When stirring, scrape the bottom, sides, and corners of the cup continuously with your mixing stick, stirring slowly for 3 to 5 minutes without stopping until the liquid becomes completely clear. Stir until all cloudy swirls (schlieric lines) disappear entirely. If you want to be 100% sure, transfer the mixture into a second clean cup and stir again for another minute (the double-cup mixing method). This virtually eliminates uncured spots!
Another disappointment is curing a piece only to find it filled with tiny white bubbles. Because epoxy resin is viscous, vigorous stirring traps air easily. While UV resin bubbles pop quickly with heat, heating large amounts of epoxy resin can trigger a thermal runaway (excessive heat buildup causing smoking or distortion).
【Yassy's Guaranteed Avoidance Technique】The secret to avoiding bubbles is stirring gently from the very beginning so you don't introduce air. Keep your stir stick touching the bottom of the cup and rotate it smoothly in slow circles.Once mixed, let the cup sit undisturbed for 5 to 10 minutes. Because low-viscosity epoxy resin releases air easily, bubbles will naturally rise to the surface. Once at the top, quickly pass the warm air of an heat tool or pass the flame of a lighter over the surface briefly—the bubbles will pop cleanly in an instant! When pouring into molds, pour in a thin, slow stream from a low height to prevent new bubbles from forming.
It's heartbreaking to wake up the next morning and see dust or stray hair embedded in your smooth resin surface. Because epoxy resin cures over many hours, dust protection cannot be overlooked.
【Yassy's Guaranteed Avoidance Technique】As soon as you finish pouring resin into your mold, place your dust cover over it immediately! I keep a deep plastic tray or a clean cardboard box ready right next to my workspace. The second I finish pouring, I cover the piece and leave it unopened for the full 24 hours until cured. This simple discipline guarantees a glass-smooth, glossy finish every time.
To enjoy epoxy resin craft safely, protecting your body is paramount. No matter how gorgeous your finished piece is, compromising your health is never worth it.
Resin is a chemical product and can trigger allergic reactions (resin allergy). Once developed, a resin allergy may prevent you from enjoying resin crafts ever again. Protect yourself with these three mandatory safety items:
Let's review the step-by-step workflow for creating a project from start to finish:
In this guide, we've covered two-part epoxy resin from fundamental science to project ideas, workspace setup, startup costs, and professional troubleshooting techniques.
Two-Part Epoxy Resin provides a depth of transparency and impressive scale that UV resin simply cannot match. While it requires patience and precision, keeping to the golden rules—weighing accurately, mixing thoroughly, and wearing proper safety gear—ensures success for crafters of all skill levels.
Starting with small coasters or trays is a great way to build confidence before moving on to large ocean art panels or botanical blocks. The pride of displaying your own handcrafted resin decor or gifting a piece to someone special is one of the absolute best experiences handmade crafting has to offer.
I hope this article inspires you to take your first step into the world of epoxy resin crafting! If you found this guide helpful, please share it with your craft-loving friends. Until next time, happy crafting! This was Yassy from Crafters!



For example, if you are looking for articles about mizuhiki, try searching for "mizuhiki"; if you are interested in tools, try keywords like "nippers" or "pliers."
