The Essential Guide to Japanese Eraser Stamp Carving: Must-Have Tools and Flawless Techniques for Beginners
yassy
Crafters!

Hello, everyone! It’s Yassy from Crafters! (・∀・)
Creating your own original stamps through eraser carving—known in Japan as keshi-gomu hanko—is a wonderful craft. Whether you are decorating your planner, adding personal flair to gift wrapping, or stamping the corner of a handwritten letter, hand-carved stamps bring a warm, handmade charm that is truly exciting to use.
For those looking to start eraser stamp carving, I often receive questions like, "What tools do I actually need to get started?" or "When I look at stationery shops or 100-yen shops, there are so many types of eraser blocks. How do I choose the right one?"
In fact, whether you can carve a clean, beautiful stamp often depends far more on choosing the right tools and materials than on raw carving technique. Using awkward tools or the wrong type of eraser can cause fine lines to tear mid-carve and make your hands tire quickly, which often leads to frustration.
In this guide, I will thoroughly explain the essential basic tools needed to start Japanese eraser stamp carving and how to select the best eraser blocks for success! I'll share practical tips, address common sticking points for beginners, and include advice based on my own carving experience, so please read on and give it a try.
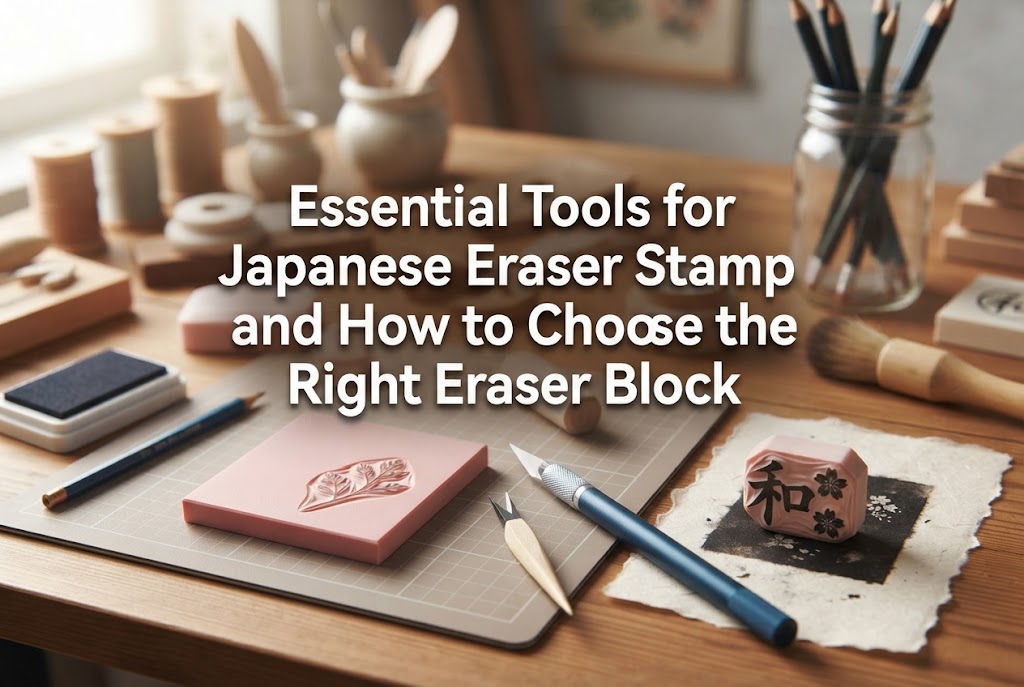
Eraser stamp making does not require large or specialized machinery. You can gather most of what you need from readily available craft supplies. Let's look at the basic tools step by step, organized by each stage of the process.
Blades are the most critical tools in stamp carving. You will primarily use a combination of three items:
Trying to carve intricate designs with only a standard box cutter or office utility knife is extremely difficult due to the blade's thickness and angle. To carve crisp, clean lines, be sure to prepare a pen-style design knife with good maneuverability. A blade with a 30-degree angle is ideal for eraser stamps, as it slips easily into fine details.
These items are needed to trace your design and transfer it onto the surface of the eraser block.
If you use a hard pencil lead such as HB, the transferred lines on the eraser will be faint and hard to see while carving. Prepare a soft, dark lead like 2B or 4B so the lines transfer clearly.
These supporting items help the carving process go smoothly and ensure a clean final piece.
If you try to remove rubber crumbs and pencil lines by rubbing with a standard hard stationery eraser, you risk tearing the delicate lines you just carved. A soft kneaded eraser that picks up debris simply by patting the surface is an absolute must-have in eraser stamp carving.
Tools for checking the progress and quality of your carved stamp.
Now that you know the tools, let's look at the most important element: how to choose your eraser.
You might wonder, "Can't I just use a standard pencil eraser lying around at home?" Doing so is actually a major cause of failure. Standard stationery erasers are designed to rub against paper to erase pencil marks, so their structure is soft and crumbly. When you cut into them with a blade, they tend to tear and crumble, making it nearly impossible to carve clean lines.
Always choose erasers specifically made for stamp carving. Dedicated carving blocks feature several smart designs that make them easy for beginners to handle.
Many specialized eraser blocks made for stamp making feature a two-layer structure with contrasting colors on the surface and inside. For instance, the top layer might be brown with a white core, or blue on the outside and white underneath.
There is a clear purpose for this two-tone structure: as your blade cuts away the colored surface layer, the contrasting white rubber beneath is revealed. This makes it instantly obvious where you have already carved and where the raised design remains.
With a single-color eraser, carved areas cast faint shadows that are hard to distinguish, making it easy to miss uncarved spots. A high-contrast two-layer eraser block is an outstanding aid that I strongly recommend for beginners.
Carving erasers come in different hardness levels depending on the product. It is important to select one that matches your preference and design:
For a beginner's very first block, I strongly recommend a standard-hardness, two-layer dedicated carving eraser. It reduces hand strain while keeping carved areas clearly visible, allowing you to enjoy the carving process all the way to completion without frustration.
Nowadays, you can find eraser carving blocks in the craft sections of 100-yen shops in Japan. While affordability is a huge plus, there are noticeable differences when compared to dedicated eraser blocks produced by specialized Japanese stationery and craft brands, such as Horunavi (by Seed) or Hankeshi-kun (by Hinodewashi).
Blocks from 100-yen shops can vary in firmness between batches and can sometimes feel slightly sticky along the cut edge. In contrast, specialized brand blocks offer consistent quality and an exceptionally smooth blade glide. Shavings separate cleanly, resulting in significantly sharper, more beautiful lines.
If you just want to test the craft once, a 100-yen shop carving block is plenty of fun. However, if you want to carve crisp stamps with a smooth, comfortable cut, I highly recommend choosing a specialized brand block right from the start.
Here is a quick reference table to help beginners choose the right block for their needs:
Here are some practical tips to keep in mind when preparing your materials to avoid common beginner missteps.
Trying to buy the highest-end version of every tool right away can quickly become costly. To start smartly, balance where to invest and where to save.
The two items truly worth investing in are your design knife and the carving eraser block. The quality of these two items determines roughly 80% of your carving ease and final finish. For these, choose reputable, well-reviewed standard tools from craft shops or online retailers.
On the other hand, items like your cutting mat, tracing paper, pencils, kneaded eraser, and masking tape can all be perfectly adequate budget options from 100-yen shops or general discount stores. Balancing your setup this way is the smartest approach.
If you notice the blade catching or feel like the eraser is tearing rather than slicing cleanly, that is not a lack of carving skill—it is a sign that your blade has dulled.
Although eraser rubber is a soft material, repeated cuts gradually wear down the fine tip of a design knife. Continuing with a dull blade requires extra force, increasing the risk of slipping or leaving jagged edges.
Replacement blades for design knives are relatively inexpensive. As soon as you feel any resistance or catch, do not hesitate to swap in a fresh blade. You will be amazed at how smoothly the new blade glides and how sharp your lines become.
Once your stamp is carved, you will ink and stamp it. Ink pad selection also makes a big difference.
Beyond standard paper inks, there are fabric inks that become washable once heat-set with an iron, as well as multi-surface inks for stamping on slick surfaces like plastic and metal.
As your first purchase, choosing a compact multi-purpose ink pad suited for both fabric and paper is ideal. It allows you to stamp not only paper cards but also cloth tote bags and handkerchiefs, instantly expanding your creative possibilities.
In this guide, we covered the essential tools for getting started with Japanese eraser stamp carving and how to select the right eraser blocks without making common mistakes.
A successful stamp carving experience starts with proper tool selection. In particular, securing a sharp design knife and a dedicated two-layer carving eraser is the quickest route to an enjoyable, stress-free crafting session.
Feel free to mix and match everyday stationery and budget-friendly craft supplies as you create your very own original stamps. The thrill of pressing a stamp you carved by hand onto paper is an experience you won't soon forget!
If you found this guide helpful, sharing it with your crafting friends on social media is always deeply appreciated and encouraging!
Until next time, happy crafting! This was Yassy from Crafters!




For example, if you are looking for articles about mizuhiki, try searching for "mizuhiki"; if you are interested in tools, try keywords like "nippers" or "pliers."
