What Is Amigurumi? A Complete Guide to Japanese 3D Crochet: Projects, Care, Difficulty, and Budget
yassy
Crafters!
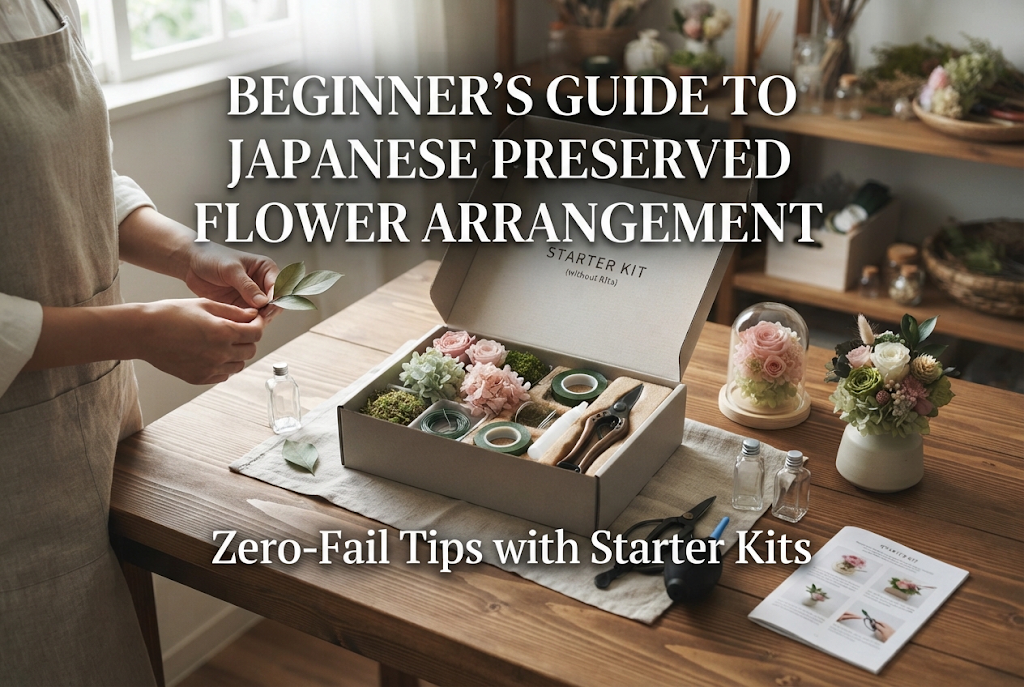

Hello, everyone! It’s Yassy from Crafters! (・∀・)
Preserved flowers capture the fresh beauty of real blooms while maintaining their lovely appearance for years. You’ve probably seen gorgeous boxed flower displays or glass dome arrangements in shops and thought, "I wish I could make something that cute myself!"
I personally love making handmade crafts, admiring beautiful creations in stores and exhibitions, and buying my favorite pieces to decorate my home. Among all crafts, preserved flower arrangement is truly special—placing just one arrangement in a room instantly brightens the space and offers comforting relaxation every time you look at it.
If you're hesitating because you think floral arrangement seems difficult or that gathering specialized tools sounds overwhelming, let me reassure you right now: with the correct steps and materials, even absolute beginners can create professional-quality preserved flower arrangements starting today!
In this definitive guide, I’ll share my knowledge and know-how to help beginner crafters start preserved flower arranging without confusion. From essential tools to practical creation steps and exact ways to get started immediately, here is everything you need to know.
Before starting your arrangement, it's essential to understand what preserved flowers actually are. Misunderstanding this material leads to mistakes when selecting supplies and handling blooms.
"Preserved" means blooms processed at their peak beauty using special organic dyes and solutions. They are neither artificial silk flowers nor simple dried flowers.
Comparing preserved flowers with fresh and dried flowers highlights their overwhelming charm:
Fresh flowers are gorgeous because they are living, but they require daily watering and care. No matter how carefully you tend them, they wither within several days to two weeks.
Preserved flowers, on the other hand, require zero watering. In fact, moisture is strictly forbidden! Placed in a suitable environment, they maintain their freshly bloomed texture for 1 to 3 years—and often over 5 years under optimal conditions.
Dried flowers are created by removing moisture, resulting in a crisp, dry texture and muted antique brown tones. They are also prone to crumbling when touched.
In contrast, preserved flowers undergo a special process where moisture and sap are replaced with a hydrating solution. Because of this, they stay soft and supple to the touch, easily mistaken for fresh flowers. Advanced dyeing techniques also allow for a wide range of vibrant colors that don't exist in nature, such as deep blues, blacks, and soft pastel shades.
Beginners often encounter three common misconceptions. Knowing these in advance will prevent unnecessary expenses and frustration.
With fresh flowers, you simply cut stems to your desired length and pop them into a vase. However, commercially available preserved flowers are sold with very short stems.
This is because preserving long stems increases production costs and weakens structural strength. Therefore, creating artificial stems using techniques called "wiring" and "taping" is an absolute necessity in preserved flower arranging.
You cannot secure them in an arrangement without making stems first. Building these stems is the very first and most crucial step of the crafting process.
Hearing the phrase "flowers that never fade" might make you think they can be placed anywhere, but preserved flowers have clear vulnerabilities: high humidity and direct sunlight (UV rays).
If left in places with humidity over 70% (like bathrooms or near windows during rainy seasons), dye may bleed from the petals and stain clothes or furniture. Direct sunlight causes severe fading within a few months, leaving them looking dull.
To keep your creations beautiful for a long time, always display them away from humidity and direct sunlight.
Thinking "I'll just cut wire with regular scissors" or "any pair of tweezers will do" drops your work efficiency drastically and damages delicate floral materials.
Preserved flower petals are extremely fragile. Thick stationery tweezers easily tear petals, and cutting metallic wire with ordinary scissors instantly ruins the blades.
Starting with proper dedicated tools is the best shortcut to zero mistakes.
Here is a comprehensive breakdown of the basic tools and materials needed to complete an arrangement and their specific roles:
These are the stars of your arrangement. A basic design consists of three elements:
For beginners, sturdy, easy-to-handle roses with abundant color variations are the ideal main flower.
Thin metal wires inserted into flowers to create stems. Wire thickness is measured in gauges (#); smaller numbers indicate thicker, stronger wire.
Having these three gauges prepares you for almost any arrangement.
A self-sealing stretch tape wrapped around wired stems. It has no surface adhesive until stretched; pulling activates its light tackiness. Available in green, brown, and white to match your design.
This tape conceals metallic wire and creates the appearance of natural stems.
The base used to anchor stems. Unlike green wet foam (Aquafoam) used for fresh flowers, preserved flower arranging requires dry, firm floral foam.
Trim it with a craft knife to fit inside your container before setting it up.
Keep separate scissors for cutting ribbons/tapes and dedicated wire-cutting craft scissors for snipping metal wire. Never use one pair for both tasks.
Used to insert small pieces of hydrangea or baby's breath into narrow gaps where fingers can't reach. Fine-tipped tweezers that grip firmly with light pressure are best.
Used for attaching small wire-free parts, securing foam inside containers, and reinforcing delicate petals. Low-temperature glue guns are ideal as heat won't damage delicate blooms.
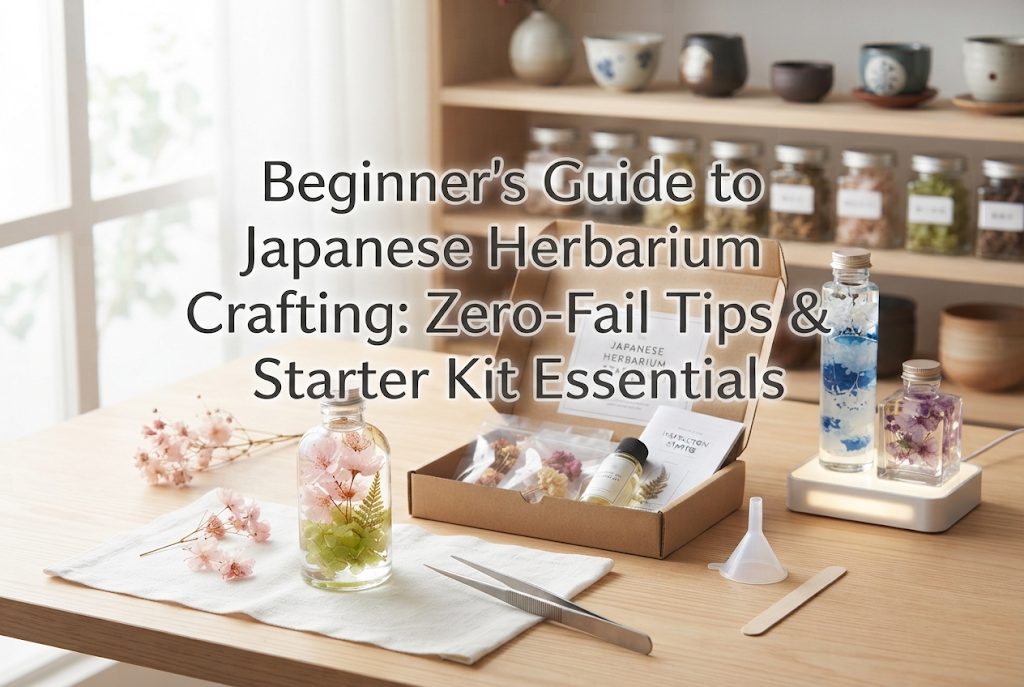
If you feel overwhelmed by the variety of materials and tools, don't worry! The best way for beginners to start without frustration is to purchase a starter kit online from platforms like Amazon or local craft suppliers. It is truly the simplest route.
A common beginner mistake is purchasing random tools and blooms from dollar stores or craft shops without a plan. This usually leads to issues like:
Preserved flower boxes can cost quite a bit individually, so buying materials separately easily exceeds $100 while leaving you with excess unused supplies.
A starter kit offers a perfectly balanced set: precise quantities of flowers needed for one project, correct wire gauges, floral foam, an ideal container, and easy-to-follow color instructions.
There's no wasted spending—you simply open the box on your table and start crafting immediately. Look for all-in-one kits that include basic tools (scissors, tweezers, glue gun) or purchase a basic tool set alongside your favorite container and flower kit.
Once you have your starter kit, it’s time to craft! Here are the core steps and techniques professional florists use for guaranteed success.
First, prepare the foundation base of your arrangement.
Cut the floral foam with a craft knife to fit your container. The key tip is to cut the foam about 1 cm lower than the container rim. If the foam sits too high, the bases of inserted stems will show, giving a messy finish.
Apply generous hot glue from your glue gun to the bottom of the cut foam and press it firmly into the base of the container. Once secure and steady, your base is ready.
This is the most critical stage. Use the correct technique according to the flower type.
Cross Method (For main roses):Pass a #24 wire horizontally through the calyx (the green base beneath petals). Take a second #24 wire and pierce through perpendicularly to form a cross. Gently bend all four wire ends downwards toward the stem base. This forms a sturdy four-legged stem that secures firmly into the foam.
Twisting Method (For hydrangeas, small flowers, and foliage):Group small flower clusters or hydrangeas together and place a #26 wire alongside their stem. Hold one end of the wire against the stem, and wrap the other end tightly around both stem and wire 3 to 4 times. This turns loose small blooms into a unified component easy to insert.
After wiring, cover all metal wires with floral tape.
Slightly stretch the tape with your fingers to release its stickiness, then wrap diagonally downward starting right beneath the flower base. Wrapping tightly ensures it sticks neatly.
To prevent wobbling, wrap around the very base of the bloom 2 to 3 times—a key professional secret for a clean finish!
Preserved roses straight out of the box often look tightly closed like buds. Using them as-is lacks lush volume.
To solve this, use the "blooming" technique: apply small dots of hot glue between outer petals and gently spread them outward with fingers until fixed. Alternatively, tuck small rolled pieces of cotton ball beneath petal bases to gently open the bloom. This simple effort dramatically elevates the luxurious feel of your piece!
Once all parts are prepared, begin inserting them into your foam foundation. Follow this classic golden sequence:
When green foam can no longer be seen from any side angle, your creation is complete!
Keep these precautions in mind while working to elevate your final result:
Avoid pulling out inserted wires to re-insert nearby. This creates enlarged holes in the foam, causing stems to lose grip and wobble. If re-positioning is necessary, insert into a completely new spot or fill the loose hole with hot glue before re-inserting.
Preserved petals are delicate. Pinching them firmly transfers oils from skin, causing discoloration or tearing. Always adjust positions by holding the wire stems or using tweezers rather than touching petals directly.
Placing dark red or navy blooms directly against pure white or pale pastel petals causes strong dyes to bleed over time. Always cushion space between contrasting colors using greenery or hydrangeas to prevent direct petal contact.
You worked hard on your handmade arrangement, so keep it beautiful as long as possible with these care guidelines!
The ideal location has low humidity, away from direct sunlight and direct air conditioning airflow.
Direct air conditioning drafts dry out petals excessively, making them brittle and cracked. Always display away from direct airflow path ways.
Dust naturally settles over time. Never wipe petals with cloths or hands, as friction tears delicate surfaces.
Safely remove dust by blowing cool air using a hairdryer set to the lowest, coolest setting from a slight distance. Alternatively, lightly sweep dust away using a soft makeup blush brush.
While preserved flower arrangement looks intricate, it is actually logical and easy to master. Follow these steps, and anyone can craft stunning floral designs.
Everything starts by choosing a starter kit online that catches your eye. Unboxing your kit, wiring flowers step-by-step, and watching vibrant colors come together offers a peaceful getaway from busy daily routines.
The sense of accomplishment when decorating your room with your own work is unbeatable. Handcrafted preserved floral arrangements also make heartfelt, memorable gifts for birthdays and celebrations that loved ones will cherish far longer than fresh flowers!
Don't wait—find your favorite starter kit today and take your first step into a creative craft journey!
If you enjoyed this guide, please share it with friends on social media or messaging apps! See you in the next article!This was Yassy from Crafters!

For example, if you are looking for articles about mizuhiki, try searching for "mizuhiki"; if you are interested in tools, try keywords like "nippers" or "pliers."
