A Crafter’s Guide to Japanese Craft Cutting Tools: Choosing the Right Blade for Every Material
yassy
Crafters!

Hello, I'm Yassy from Crafters! (・∀・)
I personally love immersing myself in various handmade crafts every day—whether it's creating UV resin accessories, enjoying paper collage art, or shaping tiny components out of craft clay. Beyond the joy of making things, I also adore spending time browsing online shops like Amazon and Rakuten to pick out beautiful materials and handy tools!
As you dive deeper into crafting, you will inevitably encounter tasks that require applying heat to your materials or projects. Whether you want to neatly clear out tiny air bubbles trapped inside resin, elevate stamped letters with a glossy raised effect in paper craft, or smoothly shrink plastic sheets (pla-ban), heating tools are necessary in far more scenarios than you might expect.
However, beginners who are just starting out often run into a big question: "Can't I just use the hair dryer I already have at home?" or "What is the actual difference between an embossing heat tool and a heat gun?" Because many of these devices look similar at first glance, it is completely normal to feel confused about which one best fits the projects you want to make.
To put the conclusion clearly right from the start: Hair dryers, embossing heat tools, and heat guns differ fundamentally in output temperature and airflow strength (volume). Therefore, if you use the wrong tool for the job, your hard work could be blown away and ruined, fail due to insufficient heat, or in the worst-case scenario, result in scorched materials or safety hazards.
In this guide, I'll draw on my experience as both a crafter and a buyer to thoroughly break down the features, practical uses, selection criteria, and key safety precautions for embossing heat tools, heat guns, and hair dryers. By the end of this article, you will know with 100% clarity which tool you should buy right now. Let's master these tools and elevate the finish of your craft projects!
In the world of crafting, applying heat to materials is an essential technique used to trigger chemical reactions, alter shapes, or evaporate moisture and solvents quickly. Hot air heating tools serve as an efficient way to deliver targeted heat precisely where it is needed.
First, let's look at why heating is so crucial in handmade crafting and get an overview of the three tools we are comparing today. Understanding their roles is the first step toward improving the quality of your work.
The primary reasons for using hot air heating in crafting come down to four main points: lowering liquid viscosity for bubble removal, molding thermoplastic materials, accelerating the drying of inks and paints, and melting specialty craft powders (embossing).
For example, liquid resins like UV resin or epoxy resin become thinner and less viscous when warmed. When the resin becomes more fluid, air bubbles trapped deep inside naturally float to the surface, dramatically improving the overall transparency of your piece. Cured resin pieces filled with leftover bubbles look unrefined and lose their handmade charm, making heat-assisted bubble removal an essential technique.
Similarly, materials that shrink and harden when heated—such as shrink plastic (pla-ban) or heat-shrink tubing—as well as specialty resin powders (embossing powders) that melt into raised, glossy textures, cannot be processed without a proper heat source. Learning to intentionally control heat rather than simply waiting for air drying is the secret to giving your handmade crafts a professional finish.
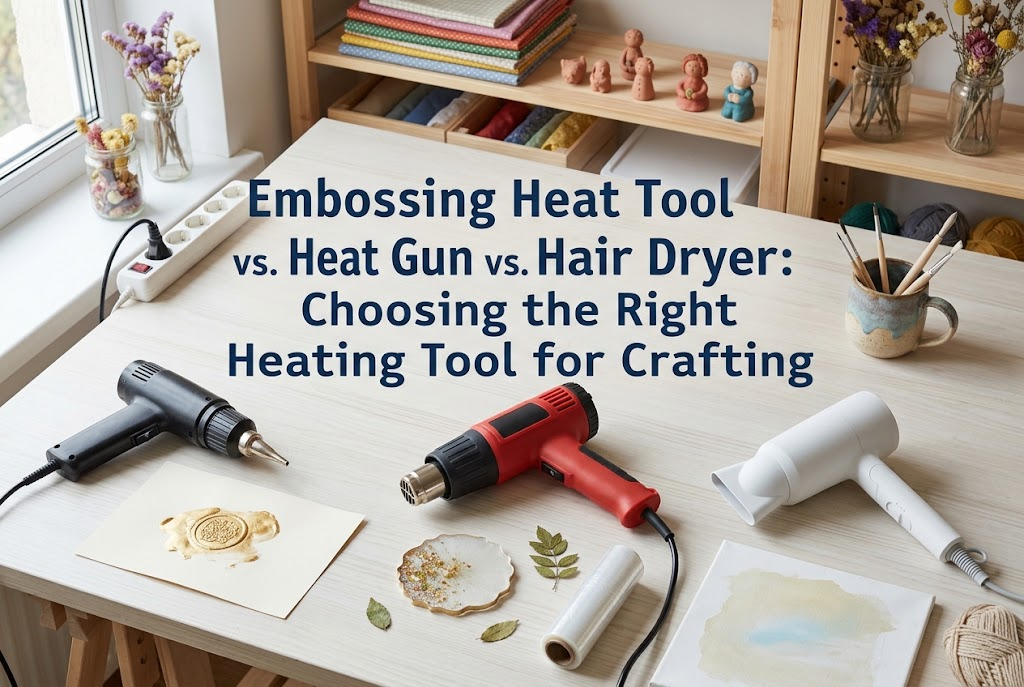
The three main tools used to generate hot air are hair dryers, embossing heat tools, and industrial heat guns. While they all look like nozzle-equipped tools that blow warm air, their internal construction and design purposes are completely different.
This distinct combination of temperature and airflow is the ultimate factor determining the success or failure of your craft projects.
The embossing heat tool enjoys overwhelming support among crafters and handmade artisans. If your main focus is UV resin crafts or paper crafting, this is undoubtedly the very first heating tool you should invest in.
The greatest strength of an embossing heat tool lies in its ideal combination of a quiet, gentle breeze that won't disturb light materials, and high temperatures that rapidly warm resin or melt powder.
The air coming out of a standard embossing heat tool feels like a soft breeze. However, the temperature at the nozzle reaches around 200°C to 250°C (392°F to 482°F). This specific profile—minimal air force paired with reliable high heat—is exceptionally well suited for delicate craft supplies.
Furthermore, the nozzle opening is narrow, allowing you to direct focused heat right where you want it. Because you don't have to worry about accidentally heating surrounding areas and damaging nearby components, it is perfect for detailed work.
When working with resin, an embossing heat tool is an absolute lifesaver. Right after pouring resin into a silicone mold or applying it to a bezel setting, tiny air bubbles inevitably form.
By holding the nozzle of an embossing heat tool a few centimeters above the resin surface for just a few seconds, the heat instantly lowers the resin's viscosity, making it fluid like water. As the liquid thins out, trapped bubbles quickly rise to the surface and pop from the heat.
Unlike using a hair dryer, there is zero risk of strong wind blowing liquid resin out of the mold or creating unwanted ripples in your design. If you want to make crystal-clear, beautiful resin pieces, an embossing tool is essential.
As the name suggests, this tool was originally created for heat embossing in paper crafting.
Heat embossing is a technique where you stamp an image using slow-drying ink, sprinkle resin powder (embossing powder) over it, tap off the excess, and then apply heat. The powder melts and cures into a glossy, raised 3D design.
With an embossing heat tool, you can melt the powder instantly without blowing the fine dust off the paper. It cleanly fuses the powder before the paper has a chance to scorch, making it a fantastic asset for cardmaking, scrapbooking, and wedding stationery.
Heat guns are widely used in heavy DIY and advanced sculptural crafts. They offer far more power than embossing tools and are primarily engineered as heavy-duty tools.
The main characteristic of a heat gun is its high thermal output, which far surpasses that of an embossing tool. Even budget-friendly models produce air temperatures near 300°C (572°F), while professional dial-adjustable models can reach 500°C to 600°C+ (932°F to 1112°F+).
The body is typically larger than an embossing tool, often featuring a pistol-grip shape similar to a hair dryer. Once turned on, it reaches high temperatures almost instantly, making it powerful for quickly heating large surfaces or warming thick materials to their core.
Many models allow you to switch between different airflow levels, offering high functionality for controlling heat and air volume depending on your task.
A heat gun's strong heat output shines when shrinking or shaping plastic sheets (pla-ban). While pla-ban is traditionally baked in a toaster oven in Japan, a heat gun allows you to apply targeted heat directly on your work table to bend specific sections of the plastic.
For instance, if you want to heat flower petal parts made of plastic sheets and twist them into 3D shapes with tweezers before they cool down, a heat gun's rapid heating capabilities are a massive advantage.
It is also a helpful companion for curing polymer clays, accelerating the drying of dip art resins, or quickly drying paint on large wood crafts and display installations.
While a heat gun's strong firepower offers great benefits, improper handling can lead to damage or safety hazards.
Because the air is extremely hot, misjudging the exposure time by even a few seconds can instantly scorch paper or fabric. Applying it directly to delicate silicone molds for too long can cause the silicone to degrade and tear.
When using a heat gun, you need proper technique: maintain a safe distance from the material and keep the nozzle moving constantly so the heat does not concentrate on a single spot. Because of its intense power, it is often excessive for delicate, beginner-level accessory making.
Many beginners think, "If I can substitute this with the hair dryer I already own, I'd rather not buy a new tool." It is completely understandable to want to save money and work with what you have.
However, using a hair dryer as a heating tool for crafts has severe limitations and is a common cause of craft failures. Here is why.
The single biggest advantage of a hair dryer is that it costs $0 in additional investment because it is already in your home. In almost every other aspect, however, it presents significant drawbacks for specialized craft work.
Hair dryers are designed to be used safely on human hair and scalp. Built-in safety features cap the maximum temperature at around 80°C to 100°C (176°F to 212°F). This temperature is simply not hot enough to melt embossing powder or properly shrink plastic sheets.
Furthermore, hair dryers have broad nozzles that disperse air across a wide area, making it impossible to concentrate heat onto a small, specific spot on your craft.
The most common reason for craft failure when using a hair dryer is its strong airflow. Hair dryers produce a large volume of fast-moving air to dry hair quickly, but this strong wind pressure can be fatal to delicate craft projects.
This does not mean a hair dryer is 100% useless in crafting. Used in the right situation, it can still be helpful.
The only suitable craft task for a hair dryer is drying flat surface paint or glue, such as water-based paint, acrylics, or craft glue spread over a wide area. Holding the dryer at a distance to speed up the surface drying of painted backgrounds works well.
Conversely, never use a hair dryer for popping resin bubbles, melting embossing powder, shaping shrink plastic, or curing 3D resin assemblies. It will either ruin your piece or mess up your workspace.
To help you summarize what we've covered, here is a quick comparison of the three tools' performance and compatibility. Knowing these differences will make it obvious which tool fits your chosen craft genre best.
Now that you know how these tools differ, you might still wonder: "So, which one should I actually buy?" Here are clear guidelines to help you decide.
If your primary goals are UV resin accessories, fake sweets crafts, sealing wax finishing, paper craft embossing, or nail art reinforcement, choose an embossing heat tool without hesitation. This is the absolute right choice.
Having an embossing heat tool instantly elevates the finish of your resin crafts. You'll be able to create smooth, crystal-clear resin pieces free of air bubbles, giving your work a polished, high-quality look.
They are also quite affordable, typically available for around $15 to $30 on online stores like Amazon. It is one of the best basic investments you can make for handmade crafting.
If you want to create 3D bent plastic accessories out of shrink plastic, work with wood crafts, perform clay sculpting, or use heat-shrink tubing extensively, choose a heat gun.
When purchasing a heat gun, I strongly recommend getting a model with adjustable temperature controls (either a dual-temperature switch or a variable dial). A heat gun with adjustable heat can be dialed down, allowing it to function similarly to an embossing tool when needed.
Heat guns generally range from $20 to $50. Since some models can be slightly heavy, look for a compact, lightweight unit if you plan on holding it for extended periods.
When searching for heating tools online, you'll see many options. Here are four key specs to check before buying:
Choosing a self-standing model or one with an attached safety stand makes hands-free operations—such as shaping hot shrink plastic with tweezers—much easier and safer!
While embossing heat tools and heat guns are convenient, they generate intense heat. Improper handling can cause burns, fire hazards, or damage to your materials. Here are the practical techniques and safety rules I always follow in my own studio.
The secret to achieving a smooth finish is never keeping the heat fixed on one spot and maintaining a proper distance.
Clear silicone molds and silicone work mats are heat-resistant to a degree, but they have limits. If you blast high heat from an embossing tool or heat gun onto the same area of a silicone mold for too long, the resin can chemically fuse to the silicone. This makes it impossible to demold your piece without tearing the mold surface, drastically shortening its lifespan.
To avoid this, try warming your resin in a heat-resistant mixing cup with the embossing heat tool to clear bubbles *before* pouring it into the mold. This is the cleanest method to protect your molds over time.
Additionally, always cover your desk with a heat-resistant silicone crafting mat or cutting board to shield your furniture from heat damage or accidental scorch marks.
In this guide, we've explored the differences between embossing heat tools, heat guns, and hair dryers, along with practical tips on how to choose and use them safely.
To recap our main points:
By picking the right tool tailored to your craft projects, your creative possibilities will expand, and your time spent crafting will become even more enjoyable!
Find the perfect heat tool for your needs on online shops like Amazon or Rakuten, and enjoy creating high-quality, beautiful pieces! I'm cheering for your creative journey every step of the way!
If you found this guide helpful, please feel free to share it with your craft-loving friends on social media or messaging apps! See you in the next article—this was Yassy from Crafters!

For example, if you are looking for articles about mizuhiki, try searching for "mizuhiki"; if you are interested in tools, try keywords like "nippers" or "pliers."
