Is Japanese Wire Jewelry Making Hard? Types of Items, Difficulty, Workspace, and Startup Costs Explained
yassy
Crafters!

Hello, everyone! This is Yassy from Crafters! (・∀・)
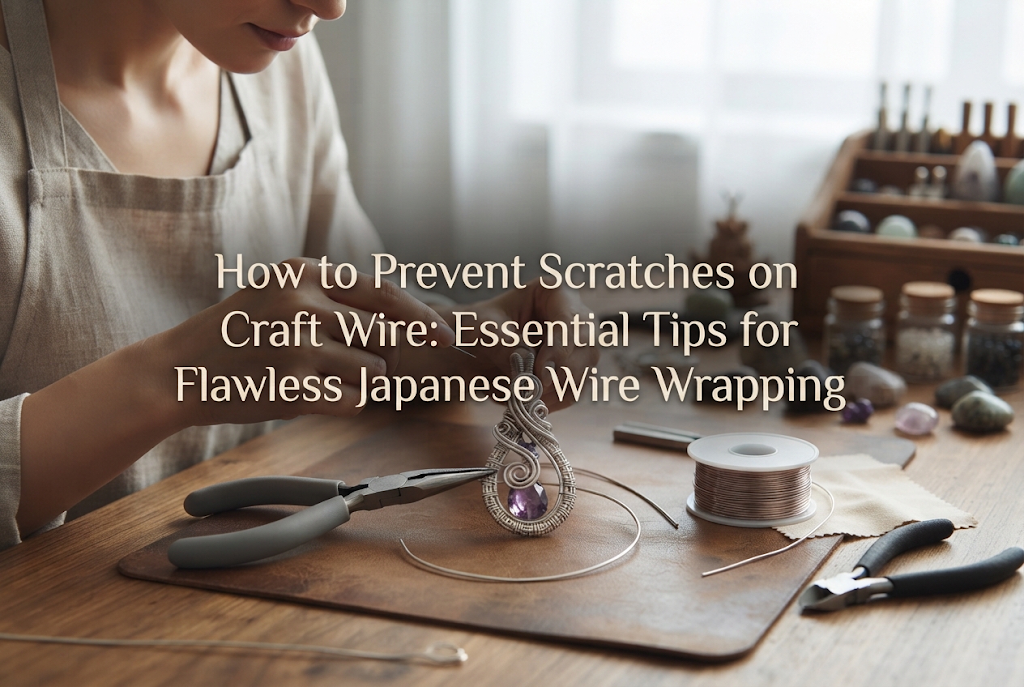
Delicate, shimmering wire jewelry is a hugely popular craft that beautifully highlights natural gemstones and beads. However, many crafters face the frustrating issue of getting fine scratches or clear tool marks on their wire during the making process, leaving the surface looking scuffed and ruined.
Even if the finished piece looks okay at first glance, damaged wire can suffer from peeling coatings, discoloration, or weakened structural integrity that leads to breakage over time. But there are clear, specific reasons why craft wire gets scratched! Once you identify the root causes and review your technique, even beginners can create smooth, flawless, and beautiful wire jewelry.
In this article, I will dive deep into the main reasons why wire gets scratched during crafting, and explain fundamental solutions and key tips to achieve a professional finish.
The biggest reason wire gets damaged lies in the tools you use. Beginners often start with household pliers or cheap tool sets. However, if you choose the wrong tools, it is practically impossible to prevent scratches, no matter how carefully you work.
Many standard needle-nose pliers sold for general DIY or home repairs have cross-hatched grooves or teeth inside the jaws to prevent slipping. If you clamp wire for craft use even once with these serrated pliers, the sharp teeth will bite directly into the wire, leaving deep dents and gouges.
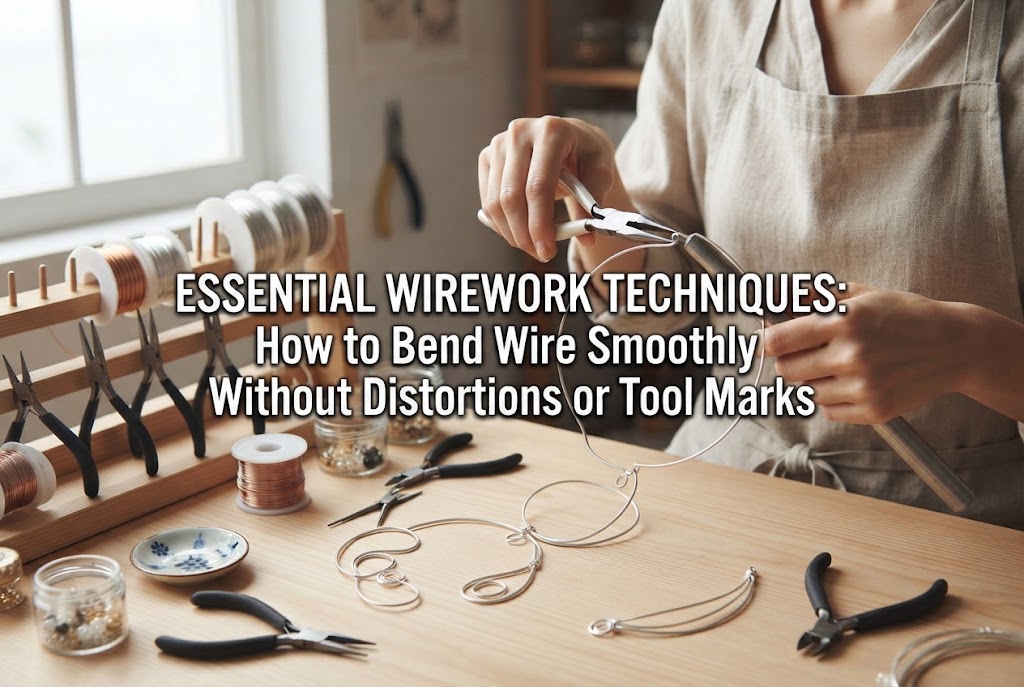
For wire jewelry crafting, the absolute rule is to use smooth-jaw flat-nose or round-nose pliers with completely flat inner surfaces. Even if a tool is labeled as "needle-nose pliers," you must never use it for wire wrapping if it has serrated jaws inside.
Sometimes wire gets scratched even when using smooth-jaw pliers. This happens when the outer edges of the pliers' jaws are too sharp. Inexpensive tools or pliers made directly from press-molding often have square, blade-like metal edges.
If you hold a wire with sharp-edged pliers and twist or tilt it even slightly, the razor-sharp edge will scrape off the wire's surface. Try running your finger gently along the inner edges of your pliers. If you feel any sharpness or roughness, those sharp edges are the culprit damaging your wire.
Pliers that have been used for years, or tools forced to cut or bend hard wire pins, can develop tiny chips or burrs (protrusions) on their metal tips. These microscopic bumps crush the soft wire the moment you grip it, creating pinpoint dents or scratches.
Additionally, leftover glue, dust, metal powder, or rust on your tool tips increases friction. When foreign particles get caught on the smooth clamping surface, pressure is distributed unevenly, causing severe localized friction.
If you have the right tools and still get scratches, the issue lies in how you move your hands and apply force. Crafters unfamiliar with tool handling often make subconscious movements that inflict excessive damage on the wire.
The most common mistake made by beginners is squeezing the pliers with all their strength. Anxious that the wire might slip or fail to hold firmly, they squeeze as if holding a grip tester.
Craft wire used for jewelry is typically made with relatively soft metal cores, such as brass or copper. Even with smooth-jaw pliers, human grip strength can easily exceed the metal's elastic limit, flattening the surface and leaving compression marks. Remember that pliers are not tools for crushing wire firmly, but rather for acting as a gentle, stable fulcrum.
When trying to straighten a curve or adjust a bend, some crafters slide and pull the wire while keeping it tightly clamped in their pliers. This is the single most dangerous action for wire coatings.
When metal rubs against metal under strong pressure, the softer metal will always get scraped away. Sliding or dragging wire through closed pliers strips off clear topcoats or plating layers instantly, causing a white powdery residue or severe longitudinal scratches.
When bending wire at a sharp right angle or making a loop, forcing the bend by twisting the wrist of the hand holding the pliers concentrates the entire load onto the sharp edge of the pliers tip. As a result, deep bite marks are left right at the starting point of the bend.
To make a clean bend, do not bend the wire with the pliers itself. Instead, hold the wire gently with the pliers and use the fingers of your other hand to push the wire smoothly along the shape of the jaw. Using pliers as a lever to force a bend creates deep localized dents.
Failing to understand the material, thickness, and coating limits of your wire is another major reason for scratches. Not all craft wire has the same durability.
Artistic Wire, commonly used in craft projects, features a multi-layer structure where a copper base wire is plated with silver or color, then protected by a thin layer of transparent polyurethane or enamel coating. This outer resin coating is extremely thin and cannot withstand the hardness of metal tools.
Even if the core wire remains intact, pressing down with pliers can crack or strip the thin outer coating, making it look cloudy or white. That white, powdery residue on your wire is actually damaged coating.
Scratch resistance varies dramatically depending on the wire's base metal. Here are the main characteristics of popular materials:
Soft wire easily shows compression dents from clamping, while hard wire requires more force to bend, leading to slide scratches. Understanding the hardness of your material is essential to applying the right amount of force.
Thinner wires (such as 0.3mm to 0.4mm / 26 to 28 gauge) experience much higher pressure per unit area when clamped with the same force. Consequently, applying even a little too much grip can crush the core wire.
Conversely, thicker wires (such as 0.8mm to 1.0mm+ / 20 to 18 gauge) resist bending. Crafters often grip the pliers repeatedly with extra force to overcome this springback, leaving multiple tool marks and friction scratches with every re-clamping.
Scratches can also occur away from where your pliers touch, caused by your workspace environment or contact with neighboring components.
When executing wrapped loops or wire-framing around beads and gemstones, the wire rubs against the sharp edges of the bead holes. Gemstones and glass have a high Mohs hardness—much harder than metal wire.
If you pull wire sharply around a bead hole at an acute angle, the hard stone edge acts like a chisel, scraping off the wire's coating. Finding tiny metal flakes around bead holes is a clear sign that the wire is being scraped away by bead friction.
If hard metal scraps, snipped pin ends, or tiny glass fragments are scattered across your worktable, simply moving wire across the table can scratch its underside.
Furthermore, never straighten wire from a spool by scraping it with your fingernails or dragging it against hard metal rulers. Scraping wire with rigid surfaces to remove bends creates countless microscopic scratches across the surface before you even begin crafting.
Well-meaning attempts to protect wire can sometimes hinder your work or cause unexpected problems. It is crucial to choose the right approach based on correct knowledge.
Wrapping masking tape around pliers tips is a widely known tip. While effective for minor scratch prevention, wrapping it too thick makes the tips bulky, rendering precision work impossible.
Furthermore, because masking tape is made of paper, sharp wire edges can easily pierce through it. The underlying metal jaw then gets exposed without you noticing, gouging the wire unexpectedly. Additionally, tape left on tool jaws for long periods can transfer sticky adhesive onto your wire, attracting dirt and dust.
Focusing too much on "not applying force" can cause you to hold the wire too loosely. If the grip is too weak, the wire slips inside the jaws while being bent. Paradoxically, this creates widespread friction scratches that are worse than a single firm clamp.
What you need is not complete relaxation, but rather an "appropriate holding force" and a stable fulcrum that keeps the wire from slipping. Weak grip strength can be just as much of a trigger for friction scratches.
Once you understand the root causes, all that remains is proper tool preparation and refined hand movements. Here are the practical techniques I use to achieve scratch-free wire jewelry.
Before using brand-new metal pliers, I recommend rounding off the sharp inner edges of the tips yourself. This is the single most effective maintenance step for scratch prevention.
Place 1000-grit to 1500-grit wet/dry sandpaper flat on your table, and gently slide the inner edges of the pliers across it a few times. Soften the sharp corners until they feel completely smooth to the touch (a light chamfering). Removing those sharp edges almost completely eliminates wire gouging.
For straightening spooled wire or holding components firmly under higher tension, using Nylon Jaw Pliers (pliers with plastic or nylon jaw inserts) is the most reliable method.
Because the gripping surfaces are made of high-density nylon, there is zero risk of scratching metal wire even if you grip firmly. Clamping wire pulled from a spool between nylon jaws and sliding it gently straightens the wire smoothly without damaging its coating at all.
An excellent alternative to masking tape is using tool-dipping rubber coatings or heat-shrink tubing to form a protective layer over your pliers tips.
Dipping metal pliers tips into specialized liquid synthetic rubber creates a thin, durable, and elastic protective film upon drying. Unlike tape, it leaves no adhesive residue and maintains fine tip precision while offering cushioning, keeping scratches to an absolute minimum during delicate wrapped loops.
The fundamental technique for hand movement is: Keep your dominant hand (holding the pliers) stationary, and use the fingers of your opposite hand to bend the wire.
Instead of twisting your wrist while gripping, treat the pliers as an immovable wall and use your fingers to guide the wire smoothly around it. This technique completely eliminates bite marks and crushed spots.
Starting out with expensive 14K Gold-Filled wire or valuable gemstones creates pressure to avoid mistakes, which naturally causes your hands to tense up. Here is a step-by-step practice sequence to help your muscle memory learn the right pressure.
First, practice using thicker aluminum wire (around 1.0mm / 18 gauge), which is inexpensive and readily available. Aluminum wire is extremely soft, so squeezing the pliers too hard or twisting even slightly will instantly reveal unsightly dents and marks. Practicing tasks like bending precise right angles or making jump rings with aluminum wire will clearly show you your hand habits and moments of excessive force.
Once you can handle aluminum wire without making scratches, step up to around 0.6mm (22 gauge) Artistic Wire. At this stage, apply a single taut layer of masking tape to your pliers tips, or use pliers with beveled edges.
Focus on two basic rules: "take a deep breath and relax your shoulders before bending" and "bend with your fingertips, not the tool." With practice on simple loops and wrapped loops, you will soon create smooth, professional curves without a single scratch or dulled finish on the metal surface!
Getting scratches on craft wire is not due to a lack of artistic talent. It stems from clear, identifiable causes: tool jaw structure, excessive grip pressure, and friction while clamped.
By selecting smooth-jaw pliers, gently beveling sharp tool edges, and incorporating protective tools like nylon jaw pliers, you can drastically reduce the risk of scratches. During work, refrain from forcing bends with your pliers wrist, and focus on using your fingertips to shape the wire gently.
Flawless, lustrous wirework dramatically elevates the luxury feel and durability of your handmade jewelry. Resolve each cause one by one, and enjoy creating shimmering, perfect wire accessories!
If you enjoyed this article, sharing it with your craft-loving friends on social media would mean the world to me! See you in the next article! This was Yassy from Crafters!

For example, if you are looking for articles about mizuhiki, try searching for "mizuhiki"; if you are interested in tools, try keywords like "nippers" or "pliers."
