Essential Tools for Japanese Eraser Stamp Carving and How to Choose the Right Eraser Block
yassy
Crafters!

Hello, this is Yassy from Crafters! (・∀・)
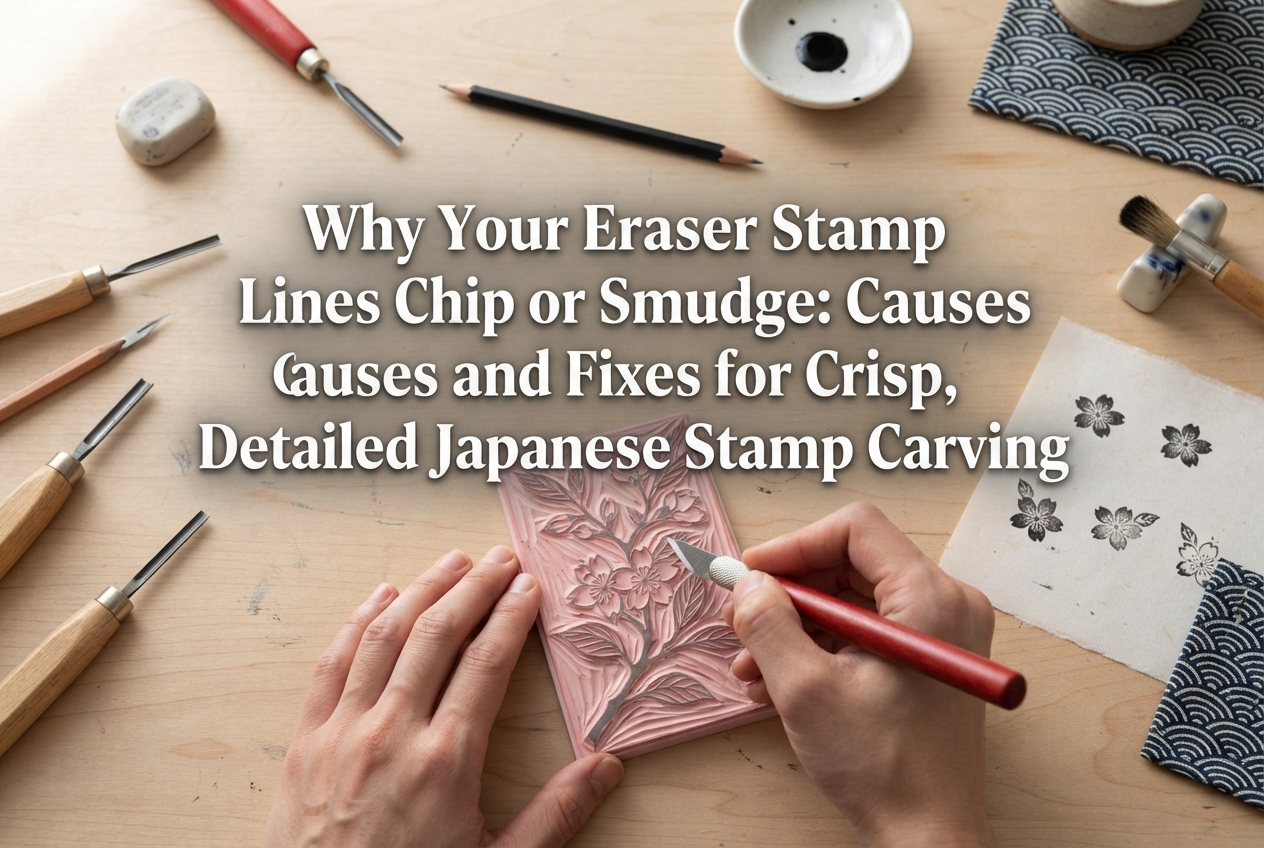
Have you ever spent ages carving an eraser stamp, only to have a fine line suddenly snap off—or found that delicate pattern completely filled with black ink when you stamped it? In the world of eraser stamp carving (known in Japan as keshigomu hanko), chipped lines and smudged details are the two biggest hurdles every beginner faces.
It is genuinely frustrating when you've put so much time and effort into tracing and cutting a design, only to sever an essential line right at the end or stamp a blob where your intricate pattern should be. But there are clear, mechanical reasons why this happens. Once you stop relying on pure guesswork and understand blade angles and depth control, you can carve even the most delicate patterns without tearing or collapsing them.
In this guide, I will break down why lines break and fine details smudge, followed by concrete, actionable techniques you can try immediately. I'll also share my own trial-and-error experiences and the exact habits I keep in mind during carving!
Chipping lines while carving and smudging details when stamping may look like two completely different problems, but they share the exact same root causes: a weakened base supporting the carved line, and an improper groove depth or cutting angle.
Eraser carving rubber is wonderfully soft and easy to cut, but that same softness means it tears easily under excessive pressure or when cut at the wrong angle. Lines chip because an incorrect blade angle shaves away the foundation at the base of the line, leaving it unsupported.
On the other hand, fine details smudge primarily because the carved channels between lines are too shallow—causing ink to pool in the recesses—or because the base of the line is cut too thin to withstand stamping pressure, causing the rubber wall to lean over sideways. Mastering the cross-sectional shape of your carved lines is the key to solving both problems at once.
The single biggest reason lines chip off is the angle of your blade. If you plunge your knife straight down vertically or tilt the blade inward toward the underside of your design line, you end up carving away the rubber directly beneath the surface line.
This creates an inverted triangle cross-section. Standing on a narrow point, the rubber has virtually no structural strength. It cannot withstand the lateral drag of the knife as you carve, nor the friction when you stamp, causing it to snap right off.
To create strong, resilient lines that never snap, always angle the blade outward at approximately 45 degrees away from the design line. By making angled incisions on both sides pointing away from the line, the cross-section forms a mountain or trapezoid shape.
When the base is wider than the surface, the rubber beneath provides solid support. Even a hairline cut can withstand significant pressure if it sits on a sturdy, wide base. Whenever your knife enters the rubber, always keep one goal in mind: leave the base thicker than the top line.
If you feel you are cutting at the correct 45-degree angle but fine parts still tear off, your blade is almost certainly dull. Carving soft rubber with a dull blade does not cleanly slice the material; instead, it crushes, pushes, and tears it.
Forcing a dull edge through the rubber exerts heavy drag, pulling fine lines and sharp corners along with it until they rip. Similarly, standard heavy-duty utility knives or overly large gouges make fine motor control difficult, leading to slips and tears.
For clean, precise lines, a precision craft knife (design knife) with an acute 30-degree blade is the ideal choice. The moment you feel the blade dragging or snagging on the rubber, swap it out for a fresh blade right away.
My standard advice to beginners is to treat blades strictly as consumables. Soft as rubber feels, it actually dulls sharp micro-edges quite quickly. Replacing your blade once or twice during a single stamp project makes a dramatic difference in preventing chipped lines.
When carving curves, tight turns, or complex details, do you twist your wrist and guide the knife around the contours? This is one of the most common carving mistakes.
Twisting your knife hand forces your wrist into awkward angles, making it impossible to maintain that crucial 45-degree tilt. The angle wobbles: in some spots the blade lays too flat and slices through the line, while in others it stands too vertical and scoops out the base. The result is an uneven line prone to chipping and collapsing.
The foundational rule for crisp linework is simple: hold your knife hand steady at a locked angle, and use your other hand to rotate and feed the eraser block into the blade.
Set your knife at a stable 45-degree angle and lock your wrist. Then, gently pivot and slide the eraser block against the stationary cutting edge with your opposite hand. Adopting this single habit ensures a consistent angle along the entire contour, leaving a uniformly reinforced base all the way around.
Carving either too shallow or too deep can severely damage your print quality. Beginners often fall into one of two extremes: carving overly shallow out of fear of cutting off lines, or digging too deep when trying to remove negative space.
The sweet spot for a typical V-shaped trench is roughly 1 to 2 millimeters deep. In tight areas where lines sit close together, shallower cuts are actually better. For closely spaced parallel lines, skimming off just a shallow sliver of rubber creates a shared, solid base underneath, preventing the details from collapsing together.
Carving blocks come in various densities and flexibilities depending on the manufacturer. Are you trying to carve a standard office eraser? Regular pencil erasers are formulated to crumble on purpose to lift graphite, making them far too brittle for clean linework.
Even among blocks made specifically for stamp carving, overly soft varieties require caution. While a very soft block lets the blade glide effortlessly, ultra-fine lines lack structural rigidity; they bend sideways under stamping pressure, resulting in smeared impressions.
When carving lettering, fine linework, or intricate illustrations, choose an eraser stamp block labeled as "firm" or "hard type" (such as the firmer grades of Japanese Hankeshi blocks like Horunabi or Hankeshi-kun).
A firm block offers crisp feedback against the blade and cleanly sheds shavings without crumbling. It resists deformation when pressed onto paper, keeping slender lines upright and producing sharp, well-defined prints.
Even if your stamp is carved perfectly, poor inking or rough stamping technique can ruin your print, making fine details look completely blurred.
Do you press your stamp down firmly into the ink pad? Doing so forces excess ink down into the recessed grooves. When you press the stamp to paper, that trapped ink squirts out, turning delicate cuts into solid smudges.
The correct method is to hold the ink pad in your hand and gently tap or pat it down onto the upward-facing stamp. Lightly dab across the surface until ink covers only the raised printing relief evenly, leaving the recessed valleys completely dry.
When stamping onto paper, apply downward pressure straight and vertically without rocking, tilting, or twisting the stamp. Twisting the block bends fine lines sideways, smudging the impression and risking tearing the rubber walls.
Here is the exact carving order I follow in my everyday stamp making to ensure delicate lines stay intact from start to finish:
Always carve the smallest, most crowded inner details before touching large outlines or wide borders. When the surrounding block is still solid and untouched, it provides maximum structural support to the rubber, preventing delicate details from flexing and snapping as you cut them.
After carving the primary V-groove alongside a line, avoid scooping out massive chunks of surrounding background rubber in one deep cut. Reaching too deep with your blade risks slicing right through an adjacent line from beneath.
Instead, remove the narrow strip right next to your line first. Once that trench is established, go back and trim away the wider background areas in a separate, controlled pass. Carving in stages prevents accidental gouges.
When carving pointed shapes like stars or sharp corners, never force your knife to pivot while buried inside the corner vertex. That twisting force will wrench and tear off the delicate tip.
Instead, cut along one edge straight to the corner point and withdraw your blade. Then, cut along the intersecting edge toward that same point, letting the two cutlines cross neatly. The tiny wedge of rubber will pop out cleanly, leaving a sharp, crisp corner.
No matter how careful you are, slips happen. But do not toss your stamp in the trash just yet—many breaks are repairable!
If you managed to save the broken piece of rubber, dab a microscopic amount of rubber-compatible instant glue (super glue) onto the tip of a toothpick. Carefully position the piece back onto the break using tweezers. Once the adhesive cures completely, lightly trim away any dried glue residue from the printing surface with your knife tip, and it will stamp just like new.
If the fragment is lost, examine the design: can you gently shave down the surrounding area to blend the break into the illustration as an intentional feature? Embracing slight design adjustments is a great way to salvage a piece without giving up.
Chipped lines and smudged prints are entirely preventable once you apply the correct cutting mechanics and tool care.
Here is a quick recap of the essential rules for carving clean, durable lines:
Eraser stamp carving is a wonderfully satisfying craft once you gain control over your blade. Keep these techniques in mind on your cutting mat, and enjoy creating crisp, beautiful handmade stamps!
If you found this guide helpful, sharing it on social media with fellow crafters would mean the world to me!
See you in the next article! This was Yassy from Crafters!




For example, if you are looking for articles about mizuhiki, try searching for "mizuhiki"; if you are interested in tools, try keywords like "nippers" or "pliers."
