A Japanese Crafter’s Guide to Jesmonite Sanding Tools: How to Choose Waterproof Sandpaper, Power Tools, and Grits for a Pro Finish
yassy
Crafters!

Hello everyone, it's Yassy from Crafters! (・∀・)
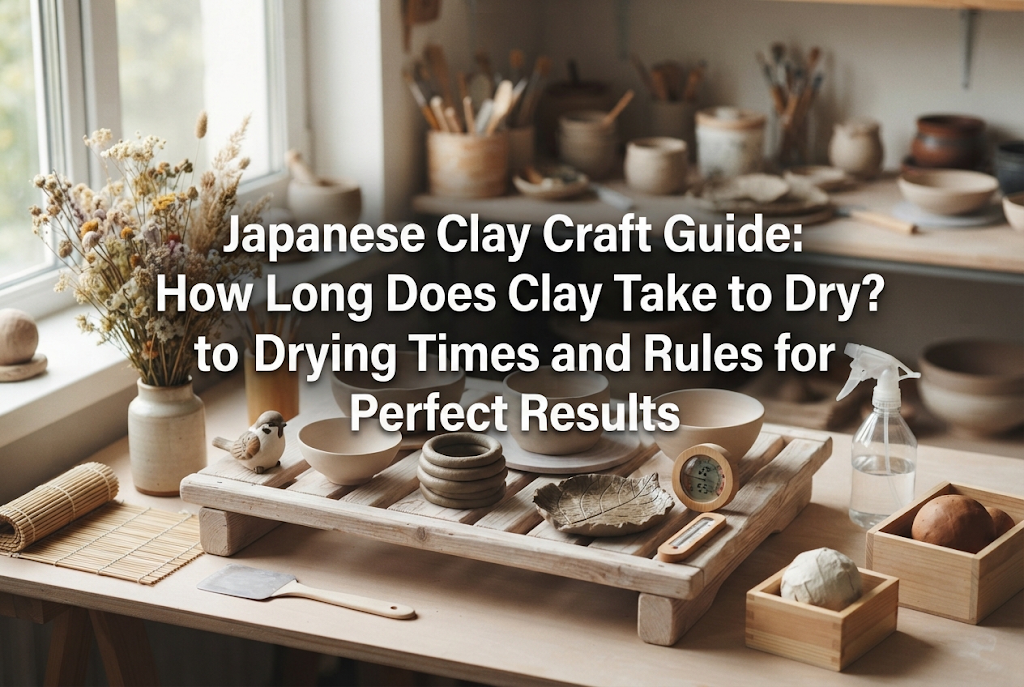
When making handmade clay creations, one question that everyone encounters at least once is: "When will this clay finally dry completely?" I love crafting miniatures and accessories out of clay, as well as admiring and buying wonderful clay works. That is precisely why I understand better than anyone the heartbreak of having a project you spent so much time on ruined by a drying mistake.
Never underestimate clay drying times. Even if the surface looks dry, if moisture remains trapped inside when you apply varnish or resin, your piece can grow mold later, turn cloudy on the surface from humidity, or suffer major warping or cracking months down the road. In fact, more than 80% of failures in clay crafting are actually caused by insufficient drying.
In this article, I will thoroughly explain everything you need to know: drying times by clay type, foolproof ways to check for complete dryness, pro techniques to safely speed up drying, and fatal mistakes you must avoid at all costs. Read this to the end, and you'll never be confused about drying clay again!
When thinking about drying clay, there is one absolute rule you must keep in mind: surface drying and complete drying are two completely different things.
Touching the clay and assuming "it feels hard, so it's good to go" is the most dangerous misunderstanding that beginners fall into. Clay loses moisture from the outside where it meets the air, meaning only the outer surface hardens in a few hours to half a day. This state is merely surface drying.
However, even when the surface has hardened, a large amount of moisture is still trapped inside. Complete drying refers to the state where moisture has evaporated all the way through the core, and both shrinkage and chemical changes (or evaporation) have fully stopped.
If you move on to the next step without waiting for complete drying, the following severe problems are almost guaranteed to occur:
To keep your creations beautiful for years and achieve sellable quality, waiting until the piece reaches complete drying is an absolute requirement.
The mechanism of moisture evaporation and density varies greatly depending on the clay type. Below is a guide to the complete drying times for the main types of clay frequently used in Japanese handmade crafts. These baseline figures assume a standard room environment of 20–25°C (68–77°F) and around 50% humidity.
Resin clay is dense, making it difficult for moisture to escape. As it dries, moisture evaporates, causing the clay to shrink slightly while hardening.
Because resin clay dries to a smooth, plastic-like finish, moisture remains inside for a long time even if the outer surface looks cured. For pieces over 1 cm thick, the golden rule is to leave them alone for at least a full week.
Lightweight clay blended with micro-balloons (tiny hollow spheres) offers excellent breathability and has the fastest drying speed among crafting clays.
The fast drying speed allows for great work efficiency, but because the surface hardens quickly, it is important to gauge the right timing to shape your piece without leaving fingerprints.
Made from pulverized stone, stone powder clay cures into a sturdy piece that can be carved or sanded after drying. It is extremely dense and holds moisture easily, taking the longest time to dry.
If you sand stone powder clay while moisture remains inside, it will clog your sandpaper and cause the sanded surface to fuzz up, preventing a clean finish. Take your time and let it dry thoroughly.
Paper clay, made primarily from pulp fibers, has high moisture absorption and release properties, but because of its high water content, it requires sufficient drying time.
Paper clay has a high shrinkage rate during drying. Uneven thickness can cause major cracks to develop as it dries, so maintaining an even thickness and giving it ample curing time are essential.
There is one crucial exception you must know: polymer clay. Polymer clay does not contain water and will never harden through air drying at room temperature, no matter how many days you leave it out.
It hardens only when heat (approx. 110–130°C / 230–266°F) is applied in a home oven, triggering a thermal curing reaction. Baking times depend on thickness (roughly 15–30 minutes per 1/4 inch or 6 mm). Keep in mind that its mechanism is fundamentally different from air-dry clays.
The drying times listed above are standard baselines. Actual drying times can double or shorten depending on the environment where you work. Understanding these four factors is key:
Drying time does not scale linearly with thickness; instead, think of it as increasing relative to the square of the thickness. If you double the thickness, the required drying time quadruples.
When making spherical or thick items, it is a professional standard to insert a dry styrofoam core or crumpled aluminum foil inside. Keeping the clay layer thin (under 5 mm to 1 cm) dramatically reduces drying time and prevents cracking and warping.
Air humidity has the most direct impact on drying speed.
If you want to complete clay projects during wet seasons, drying them in a room with an air conditioner set to dry mode or a dehumidifier running is a must.
Higher room temperatures activate water molecules, accelerating evaporation. However, even at high temperatures, stagnant air causes humidity to build up around the piece, stalling the drying process. A continuous, subtle movement of air in the room provides the absolute best drying environment.
When kneading paint or colorants directly into clay, the moisture, oil, or resin content in the pigments extends drying time. Mixing in large amounts of watercolor or acrylic paint alters the clay's physical properties, requiring 1.3 to 1.5 times longer to cure.
Relying solely on calendar days to judge complete dryness is risky because room conditions and thickness vary. Here are four practical techniques I use to be 100% sure a piece is completely dry.
The simplest and most effective method is touching the piece to a sensitive area of skin, such as your cheek or the side of your nose.
If moisture remains inside, the evaporation process creates a cool sensation via evaporative cooling. If the piece feels completely neutral upon contact—showing no cool temperature other than your own body heat—it is solid proof that moisture has fully left the clay.
The most reliable method used by professional crafters is measuring weight with a digital kitchen scale that reads to 0.1g increments.
Weigh the piece immediately after shaping and note the number. Weigh it again at the exact same time every day. As water evaporates, the weight decreases. The moment the reading stops changing for two consecutive days is the scientifically proven point of complete dryness.
For larger works or commercial pieces where failure is not an option, always use this weight measurement method.
A completely dry clay piece makes a clear, high, metallic tapping sound ("clack-clack") when lightly tapped with a fingernail or the back of a toothpick. If moisture remains, it produces a dull, low sound ("thud-thud").
Additionally, if you press lightly on an edge with your finger and feel even the slightest elasticity or give, it is insufficiently dried. Make sure it feels completely solid without any flex.
Resin clay exhibits a distinct color shift. While wet, resin clay appears slightly whitish and opaque. Once fully dry, translucency increases, and mixed colors darken and deepen by 1 to 2 shades.
Check the bottom or thickest area of your piece. If all whitish opacity has vanished, leaving uniform color and clarity, drying is complete.
Everyone faces situations where an event deadline is approaching or you want to move to the next step quickly. However, rushing with the wrong drying technique can ruin a piece instantly. Here are professional techniques to safely accelerate drying without sacrificing quality.
Never place wet clay directly flat onto a table or smooth plastic tray. Moisture cannot escape from the contact area, leaving the bottom wet and leading to warping.
Instead, place your work on a diatomite coaster (absorbent stone plate) or a footed wire cooling rack. The diatomite absorbs moisture coming off the bottom surface rapidly, while a wire rack allows air to circulate from all directions. This alone can shorten drying time by roughly 30%.
Rather than blowing air directly onto the piece, use a fan or air circulator to move the air in the room. Set it on oscillation mode at ultra-low speed, aimed toward a wall, to keep air circulating gently around your workspace.
This pushes away stagnant, humid air and replaces it with fresh air, significantly speeding up drying while keeping cracking risk at zero.
If you craft with clay regularly, using a food dehydrator or a warm-air dish dryer as a dedicated drying booth is an amazing setup.
By applying steady, gentle warm air at around 30–40°C (86–104°F), you can cut the drying time for resin clay and stone powder clay to less than one-third of normal time. However, placing wet clay directly into heat will cause cracking or blistering, so always let the surface set at room temperature for about an hour after shaping before placing it inside.
In a rush to dry clay, makers often fall into critical traps that ruin all their hard work. Avoid these at all costs:
The most dangerous mistake is applying close-range hot air from a hair dryer directly onto clay. Rapid heat and airflow cause only the surface to shrink and harden in minutes. Meanwhile, the interior remains raw, trapped with water and air. The hard outer crust cannot withstand the expansion inside, resulting in massive surface cracks or a piece that will never dry internally.
Setting clay on a balcony or sunny windowsill thinking "the weather is nice" is another mistake. Strong UV rays degrade components in resin and craft clays, causing yellowing before curing. Furthermore, direct heat overwarms only one side, creating extreme temperature differences that cause pieces to warp severely. Drying must always be done in a well-ventilated, shaded spot.
Applying varnish early just because the surface feels hard is disastrous. The coating seal prevents remaining moisture from escaping. In warm weather, trapped water turns to vapor, pushing against the resin or varnish layer to form bubbles and blisters. In worst-case scenarios, foul odors from decay develop months later. Coating should always be the final step after confirming complete dryness.
To keep dust off, some crafters place fresh clay pieces inside airtight containers or Tupperware. This is humidifying, not drying! Moisture evaporating from the clay fills the container, reaching 100% humidity and stopping the drying process completely. To protect pieces from dust, drape breathable non-woven fabric (like a paper towel) loosely over them, or cover them with a cardboard box with the lid left slightly open.
Placing pieces directly under the discharge vent of an AC unit or heater causes the side facing the wind to dry rapidly and warp. The stress from uneven shrinkage across surfaces leads to severe cracks. Airflow should move the room's air generally, not blast the piece directly.
As clay dries, it is susceptible to warping from its own weight and shrinkage. Here are placement techniques to keep your shapes pristine:
If you place spherical fruit charms or rounded animal figures flat on a table, the bottom flattens under its own weight. To prevent this, press a soft melamine foam sponge to create a small indentation, and nestle the piece inside to dry. The sponge gently cradles the shape from all angles while its micro-porous structure maintains airflow to dry the bottom.
Clay sticks, thin cords, or pieces with eye pins inserted can bend downward due to gravity if dried flat. Use clips or clothespins to pinch the tip or hardware and hang them in the air to dry. Gravity pulls evenly downward, ensuring straight, beautiful pieces without bends.
When making flat plates, coasters, or thin sheet items, drying with one side facing up causes the top surface to shrink faster, curling the edges upward like a bowl. To prevent this, flip the piece over regularly. Once the top surface is dry enough not to indent upon light contact (about half a day to a day later), flip it over. Repeating this every day balances shrinkage on both sides for a perfectly flat result.
In clay crafting, drying time is not just passive waiting. It is one of the most critical steps in determining strength, texture, color vibrancy, and long-term durability for years to come.
Let's recap our core rules:
Be patient, let the clay release its moisture gradually, and enjoy watching it gain its firm beauty. By following these correct steps, the quality and durability of your clay creations will improve dramatically. Create your wonderful pieces with confidence!
If you found this helpful, sharing this article with fellow crafters via social media or messaging apps would mean the world to me!
See you in the next article! This was Yassy from Crafters!




For example, if you are looking for articles about mizuhiki, try searching for "mizuhiki"; if you are interested in tools, try keywords like "nippers" or "pliers."
