Power Drill and Drill Bit Basics for Crafters: Choosing, Using, and Mastering Step Drills
yassy
Crafters!
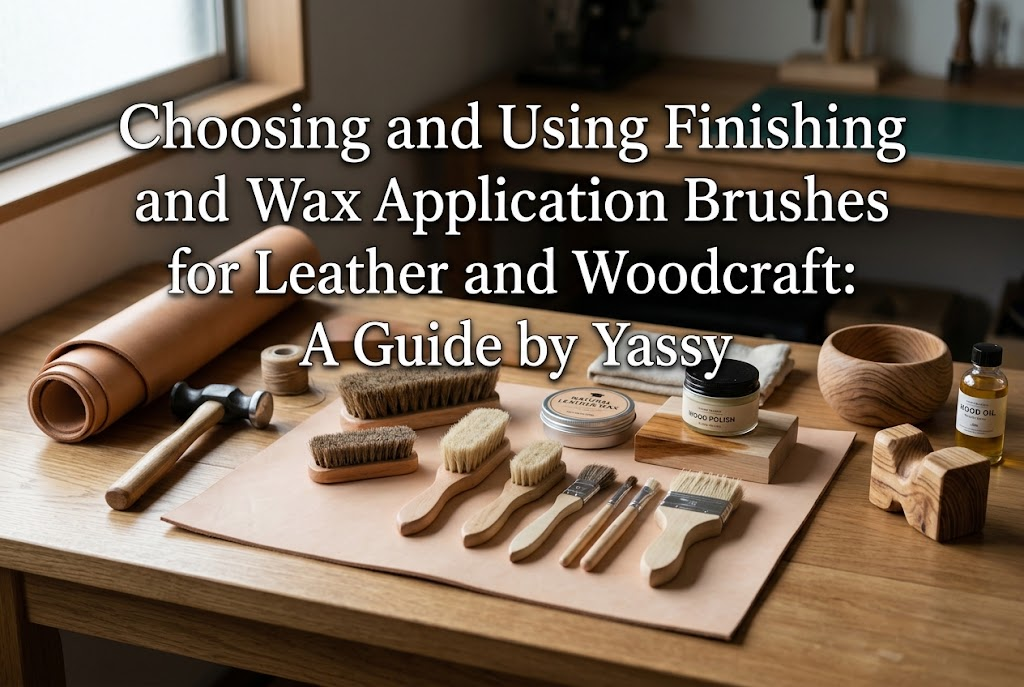

Hello, everyone! Yassy from Crafters here! (・∀・)
As someone who absolutely loves making, viewing, and buying all kinds of handmade items, today I want to talk passionately about a set of "magical tools" that will dramatically elevate the finished quality of your craft projects.
When you finish a handmade item—whether it is a leather accessory, a woodcraft piece, or even a clay creation—how do you handle the final step? Do you simply wipe a layer of paste wax over the surface with a piece of cloth and call it a day? If so, you are missing out on a huge opportunity!
To give your work an exquisite luster and maximize its durability, having dedicated finishing brushes and wax application brushes is essential. Simply introducing these two tools into your routine will transform the surface texture, shine, and feel of your pieces.
In this article, I will explain the specific purposes, usage methods, bristle characteristics, selection criteria, and crucial handling precautions for both types of brushes—condensing practical knowledge straight from the crafting workbench!
In the world of handcrafting, finishing brushes and wax application brushes are specialized tools designed to flawlessly execute the final stages of a project: protective coating and buffing.
They excel in any crafting scenario where oil or wax needs to be worked into a material by hand, such as antiquing leather goods, applying beeswax finish to small wooden items, or applying protective coatings to resin clay and Jesmonite pieces.
If you rely solely on hand application or use rag cloths (often called waste cloth or uesu in Japanese craft workshops), wax tends to collect and harden in textured surfaces, carved details, or along stitching seams. Over time, this trapped wax turns into an unsightly white residue, significantly spoiling the appearance of your work.
By using a brush, thousands of individual bristle tips reach deep into minute grooves and fine details. A brush evenly distributes the wax, sweeps out excess product, and uses friction heat created during buffing to bring out a glossy, smooth shine.
The boundary line that elevates a handmade item from a simple "amateur project" to a marketable, high-end masterpiece truly lies in this final polishing step using proper brushes.
Many beginners wonder, "Isn't one brush enough?" However, that is a common misconception. A brush designed for applying wax and a brush designed for polishing afterward serve completely different roles and possess distinct structures. Clearly distinguishing between the two is an absolute requirement for achieving a beautiful finish.
Wax application brushes (often referred to as penetrate brushes) are crafted specifically to scoop solid or paste wax out of jars or cans and spread it directly onto your workpiece.
They generally feature a small cylindrical wooden handle filled densely with stiff bristles. The compact handle is easy to pinch with your fingertips, allowing you to deliver wax accurately even to tiny, specific spots.
The primary role of an application brush is to spread the minimum necessary amount of wax evenly into every corner without dirtying your fingers or cloth. Because the bristles are short and firm, they easily hold heavy-textured wax and work it into the surface of the material.
A finishing brush is designed to work the applied wax smoothly into the item, brush away excess oils, and generate a brilliant shine through the friction heat created by rapid brush strokes.
These brushes usually feature a larger rectangular or trapezoid wooden handle that can be gripped firmly with the entire palm. With longer bristles and a wide bristle area, a single stroke can quickly and evenly polish a large surface area.
The role of a finishing brush is to remove surplus wax and use friction heat to unify the wax layer, bringing out rich color and deep gloss. Finishing with this brush results in a smooth protective film that is non-sticky and resistant even to fingerprint marks.
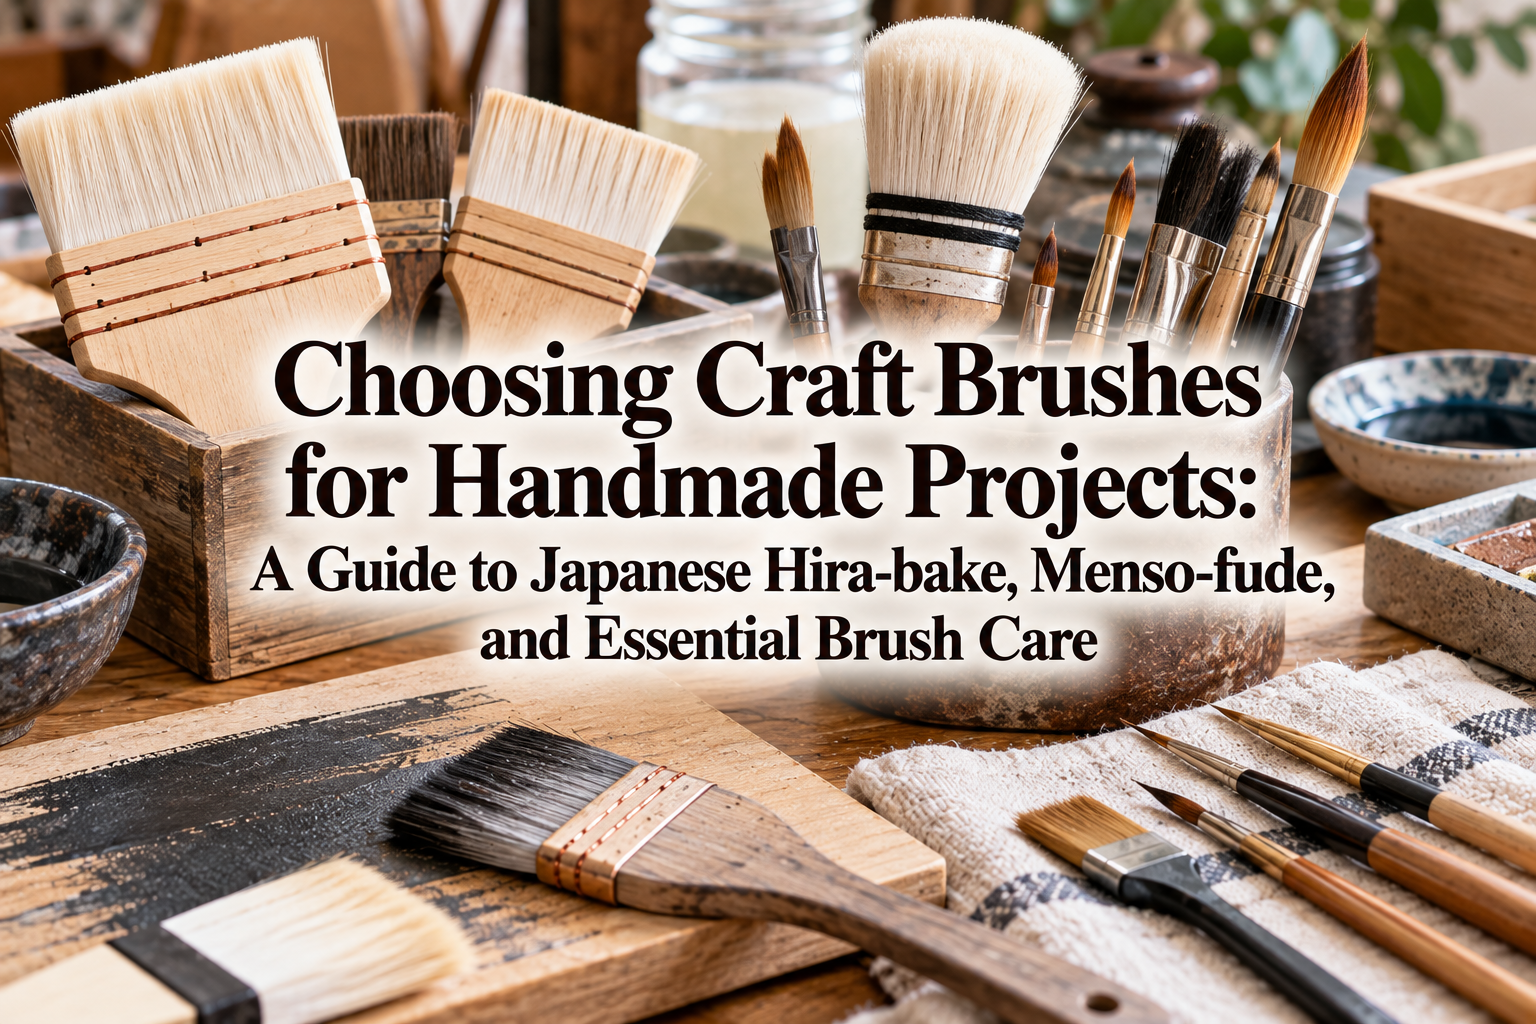
The most important factor when choosing a brush is the type of bristle. Different bristle materials vary greatly in stiffness, elasticity, and oil retention. Using the wrong bristle type can scratch your work or fail to produce any shine at all, so it pays to understand these distinct qualities.
Boar hair is defined by its strong resilience and stiffness. Each individual hair is thick and capable of handling firm pressure.
This stiffness makes boar hair ideal for spreading hard waxes or driving oils deep into leather and wood fibers. Most application brushes utilize boar hair for this exact reason.
Boar hair finishing brushes are also powerful when you want to buff vigorously during the finishing stage. Brossing the leather surface quickly and firmly creates strong friction heat, enabling rapid gloss development. Choosing boar hair is the right call for oil-finishing hard woods to bring out the grain or for working on tough leather items.
Horsehair is noticeably more flexible and elastic than boar hair, featuring finer tips. It is the most versatile, all-around bristle type in handcrafting.
Because the bristles are soft, there is no fear of scratching the surface of your work. Horsehair handles everything from dusting off to polishing delicate soft leathers, intricate wood carvings, and clay creations.
It provides an exceptional balance between working wax into the material and producing a fine gloss. If you are going to own just one versatile finishing brush, horsehair is the top choice. As the bristles retain a balanced amount of oil over time, the brush itself "matures" with use, allowing you to produce a natural, beautiful luster simply by brushing.
Goat hair is extremely soft and fluffy, reminiscent of fine calligraphy or makeup brushes. It features high bristle density and an ultra-delicate texture.
Goat hair brushes should never be used for wax application. Instead, they are reserved exclusively for the final pass—polishing the surface to a mirror-like shine.
They show their true value on delicate thin leathers, freshly painted or lacquered woodcrafts, or delicate pieces embellished with fine decorative parts where you want to avoid even the slightest abrasion. Items finished with goat hair exhibit a deep luster that feels as if wrapped in a fine veil, achieving a polish that cloth wiping can never match.
Brushes made from synthetic fibers are affordable, easily accessible, and feature uniform bristle firmness.
They are easy to wash with water and resist chemicals, making them well-suited for applying water-based waxes, water-based varnishes, or acrylic paints. While they lack the oil-holding and "tool-aging" qualities of natural hair, their ease of maintenance and durability are outstanding.
They serve as very practical tools for beginners practicing their technique, or when dedicated specifically to applying water-based finishes and general cleaning.
When it comes to finishing, craftspeople often ask if cloth rags or sponges can be used as substitutes. However, brushes possess structural advantages that other tools simply cannot replicate.
Cloths work well for spreading wax thinly on flat surfaces, but they struggle with three-dimensional contours. When applying wax with a cloth over leather stitching steps, wood edges, carved details, or stamped surfaces, cloth fibers can snag, or wax can accumulate as lump-like deposits inside recesses. Brushes act with tens of thousands of independent bristle tips functioning as micro-contact points, allowing wax to be distributed evenly regardless of complex shapes. Furthermore, the bristles automatically sweep away excess wax, preventing uneven streaks.
Sponges excel at holding and applying large amounts of liquid oils or thin fluid waxes, but they are unsuitable for applying pressure to work wax into fibers or generating friction heat. Attempting to create strong friction with a sponge can tear its surface, leaving debris behind, or cause absorbed oils to squeeze out excessively, making the workpiece greasy. An application brush uses firm bristles to place precise amounts of wax, while a finishing brush relies on bristle springiness to generate powerful friction heat—resulting in a vastly superior shine.
Sandpaper is a tool designed to scrape away surface material to flatten it; it is not meant for working wax into a material. Sandpaper passes the torch to the brush during the stages of removing wood dust after sanding, applying wax, and working in heat. Keeping the sanding process separate from the waxing and polishing process—and always following up with a brush after sanding—fully draws out the natural depth of the material.
To maximize your crafting efficiency and final quality, use these essential criteria when selecting your tools. Avoid picking brushes based on appearance alone!
If you are looking to step into crafting seriously while keeping initial expenses reasonable, here is a roadmap for acquiring the right tools.
Instead of buying an expensive full set right away, start with these two essential brushes:
Your first purchase should be one small boar hair application brush and one flat horsehair finishing brush.
For application, choose a round boar hair brush (around 2 cm in diameter) with a vertical handle. This allows precise control over wax application like an extension of your finger. For finishing, pick a rectangular horsehair brush around 13 to 15 cm long. With these two items, you can handle wax finishing for almost any project, from leather goods to woodworking and clay art.
When you begin selling your crafts or working with a wider color palette, add brushes in the following order:
Once your tools are ready, follow these steps to unlock the full performance of your brushes and achieve a professional gloss.
Before applying wax, completely sweep away wood dust, leather shavings, or surface dirt. Giving the piece a light brush with your horsehair finishing brush easily clears away microscopic particles. Waxing over dust seals those particles into the coating, leaving a rough, dirty texture.
Pick up a tiny amount of wax on the tips of your application brush bristles. Scrape any excess off against the rim of the container. Gently move the brush in small circular motions to spread a thin, even coat over the workpiece. For seams, corners, or carved depressions, lightly tap the brush vertically to push the wax into place. Avoid heavy coats at all costs—an ultra-thin layer is the secret to a gorgeous finish.
After applying the wax, let the workpiece sit for a few minutes so the nourishing ingredients penetrate the fibers. Next, grip your finishing brush (horsehair or boar hair) firmly and rapidly stroke back and forth across the surface. Use snap from your wrist, moving at a steady pace to create a rhythmic sweeping sound. The friction heat melted from this fast motion unifies the wax lipids into a smooth, durable protective film. As you brush, resistance will decrease, and a clear, deep shine will bloom.
Finally, wipe the surface gently with a clean, lint-free cotton cloth. This step absorbs any microscopic surface oil remaining after brushing, leaving behind a smooth, non-tacky touch and a light-reflecting sheen.
Using brushes incorrectly can damage your project instead of enhancing it. Keep these common beginner mistakes in mind:
One of the greatest joys of owning a quality finishing brush is watching the tool itself grow and mature over time.
When new, brush bristles are dry and offer standard polishing capability. However, as you use the brush repeatedly to distribute wax and buff your projects, rich oils from high-quality waxes gradually soak into each bristle.
A finishing brush used for months or years becomes what Japanese craftspeople affectionately call a "grown brush" (sodatta burashi).
A seasoned finishing brush can produce an instant, exquisite gloss on a surface with just a few light strokes—even without adding any fresh wax—thanks to the accumulated oils retained in its matured bristles.
Your personal crafting history becomes embedded in the brush's performance, turning it into a trusted partner that supports your creative work. This process represents the true delight of using authentic handcrafting tools, boosting your creative motivation every time you work!
Finishing brushes and wax application brushes are far more than mere cleaning tools. They are magical finishing instruments that breathe life into your craft projects, delivering enhanced durability and an irresistible shine.
Understanding each bristle type—stiff boar hair for application, versatile horsehair for blending and general polishing, and soft goat hair for ultimate shine—is your fastest path to crafting success.
Once you experience the satisfaction of working wax into hard-to-reach details and watching friction heat bring out a vibrant gloss, you will never want to go back to finishing without them.
Pick up the ideal brushes for your favorite materials today and enjoy the exquisite finish that only true handcrafting techniques can deliver!
If you found this article helpful, sharing it with your crafting friends on social media or messaging apps would mean the world to me and keep me inspired!
Until next time, happy crafting! This was Yassy from Crafters!




For example, if you are looking for articles about mizuhiki, try searching for "mizuhiki"; if you are interested in tools, try keywords like "nippers" or "pliers."
