Choosing Craft Brushes for Handmade Projects: A Guide to Japanese Hira-bake, Menso-fude, and Essential Brush Care
yassy
Crafters!

Hello, everyone! It’s Yassy from Crafters! (・∀・)
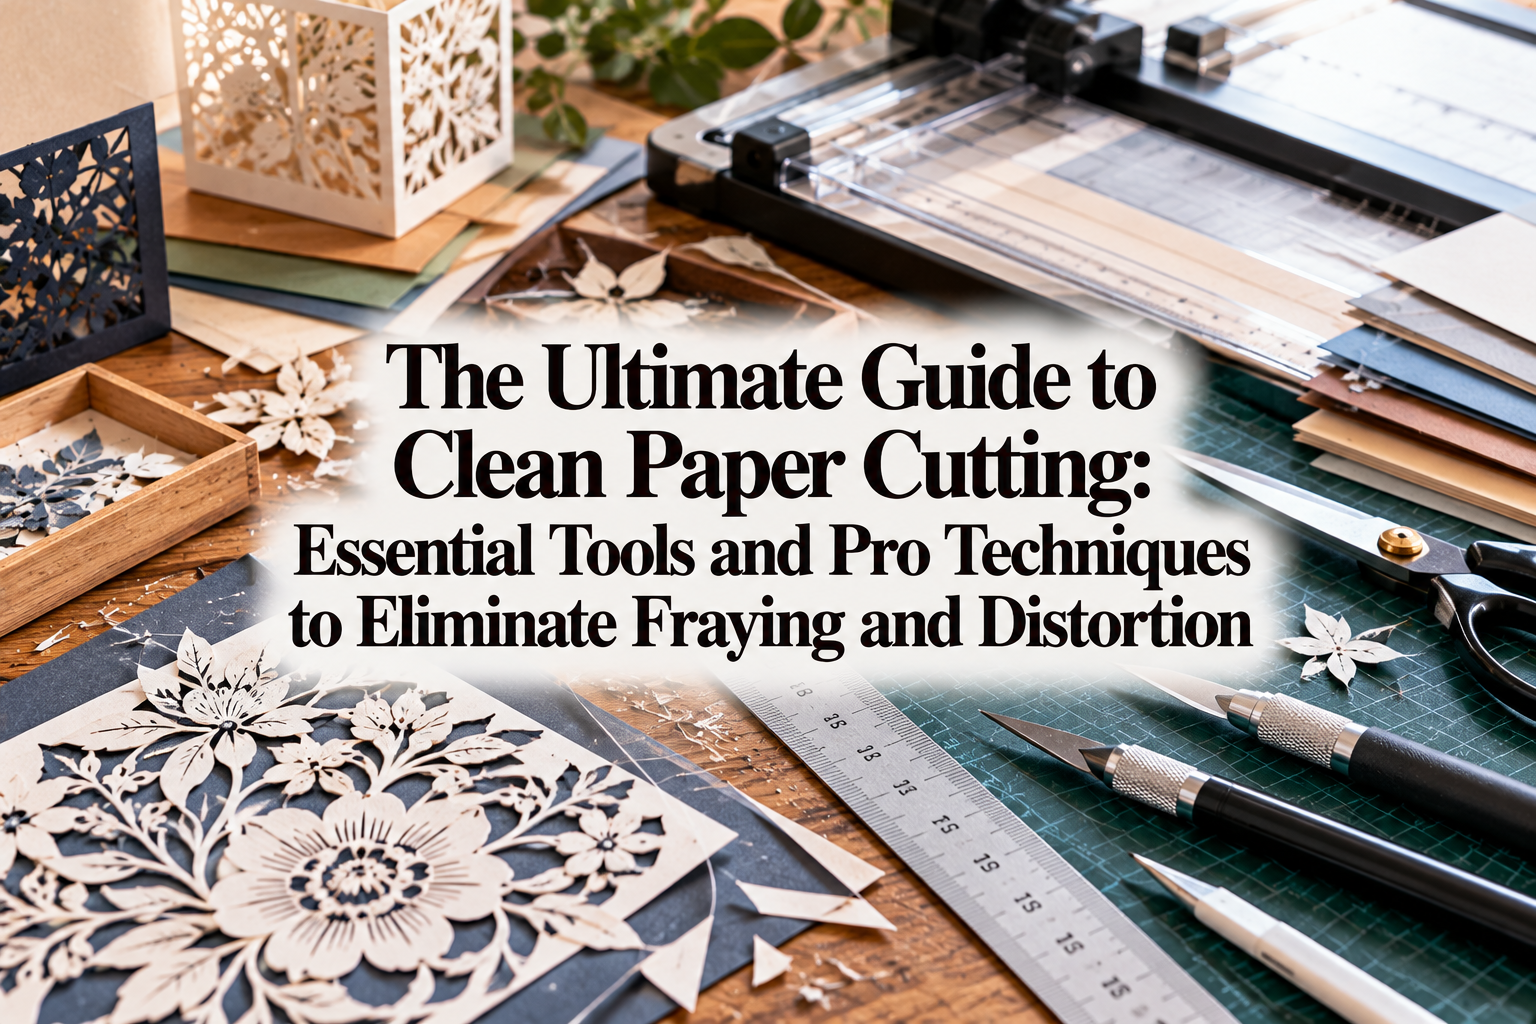
From crafting the handmade items themselves to creating display backings, shop cards, gift wrapping, and intricate paper crafts, cutting paper is a task that appears in almost every corner of our creative work.
In my own daily life, I work with all kinds of materials to make crafts, and I also love collecting wonderful handmade pieces by other makers. Whenever I look at a piece, the very first thing my eyes are drawn to is the clean finish of the cut edges. No matter how exquisite a handmade piece is, if the packaging backing is warped or the paper edge is frayed, it instantly gives off an amateur impression.
On the flip side, when the edge of the paper is crisp, sharp, and cut dead straight without a millimeter of error, the perceived value and quality of the entire work soar. Achieving a pristine cut on paper is not determined by natural talent; it is 100% determined by the tools you use.
In this guide, I will walk you through the essential tools you should have in your kit to achieve perfectly clean paper cuts, along with professional techniques to eliminate mistakes. Read through to the end, and you will never struggle with paper cutting again.
If you think of paper cutting as simply taking a pair of scissors or a craft knife and slicing through a sheet, it is time to rethink that approach. Paper is an assembly of delicate, compressed plant fibers. When you cut paper with dull or improper tools, those fibers are crushed or torn apart rather than severed cleanly, leading to rough, frayed edges.
When cutting long straight lines with everyday household scissors, every time you readjust the blades to continue the cut, a tiny notch or seam is created. This inevitably makes the line waver. That subtle, millimeter-scale distortion is precisely what makes the overall work look untidy.
Successful crafters selling online or at craft markets pay meticulous attention to their paper-cutting gear without exception. By choosing and mastering dedicated cutting tools, anyone can achieve crisp, factory-clean edges and straight lines with ease.
Every paper-cutting tool has specific strengths and weaknesses. Never attempt to handle every task with just a single tool. Matching the right tool to the specific task and material is the golden rule for achieving a flawless finish.
Standard craft knife blades typically feature a 45-degree angle. However, if you want exceptionally clean paper cuts, you should always choose a knife fitted with a sharp 30-degree angle blade—specifically a "black blade" (kuroba). Because the tip is narrower and sharper, your field of vision remains clear, allowing you to align the cutting edge precisely along your ruler’s markings.
Furthermore, Japanese black blades are made with high-grade steel and honed to an ultra-fine edge, gliding effortlessly through paper fibers without crushing them. When cutting straight lines, combining a 30-degree black blade cutter with a metal ruler is the ultimate setup.
For papercrafts, paper cutout art (kirie), and intricate curved lines, a pen-style design knife (precision art knife) is your best ally. Because it is shaped like a pen, it fits naturally in your hand just like a pencil, transferring subtle wrist movements directly to the tip of the blade.
When selecting a design knife, opt for one with a knurled metal grip rather than plastic. Plastic handles can be slippery, leading you to exert unnecessary finger pressure and causing your cutting lines to waver.
If you need to cut dozens of earring backings, business cards, or pages for zines and booklets to the exact same dimension, slicing them one by one with a knife and ruler is an inefficient use of time. Instead, bring in a disc-style rotary paper trimmer.
A rotary trimmer clamps the paper down securely while the circular blade slides across the cutting track, eliminating any chance of the paper slipping out of place. It allows you to trim multiple sheets to identical dimensions simultaneously, dramatically boosting production speed and consistency.
Featuring a circular rolling blade, the handheld rotary cutter excels at slicing delicate papers, Japanese washi, and lace paper—materials that easily catch, drag, or tear under a standard utility knife.
Because the blade rolls across the surface with downward pressure rather than dragging across it, it prevents the paper from stretching or pulling out of shape. Paired with a straight metal ruler, it lets you cut even the softest papers into perfectly straight lines without rippling.
You might think a utility knife is all you need for paper, but when clipping small corners or making quick, agile cuts, scissors remain indispensable. However, standard household kitchen or desk scissors should not be used for delicate craftwork.
Instead, choose precision craft scissors with ultra-thin, sharp blades. Selecting a pair with tightly aligned blades and a fluorine non-stick coating ensures clean cuts right at the very tips without crushing the paper's edge.
Often overlooked as an optional accessory, a corner cutter punch is a wonderful tool that completely transforms the look of your paper goods. Simply softening the corners by a few millimeters prevents bent edges on product backing cards and shop cards, giving them an instantly polished, manufactured feel.
Having a punch that accommodates multiple radii (such as 3 mm, 5 mm, and 8 mm) allows you to choose the exact look that complements your product's aesthetic.
Just as important as your cutting tools are the accessories that support your workspace. If you compromise on your base or your ruler, even the highest-grade craft knife will not deliver a clean cut.
Stop cutting directly on your desk or on thin, rigid budget plastic boards. You must always use a proper self-healing cutting mat.
Look for a three-ply cutting mat constructed with softer outer layers sandwiching a hard core. The soft outer layer allows the blade tip to sink in slightly, absorbing cutting impact, preventing blade bouncing, and dramatically extending blade life. Choose at least an A3 size (roughly 12 x 18 inches). A larger work surface significantly reduces the risk of larger paper sheets bending or creasing while you work.
Never use an acrylic or plastic ruler when cutting paper with a blade. The knife edge can easily ride up over the edge of the plastic, not only damaging your ruler but also risking serious cuts to your fingers.
Always use a stainless steel ruler or an aluminum ruler fitted with a metal cutting edge. In addition, choose one with a non-slip rubber backing. The moment your ruler slips even a single millimeter, the cut is ruined.
When cutting large sheets, relying solely on hand pressure to hold the paper down can cause the sheet to buckle or distort as the blade moves. Place a heavy metal paperweight on the unused section of the paper to hold it firmly in place.
Taping down the edges where your ruler rests with low-tack masking tape is another effective method. Creating an environment where the paper cannot move even a fraction of a millimeter is the first step toward a perfect cut.
Here are five common pitfalls beginners encounter when cutting paper, along with practical techniques to avoid them entirely.
Cause: Tilting the craft knife outward or inward while drawing it backward, causing the blade to pull away from the ruler's edge.
Solution: Keep the knife blade strictly perpendicular (90 degrees) to the side of the ruler at all times. Instead of forcing the blade against the ruler, imagine letting the flat side of the blade glide smoothly along the metal edge. Keep your gaze focused slightly ahead of the blade along your cutting path, rather than right at the tip, to maintain a steady line.
Cause: A dull blade edge, or attempting to force through the paper in a single heavy stroke.
Solution: Knife blades are disposable consumables. Snap off the dull segment after every two to three cuts so you are always working with a brand-new edge. There is zero benefit in trying to save money by using a worn blade when working on paper. Additionally, never force the cut in one go; glide the blade across the paper two to three times with light, consistent pressure.
Cause: When cutting out rectangular shapes, failing to stop the blade right at the intersection of the corner lines, causing overcuts or undercuts.
Solution: Instead of cutting toward the corner, pierce the blade tip directly into the corner intersection first, then pull the blade outward away from the corner. By piercing all four corners first and pulling toward the open ends, you completely eliminate overcutting, and your cutouts will drop free cleanly.
Cause: Tilting the knife while applying excessive force when cutting thick boards (such as 2 mm greyboard used in cartonnage).
Solution: On the first pass, make only a light score on the surface layer of the board to establish a groove guide. On the second and third passes, let the blade ride within that groove; this naturally guides the blade perpendicular to the table, creating a cut edge as flat and vertical as a block of tofu. Expect to take five to six passes to complete the cut patiently.
Cause: Stacking multiple sheets and cutting with a knife causes the top sheets to compress and stretch, pushing the bottom sheets forward in the direction of the cut.
Solution: Limit multi-sheet cutting with a utility knife to two sheets at most. If you need to cut three or more sheets to identical dimensions, use a rotary paper trimmer, or take the time to measure and cut each sheet individually.
Different crafting genres demand different combinations of tools. Here are my top recommended setups based on specific project needs.
For packaging cards, speed and uniform size are critical. Slice sheets efficiently on the rotary trimmer, round the edges with the punch, and you can produce hundreds of shop-ready cards in a short time.
For delicate paper art, combining a design knife that acts as an extension of your fingers with agile, fine-point scissors is ideal. Using a spacious mat ensures your hands have plenty of room to maneuver smoothly.
Cutting large sheets with an ordinary small knife often leads to accidental tears or drifting angles. Secure a long ruler with masking tape and glide through with a rotary cutter for an effortless, straight cut in one smooth motion.
Beyond tool selection, there is one crucial principle every craft maker should know: paper grain (the direction of the paper fibers). During manufacturing, fibers align in a specific direction, creating long grain (T-grain) and short grain (Y-grain).
When cutting parallel to the grain, your blade glides through with astonishing ease. Conversely, cutting perpendicular (across) the grain requires severing the fibers crosswise, which creates noticeable resistance and increases the risk of fraying.
Gently curve a sheet of paper with both hands in both directions. The direction that bends smoothly without stiff resistance is parallel to the grain. When you must cut across the grain, use a fresh blade tip and take multiple light passes. Keeping paper grain in mind will instantly bring your paper cutting up to a professional standard.
Cutting paper is a fundamental step that elevates the entire finish of your handmade items and builds genuine trust in your brand.
If you have struggled with crooked lines or rough edges, evaluate your tools before doubting your skill. Setting yourself up with a 30-degree black blade knife, a non-slip metal ruler, and a three-ply cutting mat will solve problems you thought were insurmountable.
Let the right tools do the hard work, achieve millimeter-perfect cuts, and take your handmade creations to the next level!
If you found this guide helpful, please feel free to share it with your fellow makers. See you in the next article! This was Yassy from Crafters!



For example, if you are looking for articles about mizuhiki, try searching for "mizuhiki"; if you are interested in tools, try keywords like "nippers" or "pliers."
