A Japanese Crafter’s Guide to Jesmonite Sanding Tools: How to Choose Waterproof Sandpaper, Power Tools, and Grits for a Pro Finish
yassy
Crafters!

Hello crafters, it's Yassy! (・∀・)
I absolutely love making, browsing, and buying all kinds of handmade crafts. Because of that passion, I have developed quite an obsession with the unsung heroes behind finished projects: the workshop tools that determine the quality of your work.
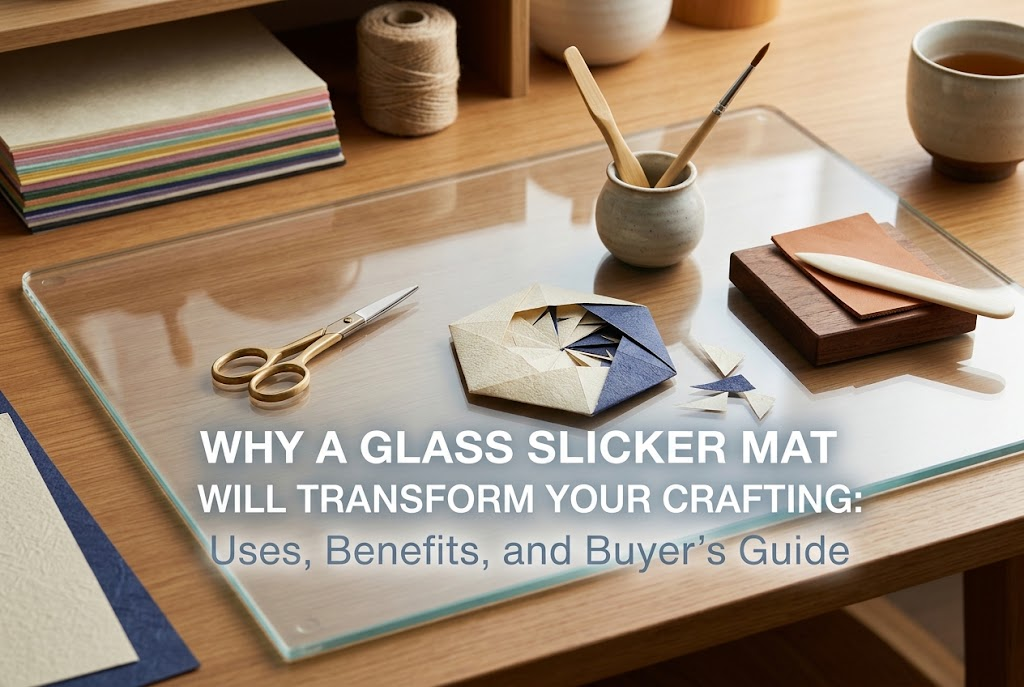
Today, I want to shine the spotlight on something that might look like an ordinary sheet of clear glass: the craft glass plate (often known in leathercraft as a glass burnishing board or slicker). If you have ever spotted one in a craft shop or the leatherworking section, you might have wondered: "Do I really need that? Wouldn't an acrylic sheet or a standard cutting mat work just as well?"
Let me say this with absolute confidence: for certain handmade crafts, a heavy glass plate is the ultimate work surface. It elevates the quality of your finished pieces to a professional level and completely eliminates crafting frustration.
Drawing from my own workshop experience, I will walk you through four specific uses for a glass plate, the crucial advantages it has over other tools, how to choose the right one without making beginner mistakes, and essential safety tips for using it long-term.
A glass plate is far more than a basic desk protector. Thanks to its physical material properties, it serves essential roles across several creative processes.
Leathercraft is where glass plates are used most frequently, particularly here in Japan. After applying a finishing gum or agent (such as Tokonole) to the rough back side of leather (the toko) or along the cut edges (the koba), you press the smooth surface or polished edge of the glass plate down and burnish the fibers with friction.
While wooden slickers or plastic bone folders can burnish leather, a thick glass plate brings substantial weight and flawless flatness to the table. It distributes pressure evenly across the leather fibers without marring the surface, quickly creating a smooth, glossy finish free of stray fuzz.
It also makes an outstanding underlay when skiving (thinning) leather with a knife, as the blade glides smoothly across the rigid, non-flexing glass.
When working with clay—especially sticky Japanese resin clay (jushi nendo) or polymer clay rolled into flat sheets—a glass board serves as the ideal work platform.
Wooden or plastic surfaces often absorb moisture and oils from the clay, or leave subtle surface textures pressed into your piece. Pressing clay on a glass plate prevents air bubbles and yields perfectly flat, mirror-smooth sheets.
Furthermore, when using oven-bake polymer clay, you can sculpt directly on the glass plate and place the entire plate straight into the oven for baking. This completely eliminates the risk of distorting your delicate shapes when lifting them off the surface.
A glass plate makes an exceptional palette for mixing acrylics, oil paints, and resin pigments.
Paper and plastic palettes can bow when blending colors, and their surfaces can be degraded by strong solvents. Glass, by contrast, undergoes zero chemical alteration, allowing you to gauge true, accurate colors as you mix.
Even if paint, glue, or UV resin cures hard onto the surface, you can slide a metal scraper or utility blade flat across the glass to scrape it away in seconds without leaving a single scratch.
During wax seal making, a glass plate is remarkably effective.
Pouring melted wax onto a glass plate and pressing down your stamp produces a clean seal with a smooth, pristine back. Because glass conducts heat efficiently, it draws heat away from the hot wax, speeding up cooling time.
Once solidified, the seal peels off effortlessly without tugging. It is an indispensable tool for drastically reducing ruined wax seals.
Why do so many artisans prefer a heavy glass plate despite the risk of breakage? Because glass offers three physical properties that no other material can truly duplicate.
The single greatest strength of glass is its uncompromising hardness and absolute plane accuracy, both achieved through modern float-glass manufacturing. It never bends under load.
Plastic and wood often possess microscopic warps or flex when you press down with force. A glass plate maintains a perfectly flat line without a fraction of a millimeter of flex, no matter how hard you push.
This zero-deflection property is vital when rolling clay to uniform thickness or compressing and burnishing leather grain evenly.
Glass boasts outstanding chemical stability. Contact with rubbing alcohol, acetone, resin cleaners, or paint thinners will not melt, cloud, or discolor its surface.
It also possesses high thermal endurance. Blowing heat from an embossing heat tool or pouring hot sealing wax onto it will not cause warping.
This lets you experiment freely with paints, adhesives, and finishes in a completely stress-free environment.
Because glass is entirely non-porous, stains from paints, adhesives, and resins never penetrate beneath the surface.
Water rinses away basic grime, and a quick wipe with alcohol eliminates stubborn grease or chemical residues, restoring pristine clarity in moments.
Thanks to the hard surface, stubborn, dried-on gunk can be scraped off firmly with a razor or metal spatula without scratching. With proper care, it retains like-new utility for years on end.
To help those wondering, "Can't I just use an acrylic sheet or my trusty cutting mat?", here is how glass compares to common alternatives and why settling for a substitute falls short.
While clear acrylic looks nearly identical, its performance is completely different.
Acrylic is plastic; when pressed firmly, it flexes. When burnishing leather, this flex absorbs your downward force, meaning you can rub repeatedly without achieving a deep, glossy burnish.
Furthermore, acrylic scratches easily, becoming cloudy with continued use. If solvents like acetone (used to clean resin) or strong alcohol touch it, acrylic turns white and melts. A glass plate never bows, resists scratches, and shrugs off chemicals. Acrylic works for a quick stopgap, but for professional results, glass is unmatched.
Self-healing cutting mats are built from soft, resilient materials designed to cushion knife blades. While ideal for cutting fabric or paper, that very softness makes them unsuitable for flattening materials or applying concentrated friction.
Rolling clay on a soft mat leads to inconsistent thickness, and soft clay can stick tenaciously into tiny cut grooves. Use your cutting mat for slicing, and reserve your glass plate for shaping, burnishing, and mixing.
Silicone mats are heat-resistant and non-stick, but because they are flexible, they cannot form a flat, rigid plane on their own. (The ideal solution is placing a silicone sheet over your glass plate when needed.)
Ceramic tiles are hard and flat, but their underside is rough, which can gouge your desk. Moreover, because tiles are opaque, you cannot slide templates or graph paper underneath to trace. A glass plate provides crystal transparency with smooth surfaces on both sides.
Not all glass is equal. The material grade and how the perimeter is finished will greatly impact your workflow.
Most craft glass plates are made from float glass (standard clear flat glass). It delivers exceptional surface smoothness and precise thickness, making it ideal for worktables.
Tempered glass is impact-resistant, but if an edge chips or fails under stress, the entire sheet shatters into tiny granules. For handcrafting tasks involving blade work and friction, standard high-grade float glass is the preferred, predictable choice.
The thickness of your glass plate dictates stability and strength:
Whenever you purchase a glass plate, always verify the edge treatment:
To avoid buyer's remorse, keep these essential criteria in mind when choosing your first glass plate.
The most common beginner mistake is buying a cheap, thin sheet. A 3mm glass plate can snap unexpectedly if you lean your body weight onto it while burnishing leather or pressing stiff clay, posing a genuine risk of injury.
For both safety and utility, choose at least 5mm. At 5mm or thicker, hand pressure alone will not break it. The natural weight of the glass also helps anchor the plate firmly on your desk.
Plates sold specifically for handicrafts and Japanese leathercraft come with edges and corners ground smooth and rounded. Take caution if you plan to repurpose scrap architectural glass from a home improvement store.
Square, sharp corners can hurt your hands while working and easily snag and tear your craft materials. Look for descriptions like "beveled edges," "polished edges," or "leathercraft glass plate."
An oversized glass plate is heavy, cumbersome to store, and difficult to wash in a standard sink. On the other hand, a tiny plate restricts your working area.
An A4 size (or roughly Japanese B5 size) offers the best balance. It gives you plenty of room to burnish large leather panels or roll wide sheets of clay, while fitting neatly into desk drawers.
Yassy's Top Recommendation:If a friend just starting out in crafting asked me what to get, I would tell them: "Pick up a dedicated leathercraft glass plate that is 5mm to 8mm thick, around A4 size, with rounded corners and fully polished edges." Even if you do not do leatherwork, a leathercraft glass plate is already treated with the highest safety standards and ideal weight, making it the safest, highest-quality board for clay, resin, and paint work too.
While a quality glass plate can last a lifetime, glass requires sensible handling. Follow these simple guidelines to keep your setup safe and long-lasting.
Because the bottom of a glass plate is completely smooth, placing it directly on a slick wooden desk can cause it to slide around when pressure is applied.
A shifting plate can ruin your work or, worse, slide off the table and shatter. Always place a thin silicone mat or non-slip mesh drawer liner underneath the glass. This anchors the plate firmly, giving you a stable, immovable workstation.
Some people assume that because glass is extremely hard, it can double as a cutting board. This is a big mistake!
Running a craft knife or utility blade directly over glass immediately dulls the edge, ruining the blade. The blade can also slip dangerously on the slick surface, causing injury. When cutting, always switch over to a proper cutting mat.
Cleaning your glass plate after a project takes very little effort:
Avoid leaning your glass plate upright against a wall, as a slight bump can send it falling. Store it lying flat, or slip it into a padded tablet sleeve or cloth pouch inside a drawer. Keeping it separated from loose metal tools protects the edges from small accidental chips.
A craft glass plate may not look flashy, but from the moment you set one on your workbench, it acts as a quiet powerhouse, lifting both your crafting comfort and your project quality to new heights.
That unbending, dead-flat surface is precisely what allows clay to roll out with microscopic consistency and leather edges to take on a glass-smooth, radiant gleam. Paints wipe away without a trace, giving you a fresh, clean start every single session.
Instead of settling for flimsy acrylic or flexible mats, invest in a well-polished glass plate of 5mm thickness or more. Upgrading your workspace foundation is one of the best investments you can make in your handmade journey!
If you found this guide helpful, please share it with your fellow makers on social media! See you in the next craft article—this was Yassy from Crafters! (・∀・)




For example, if you are looking for articles about mizuhiki, try searching for "mizuhiki"; if you are interested in tools, try keywords like "nippers" or "pliers."
