Essential Handmade Craft Glue & Adhesive Tools: A Guide to Applying, Placing, Pressing, and Clamping
yassy
Crafters!

Hello, crafters! It’s Yassy from Crafters! (・∀・)
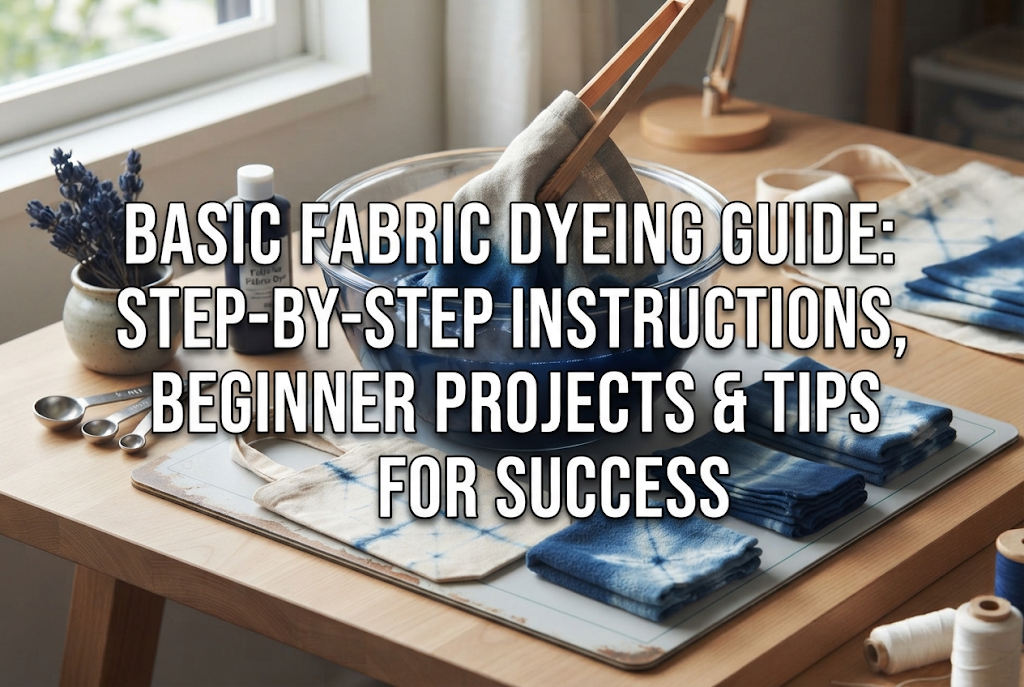
Welcome to the wonderful world of fabric dyeing! That unforgettable thrill of watching plain cloth burst into vibrant color with your very first starter kit is truly special. I still clearly remember the excitement I felt when I first dyed small Japanese tenugui towels and handkerchiefs with a compact beginner kit. The joy of dyeing, the beauty of the results, and the thrill of shopping for supplies—fabric dyeing packs all the very best parts of handmade crafting into one rewarding medium!
However, after finishing a few projects, you might be hitting a frustrating wall: "Why does the color turn out patchy?" "Why can't I reproduce the exact same shade twice?" "Why aren't the dyes turning out as vibrant as I planned?" Let me reassure you: this is not because you lack skill. The main reason is simply that you have reached the practical limits of the basic equipment included in your starter kit!
Starter kits are designed with one main goal in mind: offering an easy, low-barrier first experience. Once you want to step up to serious creations—making pieces you can proudly gift or sell—upgrading your gear becomes essential. Changing your tools will dramatically improve dye vibrancy and give you a clean, streak-free finish!
In this guide, I will walk you through the "golden sequence" for upgrading your tools once you have gotten the hang of fabric dyeing. You don't need to purchase everything at once. By upgrading in an order directly tied to final quality, your craft will improve dramatically and efficiently. Let's take that next step together!
Before diving into the upgrade order, let’s look at why tools matter so much. Fabric dyeing is fundamentally a delicate, scientific process. For dye molecules to properly bond with fabric fibers, several precise conditions must align: dye concentration, liquid temperature, fabric movement, and the exact ratio of dyeing assistants like salt or alkali.
Starter kits typically provide tiny buckets and generic measuring spoons that simply cannot control these variables. For example, if your vessel is too small, the fabric folds tightly onto itself, preventing dye from reaching every fold—the number one cause of uneven color patches. Moreover, if your dye powder measurement is off by just a few fractions of a gram, the resulting shade will shift completely.
The greatest advantage of upgrading to dedicated equipment is switching from guesswork to precise numbers and an ideal environment. When conditions are strictly controlled, the physical causes of failure disappear. Vivid color payoff, zero blotchiness, and reliable color reproduction are all unlocked by the quality of your tools!
When graduating from your kit, there are two tools you must acquire first. If you cut corners here and buy high-end dyes instead, your work will still suffer. Let's cover the high-impact essentials first!
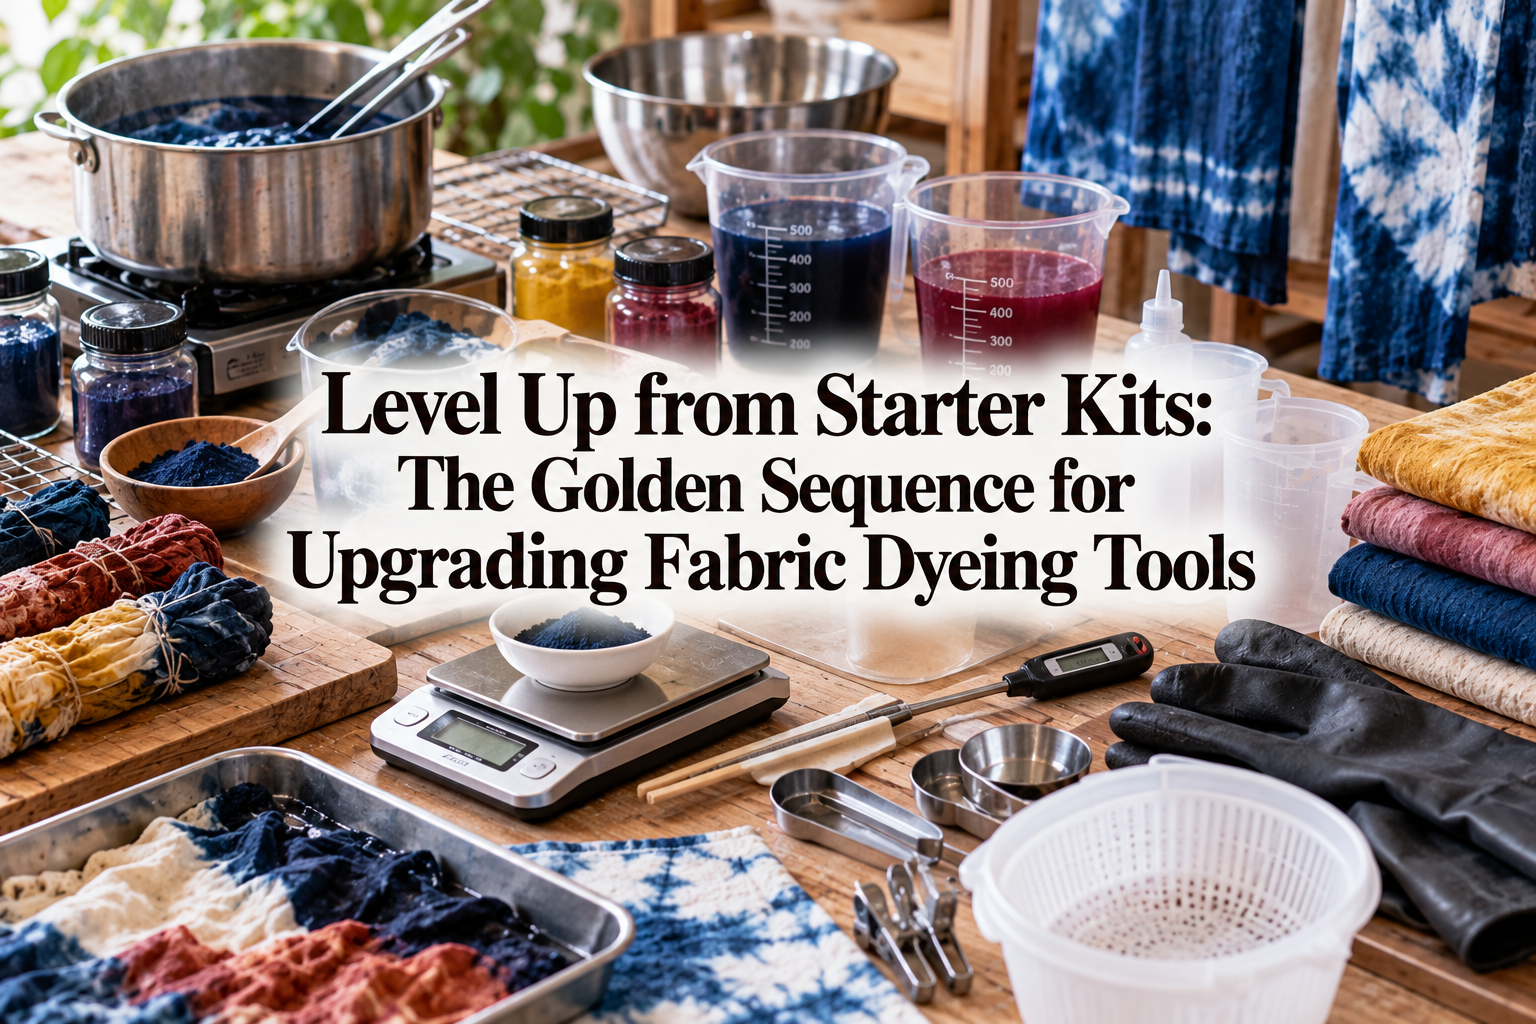
The very first item to pick up after your starter kit is a precision digital scale capable of reading in 0.1-gram increments. Starter kits often rely on plastic spoons or basic measuring cups, but for powdered dyes and liquid assistants, rough volumetric estimates are fatal.
Color consistency in dyeing is strictly determined by the ratio between dye weight and the Weight of Fabric (WOF). For instance, dyeing a 100g cotton T-shirt into a pale, subtle pink might require as little as 0.2g to 0.5g of powder. A standard kitchen scale reading in 1g increments cannot distinguish between 0.2g and 0.8g, which often leads to projects turning out twice as dark as intended.
Measuring down to 0.1g lets you recreate your desired palette accurately every single time. When crafting your own custom color formulas, you can log exact measurements to maintain consistent quality. Precision measurement is your foundation for professional-level results!
The next essential upgrade is your dyeing vessel. Most starter kits come with small collapsible buckets or plastic tubs. However, for a clean, even dye without splotches, you need a vessel roomy enough for fabric to unfold and "swim freely" in the bath.
A core golden rule of textile dyeing is using a liquor ratio of at least 20 to 30 times the weight of the dry fabric in liquid. If you dye a 200g garment or a large scarf, you need at least 4 to 6 liters of water. In cramped buckets, the cloth gets crowded, folds cannot absorb dye evenly, and unsightly streaks appear.
Always choose stainless steel. Plastic vessels scratch easily, trapping residual dyes that bleed into subsequent projects. Aluminum is strictly off-limits because it reacts chemically with dyes and acidic or alkaline assistants, leading to discoloration and vessel corrosion. Stainless steel is heat-safe, non-reactive, and washes clean effortlessly with mild soap. A deep stainless steel pot or bowl holding 8 to 10 liters or more will eliminate uneven dyeing once and for all!
Once you have secured accurate measurements and ample liquid volume, your next step is mastering consistency and color richness. Upgrades at this stage push dye activation to its peak and take the stress out of your workspace.
Most common textile dyes (direct dyes, reactive dyes, acid dyes, and more) require specific temperature ranges to react fully and yield deep, long-lasting color. For dyes requiring hot baths at 70°C to 80°C, pouring hot water into a basin may start off right, but as the water cools down to 50°C during the process, the dye molecules fail to penetrate deep into the fibers. This causes dull colors and severe fading in the wash.
To fix this, introduce a portable induction (IH) cooktop combined with a long culinary thermometer. This setup allows you to maintain stable temperatures safely at your dedicated craft table without occupying the kitchen stove for hours. Using the cooktop's temperature hold and power settings, holding 75°C steadily for 30 minutes becomes effortless.
A long thermometer featuring an edge clip is easiest to manage. Keeping your bath temperature visible and constant ensures deeper dye fixation and washfastness that far surpasses anything possible with starter kits!
What do you use to agitate fabric during dyeing? Are you using kit tongs, disposable chopsticks, or plastic spatulas? These tools are hidden culprits behind fabric damage and mottled shades.
Pulling hot wet cloth with pointed tongs or thin sticks exerts concentrated pressure, stretching the weave or damaging delicate fibers. Furthermore, merely lifting the fabric doesn't circulate the dye bath effectively. Dyeing requires liquid convection that washes through the cloth evenly, rather than poking and dragging the material.
Upgrade to a large, paddle-style stainless steel stirring spoon with a broad, flat profile. A wide stainless steel skimmer net (like those used for noodles) also works wonderfully. Lifting the fabric gently from underneath and guiding it through the bath allows the dye liquid to saturate every fiber uniformly without fabric strain. Smooth, continuous convection is the true secret behind a professional, even finish!
With basic dyeing techniques locked down, your final step is perfecting workflow safety and post-dye finishing. Adding these elements brings your home studio up to an artisan workshop standard!
Never underestimate the rinse and spin-dry stages. Wringing wet fabrics strictly by hand creates uneven pressure zones based on grip strength. Areas retaining excess liquid hold residual dye, causing darker patches as the moisture pools and dries.
Using your household laundry machine for spin cycles carries risks of dye transfers to everyday clothes. That is where a small, dedicated centrifugal spin dryer or a manual roller wringer shines.
A compact portable spin dryer uses centrifugal force to expel moisture uniformly across the entire garment. Because water exits evenly, drying streaks are eliminated completely. It also cuts rinsing time considerably, giving you a huge boost in efficiency. For blending high quality with streamlined workflow, nothing beats dedicated extraction!
To produce exceptional crafts consistently, you need a comfortable, safe work environment. Loose, flimsy polyethylene gloves included in starter kits slip off, tear easily, stain your skin, and make delicate manipulation frustrating.
Switch to snug-fitting, powder-free nitrile gloves. They offer near bare-skin tactile feedback so you can feel fabric texture directly, while providing reliable grip and heat resistance when handling hot pots.
Additionally, wearing a particulate dust mask when handling dry dye powders is critical. Fine airborne dye particulates easily disperse and can enter the respiratory system. A proper dust mask shields your lungs and lets you work with complete peace of mind. True craftspeople never cut corners on studio safety!
Here is a quick summary of the upgrade progression. Following this path based on your budget and production pace ensures the fastest, most cost-effective path to professional results:
Following this sequence prevents unnecessary repurchasing. As you upgrade step by step, you will immediately see your work transform!
When buying gear, it's easy to make mistakes that cost time and money. Here are three common pitfalls I see crafters encounter, along with how to avoid them.
Some makers assume any large container will do and grab cheap plastic buckets from discount or home improvement stores. Please avoid this!
Plastics soften and deform under boiling water, posing tipping and spill risks. Furthermore, porous plastic surfaces absorb dye pigments. If you dye red in a bucket, that red residue can leach into a yellow bath later, muddying the new color. For heat tolerance, durability, and hygiene, stainless steel is the only reliable option. While it costs more initially, a good stainless pot lasts a lifetime, making it the most economical choice over time.
Another common misstep is assuming flat results stem from cheap dyes, prompting makers to buy expensive specialty dyes while still using tiny starter kit containers.
No matter how premium the dye is, using a cramped bucket guarantees streaks. Inaccurate measuring wastes the performance of fine pigments. Process conditions and proper tools matter far more than raw material luxury. Hold off on high-end dyes until you have established the gear in Steps 1 and 2!
Beginners often purchase smaller 5-liter pots thinking, "I only dye handkerchiefs right now." But as your confidence grows, you will naturally want to tackle T-shirts, large scarves, and one-piece dresses.
A 5-liter pot quickly becomes inadequate, forcing you to purchase another larger pot later. Bigger is always better here. Choosing a deep 8- to 10-liter vessel from the outset protects your budget from repeat purchases down the road!
Once you invest in dependable gear, regular maintenance keeps it performing like new. Here are my personal routines for keeping dyeing tools pristine:
First, wash your stainless steel pots and bowls with warm water and mild dish detergent while they are still warm from the dye bath. Once residual dye dries on metal, it becomes much harder to remove. If alkaline buildup or dye film ever sticks, fill the pot with a citric acid solution (1 to 2 teaspoons of citric acid per liter of water) and heat gently. The film dissolves cleanly, restoring a bright, factory-fresh shine.
For your precision digital scale, moisture and fine dye powder are the biggest threats. Wrap your entire scale neatly in clear plastic wrap before use—a classic studio trick! If powders spill or drops splash, simply replace the plastic wrap to keep the scale pristine and functional.
Caring for your tools fosters pride in your craft, naturally translating into meticulous, beautiful finished work!
Fabric dyeing may seem complex, but once you set up the right tools, it is one of the most rewarding and predictable crafts you can enjoy. Having worked through your starter kit, you already understand the foundational process and the joy of creating color. Now, let better tools unlock that professional, gallery-worthy polish!
Remember the golden progression:
Add these reliable companions to your studio one by one. With every upgrade, unfolding your freshly dyed fabric will bring a whole new level of awe. I'm cheering you on as you create vibrant, flawlessly dyed pieces!
If you found this guide helpful, please share it with your fellow makers on social media! See you in the next article—Yassy from Crafters, signing off! (・∀・)



For example, if you are looking for articles about mizuhiki, try searching for "mizuhiki"; if you are interested in tools, try keywords like "nippers" or "pliers."
