Set Time vs. Full Cure: The Ultimate Guide to Unbeatable Glue Strength in Handmade Crafts
yassy
Crafters!

Hello, craft lovers! This is Yassy from Crafters! (・∀・)
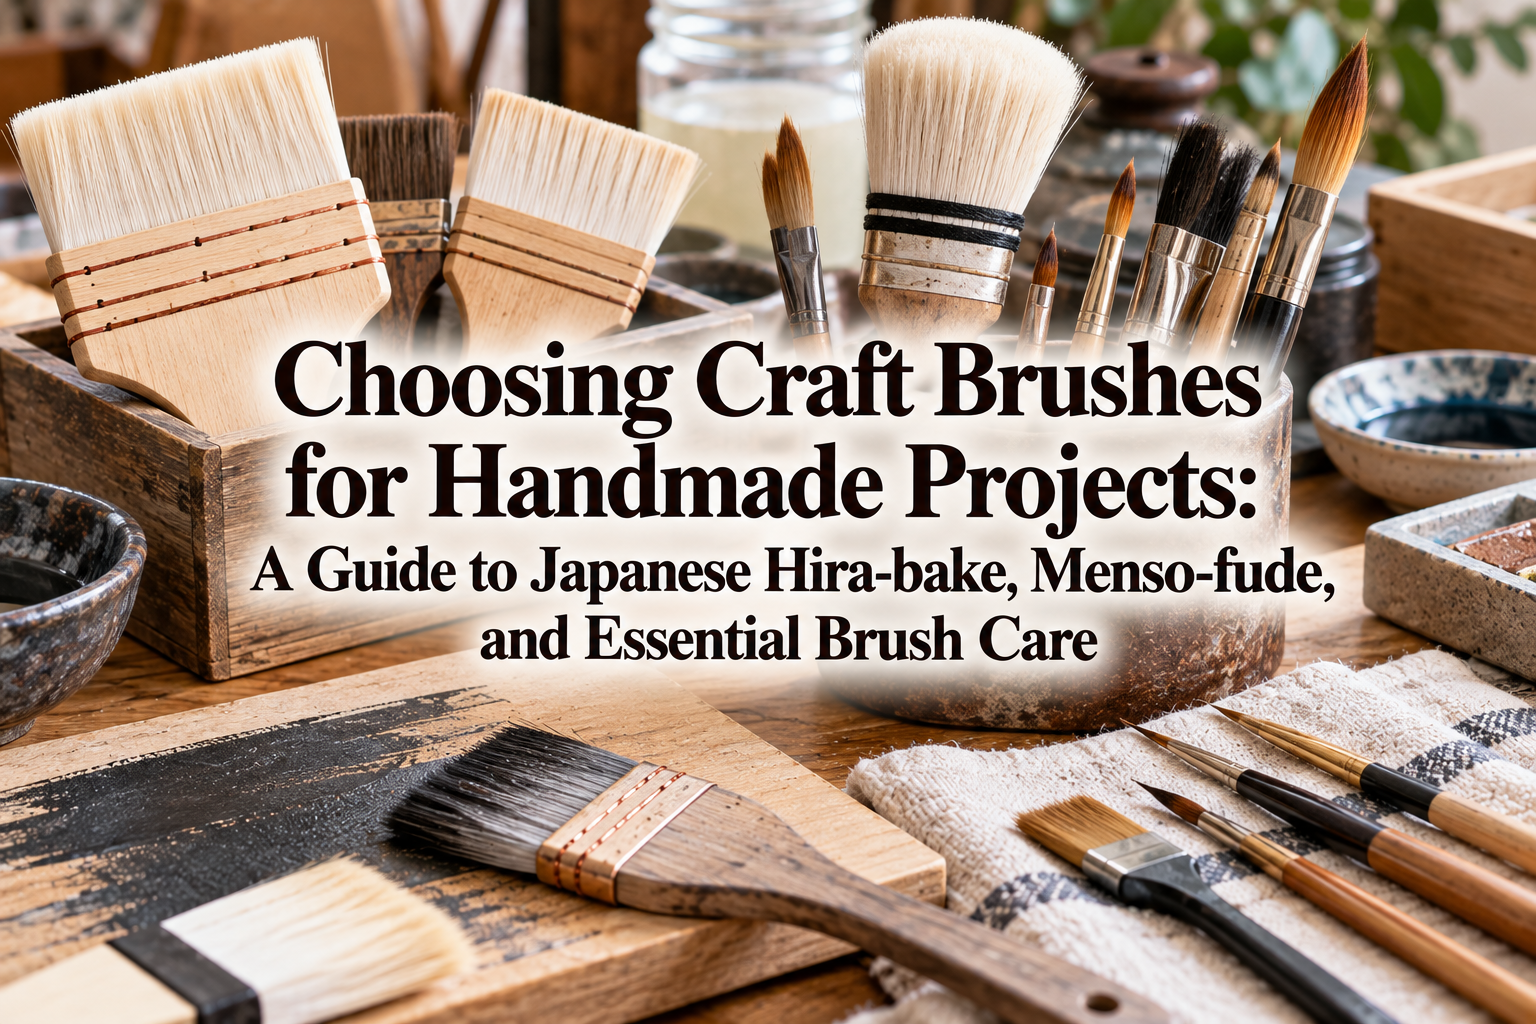
As someone who loves making, browsing, and buying all kinds of handmade crafts, the topic I want to passionately talk about today is craft brushes and wash brushes! Whether it's painting delicate facial expressions on clay sculptures, applying clear coats of UV resin or varnish, finishing woodcrafts, or coloring miniatures, it's no exaggeration to say that not a single day goes by without using brushes in my workshop.
Whenever I visit stationary shops, art supply stores, or browse craft supplies online, I can't resist picking up new brushes to test them out. A brush isn't just a simple tool for spreading pigment—it's an essential partner that directly channels your fingertips' touch and artistic intention into your creations.
However, I often hear from handmade beginners wondering: "What kind of brush should I buy first?", "Why do I always get visible brush strokes when varnishing?", or "What really is the difference between a standard fine brush and a Japanese menso-fude (detail brush)?" If you settle for whatever random brush is lying around, even your finest work can be compromised at the final finishing stage.
In this guide, I will thoroughly explain the specific roles of flat wash brushes (hira-bake), round fine brushes, and ultra-fine menso-fude, detailing the critical differences between synthetic and natural bristles, key buying criteria for beginners, and proper cleaning methods to keep your tools in peak condition. By the end of this article, you will know exactly which brush is right for your project!
In handmade crafting, every brush type has a clearly defined role. Using the wrong brush not only slows down your workflow but can noticeably hurt the final appearance of your work. Let's start by understanding the representative brush types and what each does best.
The hira-bake (flat wash brush) is a wide, paddle-style brush packed with dense bristles, renowned in Japanese crafting for broad coverage. It demonstrates absolute power when applying varnishes, sealants, or base coats evenly across wide surfaces like woodwork, large clay pieces, trays, and picture frames.
Its standout feature is its ability to hold a generous volume of liquid and cover a broad area in a single pass. Because you don't need to repeatedly brush over the same spot, issues like uneven coverage or brush marks caused by drying paint are drastically reduced. When you need a smooth, flat, flawless finish over a wide area, nothing beats a flat wash brush.
Round brushes, which taper to a neat point, are the most versatile workhorses in the crafting world. By adjusting your hand pressure, you can freely change line width, making a single round brush capable of filling medium areas as well as drawing relatively fine decorative patterns.
Round brushes range widely in size, from fine #0 sizes to thick sizes beyond #10. In daily handmade projects, sizes between #2 and #6 are used most often; they offer just the right balance of paint capacity and nimble control for stress-free painting.
The menso-fude is a specialized Japanese brush originally developed for painting the extremely delicate facial features and eyebrows in traditional Japanese painting (Nihonga). It features exceptionally long, fine bristles that taper to a needle-sharp point.
In modern handmade crafts, it shines when painting eyes and eyelashes on polymer clay dolls, drawing miniature patterns, or adding pinpoint accents to jewelry. Thanks to its long bristle length, it holds paint remarkably well despite its narrow diameter, allowing you to draw continuous, unbroken hairline strokes without running dry mid-line. Achieving lines fine as a needle tip is the defining strength of a true menso-fude, something ordinary short-bristle detail brushes cannot replicate.
A standard flat brush (more compact than a wide wash brush) is ideal for painting crisp straight borders or neatly coating small flat surfaces. A fan brush, with bristles fanning outward, is perfect for soft blending, creating gradients in decorative folk painting, or dusting dry craft powders. Meanwhile, an angular brush (cut at a slant) excels at tucking paint into corners and applying shaded edges. Adding these specialized shapes as your skills grow will quickly elevate your work to professional standards.
Along with the brush shape, bristle material is equally vital. Bristles fall into two primary categories: synthetic nylon (chemical fibers) and natural animal hair. The right choice depends on the medium you are working with.
Synthetic bristles (usually nylon or polyester) are the current standard in handmade crafting. Their biggest advantage is resilience and elasticity. They are exceptionally durable, hold their shape well even after repeated cleanings with water, and are remarkably easy for beginners to handle.
Because synthetic fibers have a smooth surface, they smoothly glide through viscous mediums like acrylic paints, UV resin, and water-based varnishes without dragging. They are also budget-friendly and widely accessible.
Natural brushes use real animal hair. Common types include goat hair (soft with high water absorption), horse hair (moderate stiffness and spring), and weasel or Kolinsky sable (supple, resilient, and unmatched in tip formation).
The standout advantage of natural hair is its extraordinary fluid-holding capacity. When using transparent watercolors for soft washes, feathering, or delicate gradients, the soft feel and gentle release of natural hair are irreplaceable. However, natural hair is sensitive to alcohol and strong solvents, requiring attentive, gentle care to prevent degradation.
To avoid ruining your tools or ending up with shed hairs stuck in your work, always observe these material pairings:
If you are ever unsure, choose a durable, all-purpose synthetic nylon brush—you won't go wrong.
When shopping for tools, crafters often wonder about the real differences between lookalike items. Here is a clear breakdown of commonly confused tools.
While both appear to be ultra-fine brushes, their hair length and handling purpose differ significantly. A standard size 0 round brush has relatively short bristles with a firmer spring, making it suitable for dotting accents or executing short, controlled dashes.
In contrast, a menso-fude has much longer bristles. That extra length acts as a reservoir for paint, allowing you to draw long, uniform, uninterrupted hairlines in a single steady stroke without stopping to reload. When painting doll eyeliners or flowing curves on clay miniatures, reach for a menso-fude rather than a standard detail brush.
The distinction lies in bristle density and handle construction. A hira-bake features a thick wooden handle with a broad, dense volume of bristles designed to hold substantial amounts of fluid, built specifically for gliding evenly across large surfaces without streaking. A standard flat brush has a thinner bristle layer held by a metal ferrule, designed for controlled brushwork, crisp edges, and contained flat fills.
Sponges are often used for dabbing paint, stenciling, or finishing leather edges. Sponges excel at stippling textures, soft mottling, and rapid gradient blending. However, they are unsuitable for high-gloss, mirror-like topcoats or razor-sharp lines because sponges trap micro-bubbles and create textured surfaces. When a flat, bubble-free, or precise finish is needed, brushes are the only way to go.
Here are several tried-and-true brushwork techniques I use in my own handmade projects to guarantee clean, professional results.
Have you ever been frustrated by bubbles or visible brush ridges appearing in your clear coat over clay or wood? To prevent this, use a soft synthetic hira-bake and follow this golden rule:
After dipping the brush in varnish, gently wipe excess liquid along the palette edge or rim. Lay the brush against the piece at roughly a 45-degree angle, and glide it across the surface with light pressure in a single direction at a steady pace. Brushing back and forth traps air and forms bubbles. Glide once in one direction—that is the secret to a crystal-clear, mirror-smooth gloss.
Drawing faces on miniature clay figures requires precision. Use a high-grade synthetic or weasel-hair menso-fude.
The secret is managing paint consistency. If paint is too thick, it drags and creates heavy lines; if too thin, it runs transparent. Dilute your paint with water or acrylic thinner until it reaches the consistency of milk. After picking up paint, roll the tip gently against a tissue to shape it into a razor-sharp point while removing excess moisture. With the tip finely pointed, barely brush against the clay surface to produce lines finer than a strand of hair.
While many crafters use toothpicks to remove bubbles tucked in mold corners, I strongly recommend a fine synthetic brush. A toothpick only touches a bubble at a single point, whereas a small brush tip can gently cradle the bubble and scoop it clean out.
Furthermore, when applying a surface topcoat of resin over a finished piece, a small flat nylon brush is invaluable. Spreading resin thinly across the surface creates a perfectly even, level coat without bulging pools.
To give miniature items or rustic decor a vintage, aged look, dry brushing is essential. Pick an older, slightly stiff round or flat brush. Dip the tip into a tiny bit of paint, then thoroughly scrub it onto scrap paper or a paper towel until almost no color transfers. Lightly sweep the dry bristles across edges and raised textures. Beautiful, authentic highlights and weathered scuffs will instantly emerge.
Faced with endless brush shelves at art shops, beginners can easily feel overwhelmed. Follow this straightforward plan to get started smartly.
You don't need to purchase dozens of brushes. These three brushes easily cover over 90% of all crafting tasks:
Start with these three. As your projects expand, you can selectively add larger or smaller sizes based on your exact needs.
Budget craft brushes from 100-yen stores or discount retailers are totally fine for rough tasks like mixing paints, applying glue, or base-coating cardboard. However, for applying topcoat varnishes and drawing delicate facial details, invest in dedicated brushes from art and craft specialty shops ($3 to $10 each).
Cheap budget brushes frequently shed loose bristles directly into wet varnish, or their tips splay apart, ruining fine lines. Beginners often mistakenly blame their own painting skills when the real culprit is simply an inadequate brush. Tool quality directly impacts your final piece.
Numbers stamped on brush handles indicate brush size. For round brushes, larger numbers mean thicker bristles (#6 is thicker than #1). For ultra-fine brushes, sizes progress to #0, #00, and #000 (or 3/0), with more zeros denoting a finer point. Keep in mind that sizing varies slightly across manufacturers, so inspect the physical tip size before buying whenever possible.
Even high-end brushes will stiffen and become unusable after just a few sessions if neglected. Here are the core rules for keeping your brushes in pristine condition.
The universal rule is to clean your brushes immediately before the medium cures.
Never stand wet brushes bristle-up in a cup to dry! Water runs down into the ferrule, dissolving the internal adhesive and rotting wooden or bamboo handles, causing bristles to shed in clumps.
Follow this drying routine:
Once completely dry, store brushes upright in a holder (bristles facing up) or loosely rolled in a bamboo brush wrap. When replacing protective caps, take care not to catch or bend stray bristles.
If you accidentally let acrylic paint dry on a synthetic brush, don't throw it out yet!
Prepare hot water heated to 70°C–80°C (160°F–175°F). Dip the stiffened synthetic bristles into the water for 10 to 20 seconds. Nylon is thermoplastic; heat resets its shape memory and restores flexibility. After lifting it out, carefully reshape the tip with your fingers while warm and let it cool. If paint is deeply stuck near the ferrule, soak the bristles overnight in acrylic brush remover to dissolve the paint into a gel before rinsing clean.
We've explored flat wash brushes, round brushes, Japanese menso-fude, synthetic versus natural bristles, practical painting methods, and long-lasting brush maintenance.
Your brushes are the most direct conduit connecting your creative vision to your handmade creations. The unmatched smoothness of varnish spread with a proper flat wash brush, or the satisfaction of pulling an effortless hairline with a menso-fude, will instantly show you how much tools matter.
Start by gathering the core three brushes and testing them on your favorite materials. The better you understand your tools, the fewer mistakes you'll make, making your craft journey far more joyful and fulfilling. Let's create beautiful pieces together with the right brushes at our side!
If you found this guide helpful, please share it with your fellow makers! Until next time—this was Yassy from Crafters!





For example, if you are looking for articles about mizuhiki, try searching for "mizuhiki"; if you are interested in tools, try keywords like "nippers" or "pliers."
