A Crafter’s Guide to Silicone Molds: Types, How to Choose, and Essential Tips for Resin and Crafts
yassy
Crafters!

Hello, this is Yassy from Crafters! (・∀・)
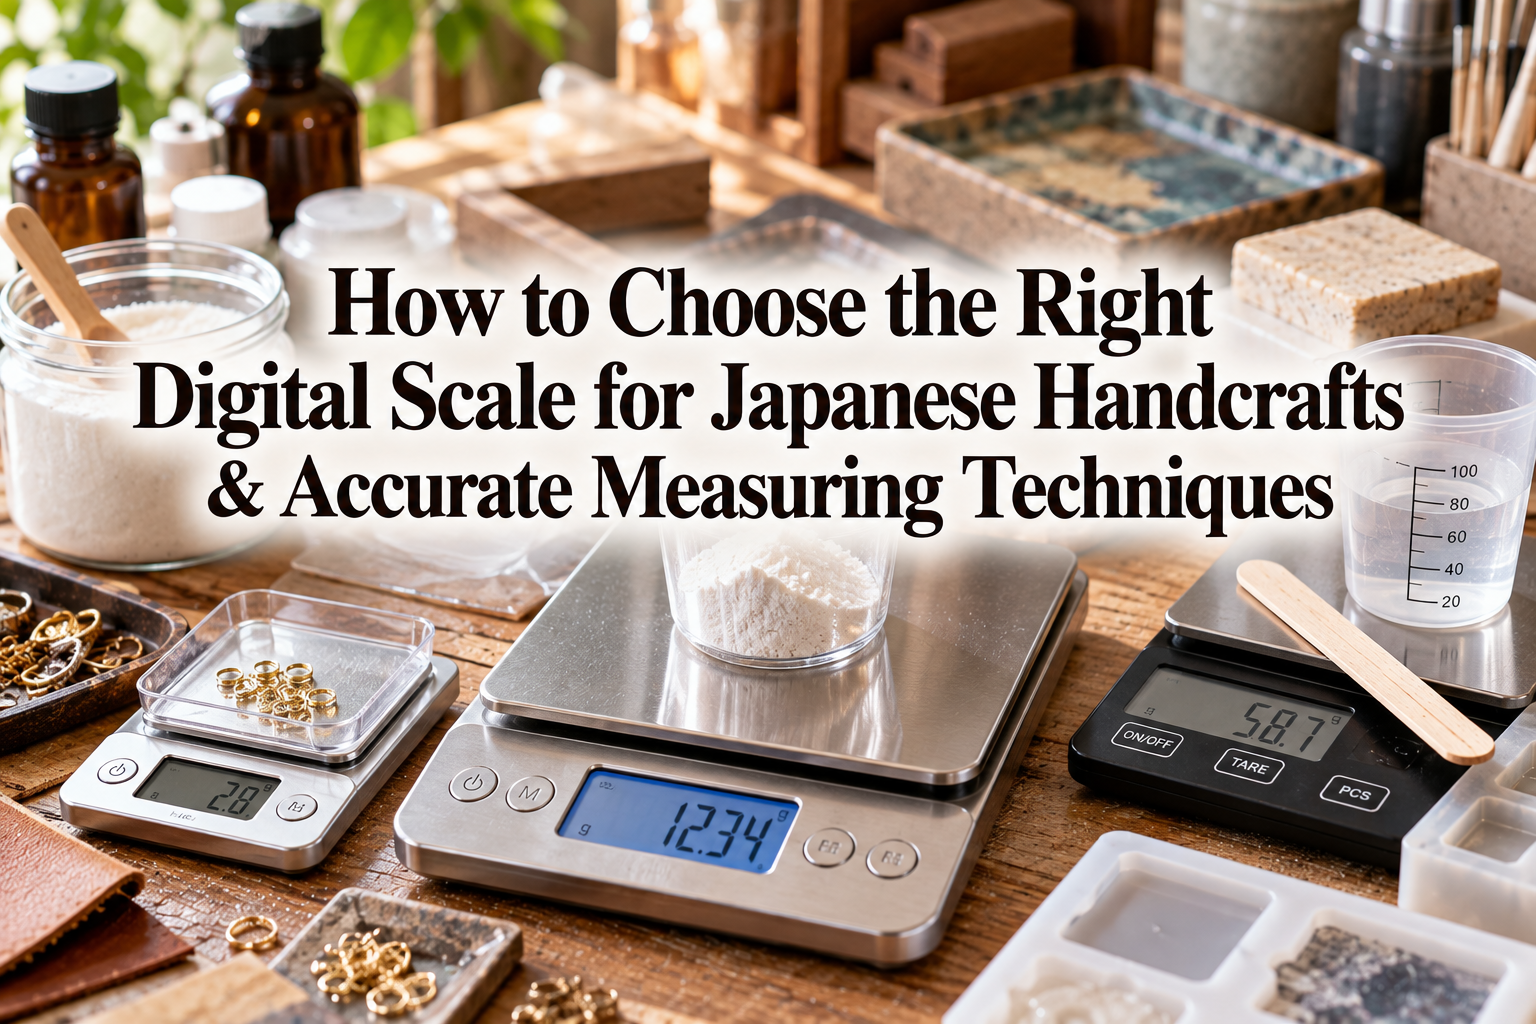
When creating handmade projects, do you ever measure your materials based on guesswork or intuition? In reality, the finish and success rate of your craft projects depend directly on the precision of your measuring tool—the digital scale. A digital scale is an absolutely indispensable tool to dramatically elevate the quality of your work and prevent failures such as improper curing or incorrect mixing ratios.
I personally love making various handcrafts as well as purchasing and admiring wonderful handmade creations. Among the many tools I have used over the years, none affects the precision of a piece more than a digital scale. If you think, "I have a kitchen scale, so I'll be fine," it is time to reconsider that approach right now.
In this article, I will share all my knowledge and experience regarding why digital scales are crucial in crafting, key points for choosing the right one, and tips for using them accurately without mistakes. Choosing and mastering the right digital scale will make your craftwork significantly smoother and take your quality to a whole new level.
In craft making, measuring by eye or relying on guesswork is the single biggest cause of failure. Accurately measuring the weight of materials is an absolute requirement for maintaining consistent quality in strength, color payoff, and curing speed.
In crafts that rely on chemical reactions or involve mixing multiple materials at specific ratios, an error of less than 1 gram can be fatal. Let's look at the main craft genres where digital scales play an active role and their specific uses.
First is working with epoxy resin and water-based acrylic resin. Two-part epoxy resins undergo a chemical reaction and harden into a solid finish when the main resin and hardener are mixed in the correct weight ratio. If this ratio is off by even 0.1g, it can cause curing failures, leaving the surface sticky or permanently unfrozen. Using an accurate digital scale is the only way to create glossy, flawless resin pieces.
Next is handmade candle making and soap making. In candle making, fragrance oils are added in calculated percentages based on the weight of the wax. In soap making, precise amounts of lye (caustic soda) and purified water must be mixed relative to the weight of oils and fats; otherwise, the soap will not be safe to use. Guesswork is strictly unacceptable for either, making reliable weighing essential.
Furthermore, digital scales are incredibly useful in clay work and custom component making. When making a pair of identical earring components, weighing the clay on a digital scale before rolling it out ensures that both sides turn out exact in size. Additionally, by keeping a record of the amount of colorants or paints used, you can reproduce the exact same shade at any time.
The most common misconception beginners fall into is thinking, "Can't I just measure with liquid measuring cups or pipettes using volume in milliliters?" To give you a direct conclusion: never use liquid measuring cups or spoons as a substitute for measuring weight in grams.
Liquids vary greatly in density and specific gravity depending on their type. While 1 milliliter of water equals roughly 1 gram, 1 milliliter of viscous materials like resin liquid, oils, or waxes does not necessarily weigh 1 gram. Even if two liquids look like 10 milliliters, one might weigh 11 grams while the other weighs 9 grams.
If you mix materials that state a "10:3 weight ratio" in the instructions using a measuring cup with milliliter markings, the ratio will definitely be off. Moreover, reading cup markings visually creates significant human error. Merely looking at the scale lines from a slight angle can easily introduce a discrepancy of several milliliters.
With a digital scale, you simply place the container on top and read the digital screen, completely eliminating human misreading. It also perfectly eliminates errors caused by differences in specific gravity. In crafting, measuring by "weight" with a digital scale rather than by "volume" is the absolute correct choice.
Although we refer to them broadly as digital scales, they fall into several categories depending on their maximum capacity and the minimum unit displayed on the screen. Here are the three main types you should know when choosing one for craft making.
The first type is the standard household scale measuring in 1g increments. Commonly used for cooking and baking, many of these models measure up to around 3kg. While convenient for placing large containers or heavy materials, they are too coarse for craft work. Because they cannot read fine changes of 0.1g, they are unsuitable for delicate tasks like resin mixing or color blending.
The second type is the high-precision digital scale measuring in 0.1g increments. This is the most recommended type for craft work, and one you should definitely acquire. Because the value changes in 0.1g steps, you can perfectly control the weight of a few drops of colorant or small amounts of resin liquid used for tiny pieces. Having just one of these gives you a versatile tool capable of handling almost any handmade project.
The third type is the precision digital scale measuring in 0.01g increments. These are used when you need to blend essential oils down to 0.01g like a perfumer, or when measuring the weight of extremely tiny beads or components. However, because values fluctuate wildly with wind or subtle vibrations, they require practice to handle. For general crafts, this level of precision is not necessary, and a 0.1g scale is more than sufficient to produce top-tier work.
There are decisive differences between digital scales and traditional tools like spring-loaded analog scales with rotating dials or balance scales. These are the presence of a tare function and high visibility.
The tare function allows you to reset the display to "0.0g" instantly with the press of a button while a container or cup is resting on the scale. With analog scales, you have to manually turn a dial to align the needle to zero or perform mental math to subtract the container's weight. This extra math and manual labor is a major cause of mistakes.
With a digital scale, pressing the button once clears the container's weight, allowing you to measure the weight of the added material directly. Furthermore, after adding 5g of Material A, you can press the zero-reset button again to easily measure an additional 2g of Material B consecutively.
Additionally, because clear digital numbers are displayed on the screen, there is no misreading caused by the angle of a needle. The ability for anyone to read the exact same value clearly at any time is the single greatest advantage digital scales have over other tools.
When shopping online or visiting home improvement centers, you will see countless digital scales and might feel unsure about which one to buy. Here are five selection criteria that crafters should always check before purchasing.
Point 1: The minimum display must be 0.1g. This is a non-negotiable condition. Always check the product specifications and choose a model that states "measurable in 0.1g increments." If you choose a 1g increment scale, you will definitely end up needing to replace it later.
Point 2: Maximum capacity (weighing limit) should be 2kg to 3kg. Among scales that measure in 0.1g increments, some compact models only measure up to 500g. However, if you place a heavy glass vessel, plaster, or a large silicone mold on it, it will quickly exceed 500g and result in an error. A model that measures in 0.1g increments and supports up to 2kg or 3kg is the ideal choice for handcrafts.
Point 3: Auto power-off specifications. Digital scales have an automatic shut-off feature to save battery when left idle. Products where this auto-off timer is too short—such as 1 to 2 minutes—are very risky. If the power turns off automatically while you are carefully stirring materials or preparing your next supplies, your measurement values up to that point will be lost entirely. Choose a scale where the auto-off function can be disabled, one with a generous timer of 3 minutes or longer, or one with settings that stay on until you press the power button.
Point 4: Easy-to-read display (LCD) with a backlight. Placing large molds or bowls on the scale during work can cast shadows over the screen, making numbers hard to read. An LCD screen with large digits and a bright blue or white backlight allows you to read numbers accurately even in low light.
Point 5: Flat shape for easy cleaning. Avoid designs with large gaps around buttons or complex raised patterns. If liquid resin, powdered clay, or wax spills and enters small crevices, it can cause malfunctions. Choose a flat design where the control panel uses a seamless, integrated sheet structure that can be wiped clean quickly.
Once you have acquired a reliable digital scale, master the basic procedures to use it correctly. If you perform the steps incorrectly, even a high-precision scale will not display accurate numbers.
First, place the digital scale on a level, sturdy workbench. Placing it on a wobbly table, soft mat, or cloth prevents gravity from being evenly applied to the internal weight sensors (load cells), leading to significant errors in numbers. Always place it directly on a hard, flat surface.
Next, press the power button to start the screen. Immediately after turning it on, the internal circuit is adjusting its zero point. Never touch the scale or the workbench until the screen displays "0.0g" and stabilizes. Touching it during this phase will throw off the initial zero point.
Once "0.0g" appears, gently place your empty cup or container for holding materials onto the center of the scale. At this time, the screen will display the weight of the container (e.g., 12.5g). Now, press the "Tare" (zero reset) button. Confirm that the screen returns to "0.0g" before starting to pour your material.
Pour your material little by little toward the target weight. Pouring all at once makes it easy to overshoot the target, so the trick is to add drop by drop or in tiny amounts right before reaching the desired weight. Once you finish pouring, wait a moment for the number to settle, then read the accurate weight.
Digital scales are highly delicate electronic devices. In a crafting setting, small environmental changes that you wouldn't notice in daily life can cause measurement errors. Keep these common beginner mistakes and precautions firmly in mind.
Precaution 1: Drafts and vibrations. If air from an air conditioner or fan, or steam from a humidifier hits the digital scale directly, the 0.1g digit will fluctuate continuously without settling. Work in a location away from direct drafts, or adjust the air conditioner direction while measuring. Additionally, kneading dough forcefully or creating vibrations by tapping on the workbench next to the scale can also disrupt readings.
Precaution 2: Low battery power. When a digital scale's battery runs low, measurement accuracy drops significantly even if the screen remains lit. If you notice that response time seems slow or numbers fluctuate when placing the same item, replace the batteries immediately. Using brand-new alkaline batteries with stable voltage is strongly recommended over rechargeable batteries.
Precaution 3: Placing hot items directly on the scale. Never place hot metal pots containing melted wax directly onto the digital scale during candle making. If intense heat transfers to the internal sensors through the weighing plate, thermal expansion will throw off the sensors, making it impossible to measure accurately again. When measuring high-temperature items, place a heat-insulating cork coaster or thick thermal insulation sheet on the scale, perform tare reset, and then measure.
Precaution 4: Exceeding maximum capacity (overload). Do not think "it will be fine to go slightly over" and place items heavier than the maximum load limit. The internal sensors will be physically crushed and permanently damaged. If error messages like "EEEE" or "O-Ld" appear on screen, remove the heavy object immediately.
Here, I will introduce professional techniques that I practice in my daily craft making to keep the digital scale clean and lasting long while maintaining a comfortable workflow. With just a little effort, your daily work stress will decrease dramatically.
The first thing you should absolutely do is protect the scale with plastic wrap or clear film. Wrap standard kitchen plastic wrap tightly and seamlessly over the entire body or measuring plate of your new digital scale. By doing this, even if liquid resin, paint, or adhesive accidentally drips, the scale itself will remain completely clean. When you finish working, simply peel off and discard the wrap to maintain a brand-new, clean condition at all times.
The key is to cover the control panel thoroughly with transparent film to prevent powders from getting into button gaps. Wrapping it in plastic wrap hardly affects the responsiveness of touch panels or buttons, so try it right after purchasing.
Next is utilizing silicone sheets. Instead of plastic wrap, cutting a thin silicone mat to match the scale's size and resting it on top is also extremely convenient. Resin can be peeled right off silicone once hardened, and its non-slip effect prevents disastrous spills caused by cups sliding during measurement.
Also, when mixing multiple materials, make it a rule to prepare a notepad and pen and avoid mental subtraction. For example, when adding 5g of hardener to 10g of main resin, press the zero-reset button to return the screen to "0.0g" right after pouring 10g of main resin. If you try to calculate "10g + 5g = 15g, so I'll pour until it hits 15g" in your head, you might get confused mid-process wondering how many grams you just added. Always resetting to zero so the screen shows only the weight of the material being added is a golden rule to eliminate mistakes.
While a digital scale is powerful on its own, pairing it with complementary peripheral tools will boost both the speed and accuracy of your weighing tasks. Here are my recommended tool combinations.
First: Disposable polyethylene pipettes or silicone stirring sticks. When pouring liquids to weigh them, pouring directly from bottles often leads to overshooting your target due to momentum. Pour from the bottle until just before the target value, then use a pipette to drop the remaining amount drop by drop to stop at the perfect number. For viscous liquids like resin, picking up small drops with the tip of a silicone stick designed for color mixing is very effective.
Second: Flat-bottomed silicone cups. Choose containers with wide, stable bases for measuring. Tall containers with narrow bottoms carry a risk of tipping over and spilling materials with just a slight touch on the scale. Silicone cups grip well on digital scales and allow easy cleanup after use, making them an ideal match.
In this article, we explored digital scales—the cornerstone of handcrafting—covering everything from applications and selection criteria to technique tips for avoiding failure. A digital scale is not merely a tool for measuring weight. It is your most reliable partner for maintaining consistent project quality, preventing material waste, and reliably bringing your intended creations to life.
Finally, let's review the key points for success:
Without compromising on tool selection, choosing and mastering the right digital scale will completely eliminate issues like sticky resin or mixing failures. Experiencing the beautiful finish born from accurate measurements will make crafting many times more enjoyable than before. Find a digital scale that suits your workflow and enjoy taking your handmade creations to the next level!
If you found this article helpful, sharing it with friends via social media would make me very happy and encouraged! See you in the next article! This was Yassy from Crafters!




For example, if you are looking for articles about mizuhiki, try searching for "mizuhiki"; if you are interested in tools, try keywords like "nippers" or "pliers."
