The Ultimate Guide to Choosing Crochet Hooks: Japanese Sizing, Materials, and Ergonomics
yassy
Crafters!

Hello, this is Yassy from Crafters! (・∀・)
As you dive deeper into knitting, crochet, and various needlecrafts, it is completely natural for your collection of needles to multiply. Between single-pointed knitting needles, double-pointed needles, crochet hooks, tapestry needles, and lace hooks, each project demands its own dedicated tool.
However, after using them for years, you inevitably run into a few common problems: "What size was this needle again?" or "The size markings have completely rubbed off!"
That is precisely when a needle gauge becomes an indispensable lifesaver.
I personally love creating all kinds of handmade crafts and collecting wonderful materials, and I can say with confidence that keeping your tools organized and selecting the right size directly affects the quality of your finished project. In this guide, I will walk you through everything you need to know about needle gauges—from their purpose and proper usage to types, selection tips, and essential precautions—so you can dramatically boost your crafting efficiency.
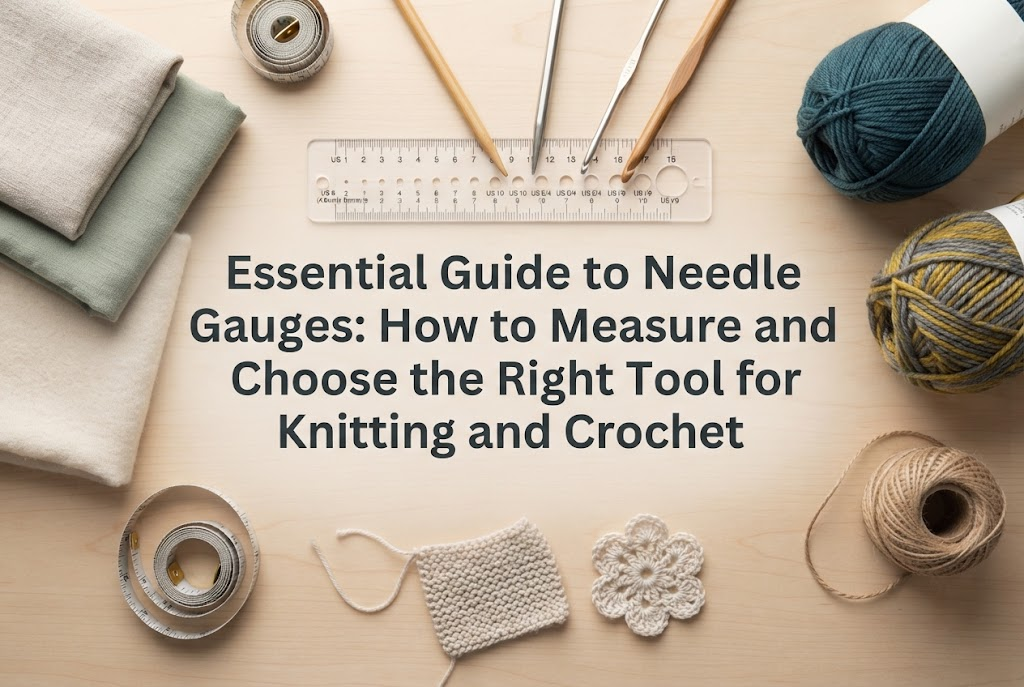
A needle gauge is a specialized ruler designed primarily to accurately measure the thickness (size and diameter) of knitting needles and crochet hooks. Constructed as a flat plate with precisely sized circular holes, it allows you to instantly determine the size or diameter of a needle simply by inserting it into the holes.
While you often see them in craft shops and online stores, a needle gauge is an essential item you should pick up right at the start of your needlework journey.
The thickness of your knitting needle is a crucial factor that determines both the finished dimensions of your work and the neatness of your stitches. However, markings on bamboo or wooden needles tend to fade with extended use, and even on metal crochet hooks, friction frequently rubs the stamped numbers away.
With a needle gauge, you can find the exact size simply by passing the needle through the holes. This completely prevents devastating mistakes like guessing "this looks like a Japanese size 5," knitting an entire piece, and ending up with incorrect project dimensions.
Many crafters inherit vintage needles from family members or buy stylish imported needles from overseas shops. In these cases, you face two common hurdles: sizing standard differences and missing size labels.
Japanese knitting needles are traditionally labeled by gō (Size 1, Size 2, etc.), while overseas tools use metric millimeters (mm) or US sizes (US 1, US 2, etc.). A needle gauge allows you to measure the exact diameter in millimeters, regardless of which standard the needle was originally manufactured for. Because it lets you pinpoint the exact dimensions of any needle on hand, it is an absolute necessity when tackling international patterns.
Needle gauges come in various materials, shapes, and measuring standards. Choosing the right one depends on your crafting style and whether you plan to carry it with you on the go.
Needle gauges are generally made from three main materials: acrylic/plastic, wood, or metal.
In my experience, choosing an acrylic or plastic gauge for your first purchase is the safest bet. They are lightweight, durable, and offer unmatched visibility.
When selecting a needle gauge, you must check the measurement units printed beside the holes. Many needle gauges from Japanese manufacturers display both Japanese sizes (gō) and millimeters (mm) side by side. However, imported gauges often only feature US or UK sizes.
If you plan to follow Japanese knitting patterns, be sure to select a gauge clearly stamped with either Japanese sizes (gō) or metric millimeter (mm) markings.
Using a needle gauge is straightforward, but if you do not follow the correct steps, you risk misidentifying your needle size. Here is how to measure knitting needles, crochet hooks, and fabric swatch gauges properly.
Follow these steps every time you measure a knitting needle:
Please note that you must measure along the central shaft, not at the tip. Because the tip of a knitting needle is tapered, passing only the point through will not give you an accurate measurement. Always slide the needle in until you reach the section where the diameter is completely uniform.
For crochet hooks, the measurement point differs from that of knitting needles. While the top of a crochet hook features the hook itself, you measure the thickness along the shaft (the straight portion leading toward the handle).
You do not need to push the hook down to the grip or handle. The key is to measure the straight shaft where your yarn loops form.
Many needle gauges feature a 10 cm × 10 cm (or 5 cm × 5 cm) square window in the center or outer frame. This is a built-in frame for measuring your knitting gauge—the number of stitches and rows in a 10 cm square.
Placing a standard ruler on knitted fabric often leads to shifting or skewed angles, causing miscounts. A dedicated frame isolates the target area visually, making stitch counting quick and reliable.
Before purchasing, many people wonder if they can simply use a regular ruler or another household tool. Here is why dedicated needle gauges outperform the alternatives.
Rulers and tape measures are designed to measure flat lengths. To gauge the diameter of a cylindrical needle with a standard ruler, you have to place the needle on top of the markings and look down, making it virtually impossible to visually distinguish fractions of a millimeter. For instance, the difference between a Japanese Size 4 needle (3.3 mm) and a Japanese Size 5 needle (3.6 mm) is a mere 0.3 mm. Discerning 0.3 mm on a linear ruler is impossible with the naked eye. A needle gauge, with its circular holes, allows you to determine 0.3 mm differences with absolute certainty.
A caliper can measure external diameters precisely, but I do not recommend it for handcrafting. Clamping delicate bamboo or resin needles with metal jaws risks scratching the surface of your tools. Furthermore, caliper readings can fluctuate slightly depending on the angle and pressure applied, making them tricky for beginners. A needle gauge poses zero risk of damaging your needles and provides consistent, accurate results every time.
A counting frame is a standalone square window created solely to count stitches and rows on a fabric swatch. Because it is dedicated entirely to swatches, it has no sizing holes for needles. In contrast, a needle gauge combines needle-measuring holes and a swatch frame into a single plate. For crafters who prefer not to clutter their toolkit, a multi-functional needle gauge is far more efficient.
Here are several everyday crafting scenarios where you will be genuinely glad to have a needle gauge handy:
With so many designs available, keep these three key points in mind to ensure you make the right choice:
The most important factor is the clarity and range of the printed units. Choose a tool that lists both Japanese sizes and millimeters side by side (for example, "4 / 3.3 mm"). If it only has Japanese sizes, working from international recipes becomes difficult. Conversely, if it only has millimeters, you will constantly need to consult conversion charts for Japanese patterns. Dual-printed gauges offer the best versatility.
Rather than a plain rectangular card with holes, pick a model featuring a 10 cm × 10 cm cut-out window in the center. Swatching is an essential step in knitting. By choosing a hybrid model with a 10 cm window, you will not need to buy an additional tool later when you begin knitting fitted garments or hats.
Some inexpensive plastic gauges feature simple ink-printed numbers. Flat ink can rub off over time as it chafes against other tools in your craft box or comes into contact with oils from your hands. Look for models with debossed, embossed, or laser-engraved numbers that will never fade, ensuring a lifetime of dependable use.
If I were picking one for my personal collection, I would choose a clear acrylic gauge featuring a 10 cm swatch frame and laser-engraved markings without hesitation. The transparent acrylic lets you see the stitches clearly underneath the frame, preventing counting errors. Furthermore, acrylic has sufficient thickness and rigidity, eliminating any worry that the measuring holes will stretch over time. While wooden gauges look charming, a clear acrylic model is the ultimate choice when accuracy and workflow efficiency are your top priorities.
While needle gauges are sturdy tools, using them improperly can produce inaccurate readings or damage your needles. Keep these essential tips in mind:
In the world of handmade crafting, managing the precise sizes of your tools is the very first step toward achieving a clean, professional finish. Knitting with an unverified needle size can result in garments that turn out far too small or stitches that look uneven and distorted.
Keeping a single needle gauge in your kit eliminates the nagging doubt of "Is this really the right needle?" With neatly organized tools, you can immerse yourself in your craft with total peace of mind. Find a needle gauge that fits your needs and enjoy an even smoother, more satisfying crafting routine!
Here is a quick recap of the essential points we covered:
A quality needle gauge is a cost-effective investment that serves you reliably for years to come. With precise tool management, you will be ready to bring all your dream knitwear and crafts to life!
If you found this guide helpful, please share it with your fellow crafting friends on social media! See you in the next article—this was Yassy from Crafters!


For example, if you are looking for articles about mizuhiki, try searching for "mizuhiki"; if you are interested in tools, try keywords like "nippers" or "pliers."
