How to Build a Diorama Base: Step-by-Step Guide to Prevent Warping and Cracking
yassy
Crafters!
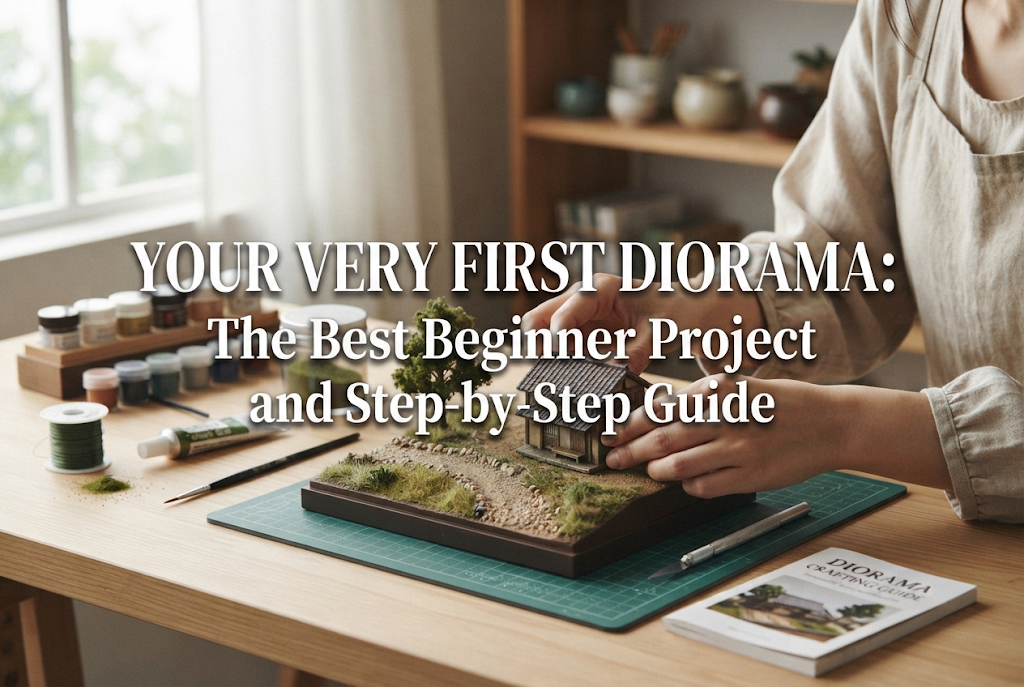

Hello, everyone! It’s Yassy from Crafters! (・∀・)
Have you ever wanted to build your own miniature three-dimensional world, but found yourself hesitating because it looks too difficult or you simply don’t know where to start? Diorama making is an incredible craft, and as long as you choose the right project for your first attempt, even complete beginners can create a stunning, high-quality piece. On the flip side, trying to build a sprawling cityscape or a massive ocean scene right out of the gate is a surefire recipe for frustration.
In this guide, I will walk you through the ultimate first project for diorama beginners—covering the exact theme, the supplies you need, and a step-by-step tutorial to guarantee your success!
The ideal first project for any beginner is a miniature grassy diorama with a single tree, built on a base of around 10 cm × 10 cm (about 4 inches square). This compact size packs all the fundamental techniques of diorama making into one manageable, rewarding canvas.
While huge racetracks, multi-story realistic buildings, and crashing ocean waves are tempting, put them aside for now. Your goal is to recreate a lush patch of green pasture on top of a small coaster.
The two biggest reasons beginners abandon diorama projects are losing motivation halfway through and ending up with an empty, sparse-looking scene.
When you start with a large base, filling that space demands huge amounts of time and materials. Your workspace stays cluttered for weeks, and as the finish line seems further away, frustration sets in. Furthermore, beginners haven't yet mastered how to balance visual details and information density across wide expanses. On a large base, it is easy to lose track of what to place where, leaving the finished piece looking hollow and toy-like.
Starting with a palm-sized nature scene offers three fantastic advantages:
Once you understand how to build realistic ground and grass textures, you can apply these exact same fundamentals to model train layouts, figure display bases, or architectural dioramas down the road. Perfect your craft on this minimal green canvas first!
Before diving in, let’s gather our tools and materials. Most of these can be found at local craft stores, dollar shops, home centers, or online.
You don't need expensive specialty hobby tools. Everyday household items and basic craft supplies are all you need to produce professional-looking results.
Follow these five steps closely, and your miniature landscape will turn out beautifully!
Start with your coaster or MDF board. Rather than a completely flat surface, adding gentle undulations or a slight hill makes your diorama far more dynamic and natural.
Spread a layer of wood glue over the base, then press your stone-powder clay onto it. Use your fingers or a spatula to build up a slight mound in the center or along one edge. The trick to realism is creating irregular, organic contours rather than a smooth, flat tabletop.
Once shaped, let the clay dry thoroughly. Wait half a day to a full day until it is firm to the touch and does not dent when pressed.
Once the clay is dry, it’s time to add natural soil texture. Sprinkling grass directly onto smooth clay will never look like real ground.
Here is my favorite technique: In a paper cup, mix dark brown acrylic paint, wood glue, a splash of water, and fine sand (sifted from a garden or park) or dried, used green tea leaves. Stir it into a thick, gritty paste.
Using an old paintbrush or a disposable spoon, dab this textured paste all over the clay terrain. As the glue dries, it locks the gritty particles in place, creating a remarkably authentic dirt surface.
After the texture paste dries completely, paint it to enhance depth.
First, wash the ground with a mix of dark brown and black paint to establish deep shadows in the crevices. Next, take a small amount of lighter ochre or tan acrylic paint on your brush, and wipe almost all of it off onto a paper towel until the brush is nearly dry.
Lightly flick this dry brush across the raised textures of the terrain. The recessed areas will remain dark while the ridges catch the lighter tone, creating instant, dramatic dimension.
Now comes the most enjoyable part: adding vegetation!
First, brush undiluted (or lightly diluted) wood glue over the areas where you want grass to grow. Sprinkle your green diorama powder or finely shredded green sponge over the glued areas generously. Gently press the powder down with your fingertip.
Next, install your feature tree. Select an interesting twig, apply a generous dab of wood glue to its base, and push it into a small hole made in the clay terrain using a pin vise or awl. Dot glue onto the twig’s upper branches and press small clusters of green sponge foliage onto them to form the canopy.
Glue a few small real pebbles around the base of the tree trunk to give the scene grounded, realistic weight.
To keep the grass and flocking from shedding over time, you need to seal the entire diorama.
Mix three parts water to one part wood glue, and add a single drop of liquid dish soap. The soap breaks the surface tension of the water, allowing the glue mixture to soak deeply into the powder rather than beading on top.
Using a dropper or gentle spray bottle, apply this glue wash generously over the entire diorama. It will look milky and wet at first, but PVA glue dries completely clear. Leave it untouched for a full day to cure into a rock-solid, durable miniature piece.
Even with simple projects, beginners often run into a few common pitfalls. Keep these points in mind for smooth sailing from day one:
Thin plywood or flexible plastic sheets can warp severely as clay and glue dry and shrink. Always choose a rigid base like thick MDF (at least 5 mm) or heavy cork coasters. Coating both sides of the base with water-resistant varnish or acrylic paint before starting also prevents uneven moisture absorption.
Covering the ground with a single solid shade of bright green makes it look like miniature golf turf rather than nature. Real landscapes feature a blend of dark greens, yellow-greens, and dry brownish tones. Blend at least three different shades of diorama powder together before applying for an instantly organic look.
If you only glue the bottom of the turf powder, it will shed whenever touched. Always apply the soap-infused glue wash detailed in Step 5. It penetrates throughout the foliage, binding everything into a tough, touchable finish.
Using dried plant leaves with large vein patterns or placing rocks that are far too large for the tree trunk throws off the visual scale. Always imagine a miniature figure living in this world (such as 1:150 or 1:87 scale). Compare pebbles and leaves to the size of that imaginary person's head to keep proportions believable.
Whenever I advise newcomers, I always suggest adding a simple narrative hook to their project.
Instead of just a plain patch of grass and a tree, think about a scene with a tiny bench resting under the shade, or a miniature wooden trail sign standing beside a grassy path. You can easily craft a tiny bench or sign from matchsticks or toothpicks cut with a craft knife and painted brown. Adding just one subtle storytelling element breathes life into the diorama and makes it something you will cherish.
Once your palm-sized grass diorama is complete, you've conquered the fundamentals! From here, you can step up your craft by tackling exciting new techniques:
Your first diorama doesn't need to be huge or intimidating. A 10 cm coaster, a bit of clay for terrain, painted textures, sprinkled turf, and a single twig tree—this palm-sized meadow is the cornerstone of all diorama modeling.
Working on a small base lets you pour all your creativity into a focused space without the fear of making mistakes. When you place the finished scene on your desk or bookshelf, the sense of accomplishment is truly special. Why not spend an afternoon this weekend crafting your very own miniature world?
If you found this guide helpful, please share it with your fellow makers on social media! Until next time—happy crafting from Yassy!




For example, if you are looking for articles about mizuhiki, try searching for "mizuhiki"; if you are interested in tools, try keywords like "nippers" or "pliers."
