Mastering Handmade Product Collections: The Golden Rules for Turning One-Time Buyers into Repeat Fans
yassy
Crafters!


Hello, this is Yassy from Crafters! (・∀・)
I love creating various handmade items, but I am also a huge handmade enthusiast who loves looking at gorgeous crafts and shopping for unique pieces!
When crafting resin jewelry or home decor, every crafter eventually hits a major wall: after trimming off the burrs, how do you bring that cloudy, dull white surface back to a gem-like, transparent brilliance?
Fresh out of the silicone mold, a resin piece often has sharp corners, subtle surface unevenness, or a foggy appearance. The sanding and polishing process is the ultimate turning point that elevates your work from amateurish to professional quality.
However, if you choose the wrong tools, no matter how much time and effort you spend rubbing the piece, it will never shine beautifully. In fact, using incorrect tools often leaves deep scratches that lead to irreversible failure.
In this guide, I will thoroughly explain the essential tools you should use for sanding and polishing resin, alongside the absolute rules for selecting tools without failing. I will share all the tested methods I personally arrived at so you can pick the right tools with confidence!
If you are thinking, "Isn't a cheap file from a 100-yen shop good enough?" please put that thought aside right away. Resin is an extremely delicate material. Unless you use the appropriate tools in the correct order, you will never achieve a smooth mirror finish.
Polishing resin can be described as a process of "gradually replacing large scratches with tiny scratches that become invisible to the human eye." By shaping the piece with coarse tools and progressively handing off the job to finer tools, you eventually create a flat, smooth surface that reflects light cleanly.
If you choose a tool that is too coarse during this relay, skip grit steps, or use inferior sandpaper that clogs easily, your path to crystal-clear transparency will be blocked right then and there.
Understanding the exact characteristics of your tools and gathering a kit suited to the shape and size of your project is the ultimate key to successful resin polishing. With the right tools in hand, sanding stops being a chore and turns into the absolute delight of watching your work shine brighter by the second!
Files are used in the first stage of resin polishing. They play the crucial role of shaving off burrs and shaping the piece into your ideal silhouette. Since there are various types of files available, it is important to understand their features and use them correctly.
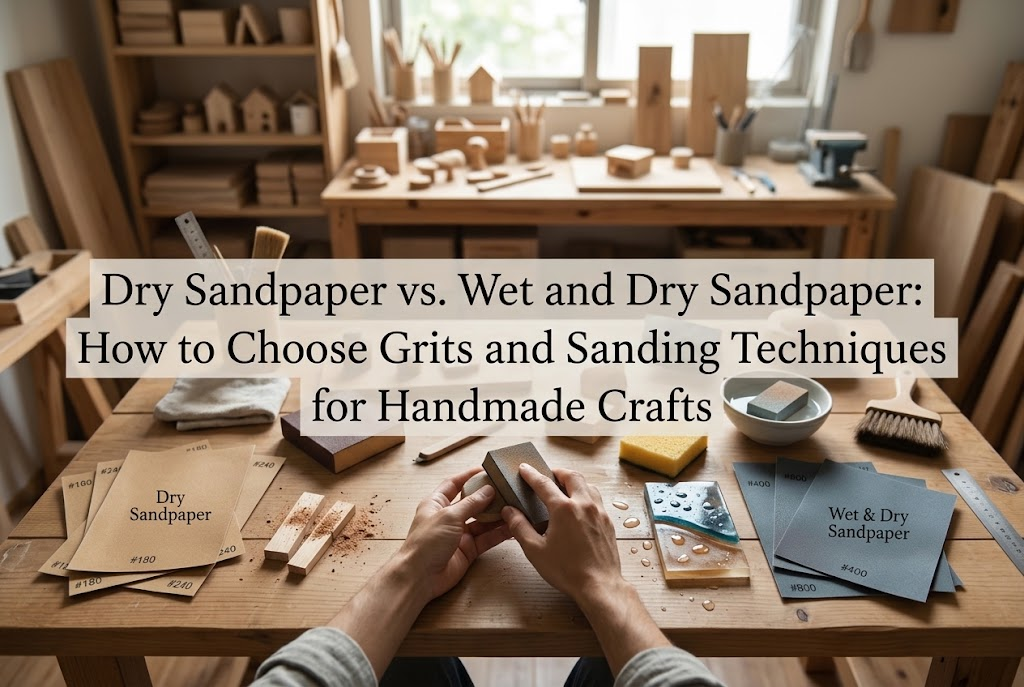
The most basic and absolutely essential item for resin sanding is waterproof sandpaper. Unlike regular sandpaper, it features a special waterproof coating that allows it to be used while wet.
When sanding resin, you must always perform wet sanding by applying water. Water prevents sanding dust from scattering into the air and keeps the sandpaper grit from getting clogged. Regular paper sandpaper will tear when wet, making it unusable. Always choose paper explicitly labeled as waterproof.
Waterproof sandpaper is easy to find at home improvement stores or online, and it offers fantastic cost performance because you can cut it to your desired size with scissors. When you want to sand a flat surface perfectly straight, the golden rule is to wrap the waterproof paper around a hard acrylic block or a scrap piece of wood.
For anyone making resin crafts with rounded curves or spheres, sponge abrasives are a total lifesaver. These tools consist of flexible, thick sponge pads coated with abrasive particles on the surface.
When you apply flat paper sandpaper to a rounded piece, it sands in flat planes, leaving unwanted flat spots and linear scratches on a nice curve. Sponge abrasives, however, flex seamlessly along curved surfaces, allowing you to sand evenly without ruining the beautiful silhouette.
They are also incredibly convenient because you can soak them in water, lightly squeeze them out, and use them comfortably without putting excessive strain on your hands. If you are crafting 3D items or shaped motifs, prioritizing sponge abrasives over regular paper is the right move.
Glass nail files and precision metal files show their true power when you need to target stubborn burrs at the pouring spouts of silicone molds or precisely sand the tiny corners of small parts.
In particular, glass nail files designed for manicure care are highly rated by Japanese resin crafters as an essential tool. Their grain is exceptionally fine, leaving an astonishingly smooth sanded surface. Furthermore, they can be washed with water and reused repeatedly, offering outstanding durability.
While not suited for sanding large areas, keeping a single glass file on hand for trimming edges and removing burrs on small pieces will dramatically boost your work efficiency.
The ideal combination for beginners to buy first is a high-grade waterproof sandpaper set and a pack of sponge abrasives (around 3mm to 5mm thickness) from a major hobby brand.
If you mainly make flat pieces like keychains or coasters, prioritize waterproof sandpaper. If you primarily craft 3D items like spheres or domes, prioritize sponge abrasives. With just these two types, you can handle the base preparation for virtually any resin project!
When selecting files, you will always see numbers marked with a "#" symbol (grit or grid numbers). This number represents the coarseness of the abrasive: the smaller the number, the coarser the grain; the larger the number, the finer the grain.
The biggest reason people fail at resin sanding is choosing the wrong grit numbers or applying them out of order. Make sure to memorize the correct progression sequence!
The first range of grit numbers you should use is #400 to #800. This stage is used to grind away large burrs and correct any distortions across the overall piece.
Grits coarser than #400 (such as #240) leave scratches that are far too deep in resin, so as a rule, avoid them unless you have a very specific reason. Once deep gouges are made, removing them later requires immense time and effort. Starting even large burrs at #400 is the safest approach.
The medium sanding phase smooths out the large scratches left by rough sanding and evens out the surface. Here, you progress step-by-step through #1000, #1500, and #2000.
Once sanded up to #2000, the rough white look of the resin disappears, and it recovers to a semi-transparent, frosted-glass state that lets light pass through slightly. Ensuring there are no uneven bumps or catches when touched at this stage is the key to bringing out final clarity later.
Fine polishing raises the frosted surface to a perfectly transparent, crystal-clear finish. Use ultra-fine polishing sheets or high-grit sponge pads such as #3000, #5000, #8000, and #10000.
Once you pass #3000, the inner details of the piece become clearly visible even without wetting the surface. Sanding carefully up to #10000 brings back a impressive amount of gloss and transparency using files alone.
The absolute biggest mistake in resin polishing is skipping grit numbers. For example, after sanding with #400, you must never jump straight to #2000 just because you feel lazy.
A fine #2000 file physically cannot erase the deep gouges left by #400. Even if the surface feels smooth to the touch, holding it up to the light will reveal deep white streak scratches inside.
Always follow the order step-by-step without skipping: #400 → #600 → #800 → #1000 → #1500 → #2000, and so on. Although it may seem like a detour, it is actually the fastest and only path to a clean finish!
Once you finish file sanding, use polishing compounds as your final step. Compounds are paste or liquid polishes containing microscopic abrasive particles. They fill in and buff out micron-sized scratches that files cannot eliminate, creating a mirror-like shine.
Just like sandpaper, compounds come in stages of particle size. Generally, you polish through three steps: Coarse (or Fine) → Extra Fine → Liquid Finisher (ultra-fine particles).
After sanding with files up to #2000 or #3000, start with a Fine compound. Put a small amount on a soft cloth and buff gently in circular motions without applying too much pressure. The foggy white resin will begin to shine dramatically.
When you reach the final liquid finisher compound, you will achieve a premium mirror finish so clear that it reflects your fingerprints distinctly.
While inexpensive automotive compounds are sold at hardware stores, choosing compounds made for plastic models or specifically for resin and acrylics is the absolute correct choice for resin crafts.
Automotive compounds may contain metal powders, waxes, or strong solvents that can damage plastic or resin, or leave sticky residue on the surface.
Model and resin compounds are formulated to be gentle on synthetic resin materials and can be washed away cleanly with water. To avoid unnecessary trouble, always select compounds compatible with plastics and resins.
What you use to rub the compound onto the piece is also extremely important. Never use tissue paper or rough rags. Tissue fibers are hard and can leave brand-new scratches on your piece while you polish.
The ideal choices for applying compound are soft microfiber eyeglasses cloths or flannel polishing cloths with ultra-fine fibers.
There is a vital rule you must follow here: assign separate cloths for each grit level of compound (coarse, extra-fine, etc.).
If you use a coarse compound and then try to apply an extra-fine compound using the exact same cloth, coarse particles remaining in the fabric will ruin the extra-fine polishing process and re-scratch the surface. Prepare one cloth per compound type and store them strictly separated.
Hand sanding is fine if you are polishing just a few small accessory parts. But as your output increases or you polish larger items, hand sanding will tire out your fingers and arms. That is when you should consider introducing a small electric rotary tool (minirouter).
The greatest advantage of an electric rotary tool is its overwhelming speed and fatigue reduction. Tasks that took dozens of minutes by hand can be completed in just a few minutes with a rotary tool.
On the flip side, the disadvantage is that if you use it before getting used to it, you might sand off too much material and ruin the shape of your piece. There is also a risk that rotational friction heat will melt the resin, resulting in a sticky, ruined surface.
The best time to introduce a rotary tool is after you thoroughly understand the feeling of hand sanding and the theory behind grit progression, and want to increase your work efficiency.
When purchasing a rotary tool for resin polishing, the single most important spec to check is whether it has a variable speed control feature. Cheap rotary tools that operate only at a single, high speed are strongly discouraged.
Resin is highly sensitive to heat. Applying a bit at high speeds generates instant friction heat, causing resin to melt and scorch. Therefore, a model that can be adjusted to low speeds between 3,000 and 8,000 RPM is essential.
Rechargeable cordless models are easy to handle and maneuver, making them extremely convenient for handmade crafters. Pick a compact model that offers decent torque (sanding power) and fine speed control.
By changing the bit attachments fitted on the tip, a rotary tool can handle every step from rough grinding to final polishing. Here is a summary of typical attachments and their uses:
Felt buffs, in particular, combine with compound to instantly create an overwhelming shine that hand sanding cannot match. Just like polishing cloths, use dedicated felt buffs for each compound grit and switch them out accordingly.
To make polishing work comfortable and safe, it is essential to equip yourself not just with files and compounds, but also with supportive auxiliary tools. Setting up a proper workspace minimizes the risk of mistakes.
When wet sanding, use a tray or shallow dish with raised edges to prevent water and dust from dirtying your workspace.
Placing a wet silicone mat or non-slip sheet inside the tray and sanding on top of it prevents your resin piece from slipping around. Creating a clean environment where you can focus without worrying about dirtying your desk is the first step toward careful polishing.
The fine dust generated when sanding resin can pose health risks if inhaled. Even when wet sanding, dried dust particles can still fly into the air.
To protect your body, always wear a dust mask and safety glasses while sanding. Dust flies around easily when air conditioners or fans are running, so never compromise on safety precautions.
When switching sandpaper grits, if leftover dust from the previous coarse grit remains in the grooves or on the surface of your piece, it can cause fresh scratches during the next step.
A fundamental rule is to wash your piece thoroughly with water and a soft toothbrush whenever you switch grit numbers. For even better results, consider using a compact ultrasonic cleaner designed for jewelry. Placing your piece in water and turning it on for a few minutes completely removes fine dust and compound residue lodged in tiny crevices.
Here are typical mistake patterns resin beginners fall into when using polishing tools, along with their solutions. Keep these in mind so you don't repeat the same errors!
Sanding with dry sandpaper because applying water feels troublesome is a definite mistake. Sandpaper grits clog with dust in an instant, and friction heat melts the resin surface into a white, gummy mess.
Solution: Always keep the surface wet with water while sanding. The golden rule is to add more water immediately whenever smooth gliding decreases.
This happens when you polish a piece to a brilliant shine with compound, but then wipe it off using a rough towel or a dusty rag, leaving tiny line scratches all over the piece.
Solution: For final wiping, use a clean, like-new microfiber cloth that has never touched the floor or dirty surfaces. The trick is to wipe gently as if caressing the surface.
This occurs when you add extra-fine compound onto a buffing wheel or cloth that was previously used for coarse compound. Particles of different sizes mix together, lowering polishing efficiency and causing uneven haze that destroys transparency.
Solution: Strictly separate tools (buffs, sponges, cloths) by grit size, and store them clearly labeled or color-coded for easy identification.
In resin crafting, selecting polishing tools is not just a preparation step—it is the single most important process that determines the quality of your finished work.
Gather high-quality waterproof sandpaper and sponge abrasives suitable for wet sanding, and step through the grit progression from #400 to #10000 without skipping. Use excellent resin-compatible compounds with clean cloths, and buff patiently and carefully. This is the ultimate rule for achieving flawless, crystal clarity.
Furthermore, by properly incorporating variable-speed rotary tools and safety gear like dust masks, your crafting environment will evolve dramatically, making sanding work immensely enjoyable.
Gathering all these tools might feel overwhelming at first, but they will become reliable partners supporting your creative journey forever. Use the selection criteria introduced today to build your ideal polishing kit and create gem-like resin art that mesmerizes everyone!
If you found this guide helpful, I would be so grateful if you shared it with your craft friends on social media! See you in the next article! This was Yassy from Crafters!







For example, if you are looking for articles about mizuhiki, try searching for "mizuhiki"; if you are interested in tools, try keywords like "nippers" or "pliers."
