A Crafter’s Guide to Printmaking: Understanding the 4 Core Methods & How to Get Started
yassy
Crafters!

Hello, this is Yassy from Crafters! (・∀・)
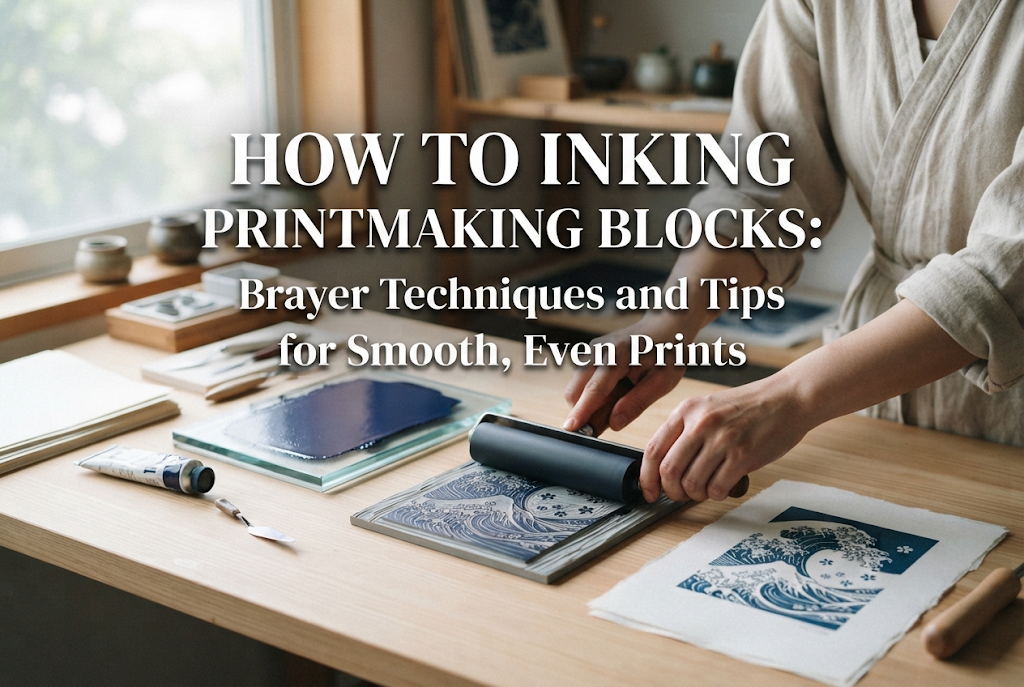
When creating relief prints, applying the ink to your carved block is just as crucial as carving the block itself with gouges. Even if you spend hours carving precise, beautiful details, careless inking can cause faint, patchy lines or cause ink to pool in the grooves, ruining your intended artwork.
Common problems like "the color is uneven," "ink fills into the carved lines and blurs the details," or "the print looks faded on paper" can almost always be solved simply by refining how you apply the ink.
In this guide, I will thoroughly explain everything from the fundamental inking basics that every printmaking beginner should know, to brayer (roller) handling techniques for clean and even printing, as well as troubleshooting tips to avoid mistakes. Read on, and the quality of your printmaking projects will improve dramatically!
First, let us review the basic tools required for inking your printing block. Gathering the right materials and using them correctly is the first step toward a beautiful print.
For your inking plate (called neri-ban in Japan), choose a surface that is completely flat, hard, and smooth. An acrylic photo frame insert from a 100-yen shop or an old acrylic writing mat works wonderfully as a budget-friendly option. For the brayer, select a width suited to the size of your block. Using a roller that is too small compared to your block requires rolling over the surface repeatedly, which tends to cause uneven streaks.
Once you squeeze ink out of the tube, never roll it out immediately onto your block. The first necessary step is thoroughly "kneading" (working) the ink on the plate.
Ink fresh out of the tube can have an uneven consistency, or its components may have slightly separated during storage. Working the ink with an ink spatula on the plate evens out its viscosity so that it coats the roller smoothly.
In my case, once the ink is on the plate, I lightly press down with the spatula and spread it back and forth several times to blend it. Taking this extra moment is the single best way to prevent faint spots and heavy puddling.
The most common mistake beginners make is dispensing too much ink. Putting a large puddle onto your inking plate transfers excess ink onto the brayer, making thickness control very difficult to correct.
Start with what feels like a small amount—about the size of a single soybean for a postcard-sized block—near the edge of the plate. Adding a little bit more as needed is the safest way to ensure consistent results without mishaps.
After working the ink, the next step is spreading it out and transferring a uniform coat across the entire roller. It is no exaggeration to say that this step is the heart of the inking process.
When picking up ink from the plate with your brayer, do not roll only in one direction. Roll the brayer back and forth, lift it up completely, rotate it 90 degrees, and roll in vertical, horizontal, and diagonal directions.
If you slide the roller back and forth without lifting it, the ink collects unevenly on the roller's circumference. Lifting the roller every time you change direction allows a uniform film of ink to cover the entire curved rubber surface.
When the brayer is charged with the ideal amount of ink, a delicate fine texture—resembling a satin-like, micro-fine grain—will appear on the inking plate. In addition, rolling the brayer will produce a crisp, light, whispering sound (like a gentle "shh-shh" or "shari-shari").
If you hear a heavy, sticky, tacky sound ("squish-squish" or "necho-necho"), there is too much ink. In that case, roll the brayer over a clean, un-inked portion of your plate to scrape off and shed the excess ink before continuing.
Once your brayer has an even, thin film of ink, it is time to transfer it onto your carved block.
Just as you did on the inking plate, roll the brayer across the block in multiple directions. Start vertically from top to bottom, then horizontally from left to right, and finish with a pass diagonally.
Applying ink from only one direction leaves the backside of carved ridges uncoated, which causes faded, shadow-like streaks in the final print. Rolling from multiple angles ensures that all raised surfaces receive a balanced, uniform coat of ink.
The amount of downward pressure you apply to the block is very delicate. Never press down hard while rolling.
Pressing down firmly forces ink to bleed into the finely carved recessed grooves, clogging lines and delicate patterns with pooled ink (a problem known as bote in Japanese printmaking). The correct pressure relies on the weight of the roller itself, gliding gently across the surface. Focus on laying ink strictly onto the flat top of the raised relief.
Here are three frequent troubles beginners face, along with their causes and practical fixes. Compare them with your prints to diagnose any issues.
A print that looks faint, chalky, or patchy is usually caused by having too little ink, or by water-based ink drying out during the process.
Solution: Increase the number of ink applications with your brayer. After inking the block once, recharge the brayer on the plate and apply two or three thin layers to the block for consistent coverage. If you are working in a dry environment, work quickly, or mix in a tiny droplet of printmaking retarder or moisturizing medium designed for water-based inks.
This occurs when ink fills the carved recesses, leaving unwanted dark blobs or unnaturally thick lines on your print. The cause is either using too much ink or pressing down too hard with the brayer.
Solution: If ink has gotten into the grooves, pause printing. Use a tightly wrung damp rag or a cotton swab to wipe out the pooled ink from the recesses. Spread out the ink on your plate into a thinner film, and roll again lightly without applying heavy downward force.
If ink gathers heavily on the outer edges and corners of the block, you are likely tilting the brayer while rolling. Extra downward pressure on the corners transfers concentrated bands of ink.
Solution: Hold the brayer handle straight, keeping the roller surface completely level with the printing block. Start rolling slightly outside the edge of the block and roll smoothly straight off the opposite edge; this prevents heavy buildup on the borders.
Printmaking inks generally fall into two categories: water-based and oil-based. Each has distinct handling traits and working properties.
Commonly used in Japanese school classrooms, water-based printmaking inks wash away easily with water, making cleanup painless and highly beginner-friendly.
However, water-based inks dry quickly when exposed to air. If you spend too long kneading and rolling it out on the plate, the ink will thicken and dry out before it even touches the block. The key to success with water-based ink is working briskly and methodically from plate to block.
Oil-based inks offer rich, deep pigmentation with a solid, professional finish. Because they dry much more slowly, you can take your time inking and printing. They are often favored for fine art woodcuts and intaglio work.
Because oil-based inks have higher viscosity than water-based options, they require more thorough kneading on the plate. For cleanup, you will need solvent, mineral spirits, or dedicated cleansers. Always ensure good ventilation and follow manufacturer safety guidelines when handling them.
Here are two simple techniques I use in my own daily printmaking work to ensure clean, consistent prints.
When inking a block for the first time, never print directly onto your expensive final printmaking paper. A brand-new block tends to absorb ink irregularly, meaning the first pass rarely adheres evenly.
I always take standard copy paper or scrap paper and run two or three test prints (called sute-zuri in Japanese). Doing this seasons the block and conditions the surface so the ink takes perfectly. Once the ink transfers evenly, you can switch to your good paper and avoid wasted sheets.
Selecting the right brayer width is essential. Whenever possible, choose a roller that is wider than the short edge of your printing block.
Using a brayer narrower than the block requires rolling multiple side-by-side rows, which easily leaves visible seam marks and banding. A brayer capable of spanning the entire width in one single pass produces a remarkably smooth and uniform ink layer.
To master inking, keeping your tools in pristine condition is non-negotiable. Clean your tools immediately after finishing a session.
For water-based ink, rinse your brayer and inking plate with water or lukewarm water before the ink hardens. Clean gently with a soft sponge, and dry thoroughly with a clean cloth.
Once washed, store the rubber brayer upright or hung from a hook so that the rubber cylinder does not rest directly on a table or shelf. If left resting on its rubber surface, the brayer's weight will create flat spots over time, making it impossible to roll ink evenly in future projects. Take good care of your tools during storage, and they will serve you well for years to come.
In this guide, we explored how to ink a relief block properly, from preparing the ink and rolling techniques to troubleshooting common print flaws.
While "rolling ink and pressing paper" seems straightforward, every action—from working the ink on the plate to roller angle and pressure—has a clear purpose.
Remember these golden rules: start with a small amount of ink, lift and roll the brayer in multiple directions, and rely gently on the weight of the roller. Keeping these in mind will allow anyone to create crisp, beautiful prints without patches or filled grooves.
Adjusting pressure and ink volume might feel unfamiliar at first, but running test prints will quickly help you find the right touch. Master mindful inking, and bring your unique printmaking designs to life just as you envisioned!
If you found this guide helpful, sharing it with your creative friends on social media is always deeply appreciated!
Until next time—this was Yassy from Crafters!

For example, if you are looking for articles about mizuhiki, try searching for "mizuhiki"; if you are interested in tools, try keywords like "nippers" or "pliers."
