The Essential Guide to Japanese Eraser Stamp Carving: Must-Have Tools and Flawless Techniques for Beginners
yassy
Crafters!
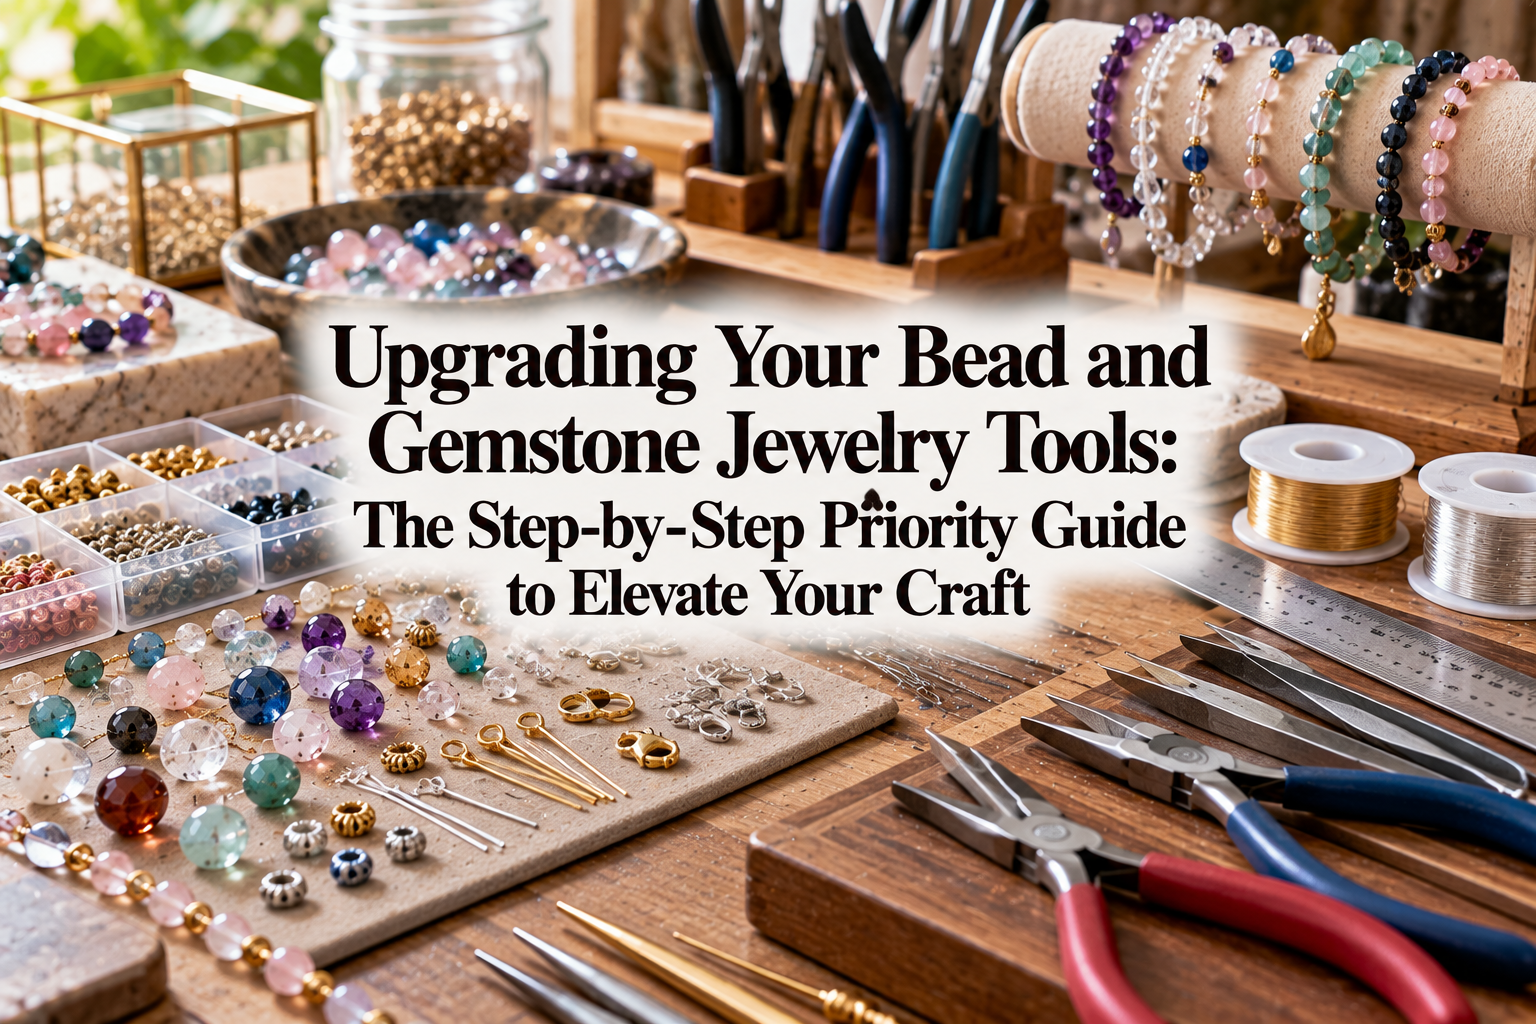

Hello, everyone! It’s Yassy from Crafters! (・∀・)
Creating handmade jewelry with beads and natural gemstones is such an exciting hobby—just looking at all those sparkling materials makes the heart dance! I am completely captivated by the world of gemstones and beads myself. I often find myself wandering through local craft and bead shops, admiring gorgeous stones, making necklaces and earrings to wear, and collecting delicate pieces crafted by other talented artisans. I truly enjoy every single moment in the handmade world.
When you first get into bead and gemstone jewelry, starter tool kits and basic tools from discount shops like 100-yen stores are more than enough to have fun. But once you get comfortable with the basics, have you started wondering how to make your jump rings close more cleanly? Do you want your wire loops on headpins and eyepins to look commercially flawless, or are you worried about scratching your delicate gemstones?
In reality, what dramatically shifts the final quality of your work is often not just your technical skill, but the quality of the tools you are holding. Simply graduating from beginner kits and upgrading to high-precision dedicated tools can solve your persistent issues almost effortlessly, drastically improving both the beauty and the durability of your creations.
In this guide, I will walk you through the absolute priority order for upgrading your tools when graduating from a beginner starter kit, along with specific criteria for choosing each one. Let's make sure you spend wisely and reach professional-grade results in the shortest time possible!
Handmade bead and gemstone jewelry relies on a series of simple actions: bending, joining, and cutting metal components. Because of this, the surface area and frequency with which your tools come into direct contact with your materials is far higher than in almost any other crafting field.
The pliers and cutters included in starter kits are usually mass-produced generic items designed to keep kit costs low. Their tips often have slight misalignments, the metal surfaces may have a rough or unfinished polish, and the return springs can be either too stiff or too loose. This lack of tool precision is precisely what causes deformed findings, chipped stones, warped jump rings, and frayed wire.
When you switch to high-precision, well-crafted tools, you can control your components accurately without applying unnecessary brute force. Jump rings close shut with zero gaps, wire loops form perfectly round curves, and stones remain free of even the tiniest scratch. Upgrading your tools before pushing yourself to master advanced techniques is the true secret shortcut to improving your craft.
Without question, the very first tool you should upgrade is your flat-nose pliers. In bead and gemstone jewelry making, flat-nose pliers are your primary go-to tool—the one your hand reaches for most often. You use them in nearly every step: opening and closing jump rings, pressing crimp beads, holding small findings, and steadying wires.
Starter kit flat-nose pliers often feature bulky tips and serrated grooves on the inside of the jaws intended for a non-slip grip. If you grip metal jewelry findings or hold a wire near a natural stone with serrated pliers, the teeth will leave unsightly gouges in the metal, or worse, crack a fragile gemstone. Furthermore, thick tips cannot fit into the narrow spaces between small beads, making delicate adjustments impossible.
The flat-nose pliers you want to upgrade to must feature completely smooth jaws (serration-free) and finely tapered, precisely aligned tips.
Smooth-jaw pliers hold metal securely without leaving a single mar or scratch. Choosing a model with ultra-fine tips allows you to access tiny jump rings under 3 mm and reach into tight gaps between beads and clasps. This lets you close rings flush with zero gap, completely preventing chains or charms from slipping out.
When I first upgraded my flat-nose pliers to a professional-grade precision pair, I was genuinely amazed at how cleanly my jump rings closed. It instantly elevates the cleanliness and refinement of an entire piece, making it the undisputed number one priority for an upgrade.
The next tool on your list should be a dedicated pair of round-nose pliers. Round-nose pliers are indispensable for turning neat loops on headpins and eyepins, as well as for wire-wrapping techniques like briolette wraps.
Have you ever struggled with loops ending up asymmetrical, oval, or developing awkward kinks when using starter kit round-nose pliers? That usually happens because the two conical jaws are not symmetrically tapered, or the metal surface is roughly finished.
High-quality round-nose pliers feature a smooth, even taper down to the tip, with both jaws forming flawless cones. The metal surface is typically mirror-polished, allowing wire to glide smoothly around the jaw without catching or scratching.
Here are the three essential criteria to check when upgrading round-nose pliers:
Uniformity in loop size between the left and right sides is critical, especially when crafting earrings or matching gemstone charms. A high-quality pair of round-nose pliers eliminates the stress of wire looping, allowing you to produce consistently balanced loops every single time.
The third priority is your wire cutters. Whether trimming headpins, cutting artistic craft wire, or snipping nylon-coated beading wire, your cutters determine the cleanliness of every cut edge.
Standard utility cutters and cheap starter kit cutters work by pinching and pinching-off the wire. This leaves a pinched, wedge-shaped tip with sharp burrs. These jagged ends feel scratchy against the skin and easily snag on fine clothing fibers.
What you need to upgrade to is a pair of precision flush cutters designed specifically for jewelry making. Look for thin blades where one side of the cutting edge is completely flat.
A flush cutter leaves a clean, flat cut on the wire. When a wire end is flat, it sits flush when bent with round-nose pliers, preventing gaps inside your loops. You also save substantial time because you no longer need to file down sharp metal burrs after every cut.
Sharp cutters require only gentle pressure to snip through wire, reducing hand fatigue during long crafting sessions. Because blade quality directly affects both safety and appearance, high-grade flush cutters are an essential third investment.
Once you have upgraded the core trio of hand tools—flat-nose pliers, round-nose pliers, and flush cutters—it is time to optimize your workspace. The two most impactful additions here are a high-quality bead mat and jewelry-grade precision tweezers.
When starting out, many crafters work directly on bare tabletops, scrap fabric, or inexpensive felt sheets. However, tiny gemstones and jump rings slide easily on smooth surfaces, often rolling onto the floor or pinging away when gripped with pliers. Furthermore, hard tabletops can cause micro-scratches when gemstones knock against the surface.
A thick, padded mat with a soft, flocked surface solves this instantly. Dedicated bead mats provide gentle cushioning and slight friction that prevents round beads and findings from rolling away. It also makes scooping up tiny jump rings with flat-nose pliers significantly easier, easily doubling your working speed.
Pairing your mat with a set of fine-tipped precision tweezers lets you pick up 1 mm seed beads and delicate decorative rings with exact control. Arranging complex patterns and adjusting placements where fingers cannot reach becomes effortless, completely eliminating mid-project frustration.
After your core tools and work environment are in order, you can explore specialized tools tailored to specific techniques. These tools are designed to maximize quality in particular construction methods.
Crimp beads and crimp tubes are fundamental when stringing beads onto nylon-coated wire for necklaces and bracelets. Flattening them with ordinary flat-nose pliers leaves a wide, sharp-cornered piece of metal that looks unrefined. Dedicated crimping pliers notch and fold the crimp bead into a neat, rounded bead shape. This minimizes the finding's profile and gives the finished jewelry a clean, commercial appearance.
These pliers feature jaws coated or fitted with durable nylon pads. They are invaluable for straightening artistic wire without stripping its colored plating, or for securing wire wraps near softer gemstones (such as opal or fluorite) without risking cracks or chips. Because metal never makes direct contact with your materials, you avoid surface abrasion entirely.
You do not need to buy these specialized tools all at once; simply add them as your project repertoire expands. When introduced on top of your primary tools, they bring the durability and aesthetic appeal of your work to its highest level.
To keep from wasting money on the wrong equipment, keep these three common pitfalls in mind when shopping for upgrades:
Never substitute jewelry pliers with standard DIY or hardware store tools just because they look sturdy or economical. Industrial tools are built for thick electrical cables and heavy sheet metal; they have blunt tips and deep serrations. Gripping small jewelry findings with them will instantly mar the metal and easily crush delicate gemstones. Always choose tools explicitly designated for hobby, jewelry making, or precision craft work.
Pay attention to the handle shape and spring action, not just the tip precision. Tools without return springs force you to manually open the jaws with your fingers between every single motion, causing severe hand fatigue. Opt for tools equipped with smooth, self-opening leaf springs and comfortable rubber grips so you can craft comfortably for hours.
When stepping away from your initial kit, resist the urge to buy cheap multi-piece "deluxe sets" online. Bundled sets often include one or two decent tools mixed with subpar ones. You do not need to replace everything in one purchase. Follow the priority order outlined in this guide and invest in individual tools from reputable craft brands, one carefully chosen piece at a time.
Once you have invested in high-quality tools, caring for them properly ensures they remain your reliable companions for years to come. Here is how to keep them performing at their best:
After each crafting session, wipe down the metal surfaces of your tools with a soft, dry cloth to remove oils and perspiration. Skin oils and sweat are the leading causes of oxidation and rust on metal tools.
Periodically place a single drop of anti-rust lubricating oil on the pivot joint, opening and closing the pliers a few times to work the oil in. This maintains smooth operation and protects the joint from friction wear.
Store your tools upright on a dedicated tool stand or in a divided case, away from high humidity and direct sunlight. Tossing precision tools loosely into a drawer where the tips bang against each other can bend fine jaws or nick cutting edges. Caring for your tools with respect directly translates into mindful, precise craftsmanship in your finished jewelry.
Switching from basic starter tools to high-precision equipment brings a delightful change to your crafting life.
First, your production speed will noticeably increase. Jump rings close cleanly on the first try and wire loops form without repeated tweaking, eliminating wasted time spent redoing connections. Steps that once took an hour can often be finished in half the time, giving you the freedom to create more pieces.
Most importantly, your confidence in your own work will soar. When you hold a piece with perfectly aligned findings, spotless wire loops, and pristine gemstones, you will feel a genuine sense of pride in what you are capable of creating. Cleanly finished jewelry is a joy to give as gifts to loved ones, and it provides the confidence you need to start offering your work at craft markets or online shops.
In bead and gemstone jewelry, tool quality is reflected directly in your finished work. Here is a quick review of the upgrade order:
Following this progression helps you avoid unnecessary expenses while guiding you straight toward professional-level quality. You can start with just that one primary pair of flat-nose pliers. Once you experience how a truly refined tool feels in your hand and see the difference in your work, you will never look back!
Enjoy every moment of crafting stunning bead and gemstone jewelry alongside your favorite trusty tools!
If you found this guide helpful, please share it with your fellow crafting friends on social media! Until next time—this is Yassy from Crafters signing off! Happy crafting!


For example, if you are looking for articles about mizuhiki, try searching for "mizuhiki"; if you are interested in tools, try keywords like "nippers" or "pliers."
