Your Very First Diorama: The Best Beginner Project and Step-by-Step Guide
yassy
Crafters!
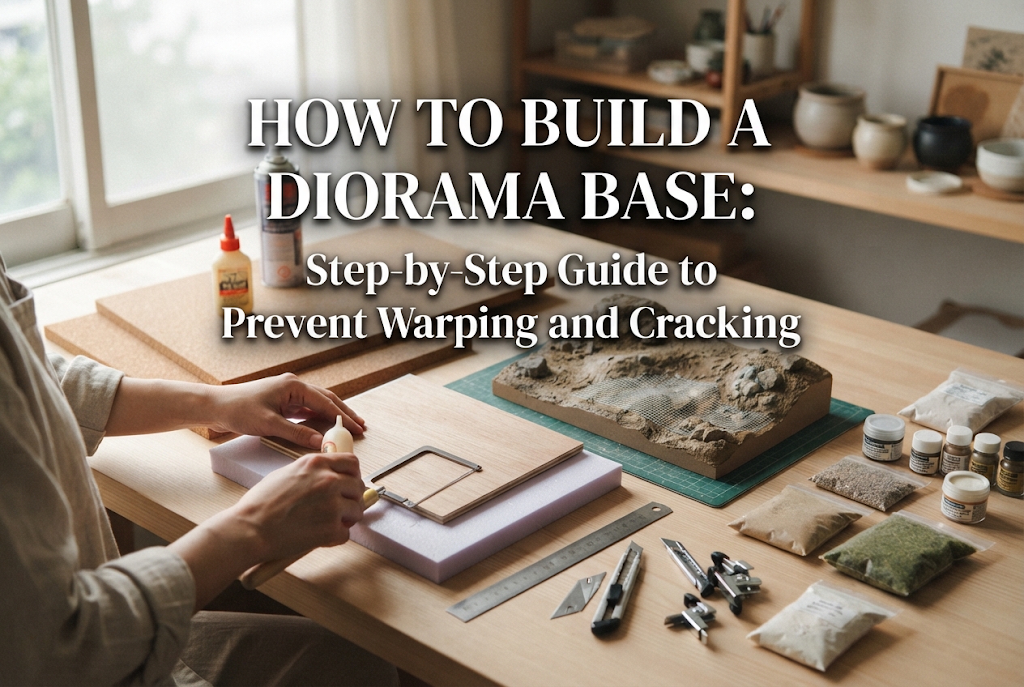

Hello, crafters! It’s Yassy from Crafters! (・∀・)
Many people want to create dioramas to display miniatures and figures, but they often don't know where to start. In diorama making, the single most important element that determines the quality, realism, and lifespan of your work is the base.
No matter how wonderful your buildings, plants, or miniature figures look, if the foundation underneath warps or cracks over time, all that hard work is ruined. The base is truly the structural framework and the foundational construction of your diorama.
In this guide, I will explain how to make a sturdy and beautiful diorama base from scratch, tailored for beginners who are eager to jump into the hobby. We will cover everything from selecting the right materials to detailed step-by-step procedures, along with common beginner pitfalls and how to avoid them. Be sure to read all the way through to master the art of diorama base making!
When starting a diorama, it is completely understandable that you want to jump straight into planting grass or placing miniature buildings. However, rushing through the base preparation will inevitably lead to regret later on.
There are three main reasons why the base is so critical:
Simply spreading dirt or grass textures onto a completely flat board often looks toy-like and monotonous. By planning out terrain elevations like hills, slopes, or valleys at the base stage, you can recreate scenery that looks convincingly real.
Furthermore, when you apply wet clay or paints, the drying process exerts a contracting pull that can easily bend a thin board out of shape. Building a structure capable of resisting that tension right from the beginning is the ultimate secret to diorama success.
Here is an overview of the essential tools and materials used in creating a diorama base. All of these can easily be found online, at 100-yen shops, or at your local home improvement center.
For the bottommost layer of your base, select a rigid material that resists bending:
These materials are layered on top of the base board to create varied elevations, cliffs, and hills:
Used to bridge gaps between foam layers and establish natural ground textures:
Here are the step-by-step instructions divided into five straightforward stages. Following this sequence ensures that even a beginner can construct a solid, warp-free diorama base.
Begin by preparing your foundational board, such as a wooden cradle panel or MDF board. If you use a wooden photo frame or small wooden tray from a 100-yen shop, glue the backboard firmly into place.
The crucial objective at this stage is warping prevention. If you use a thin, unsupported board, the moisture from wet clay will cause it to curl upward. Prevent this by gluing thin wooden square battens along the underside to create a rigid frame, or simply choose a thick, solid wooden base from the start.
Place your extruded polystyrene board on top of the base and cut it to match the shape of the terrain you want to build.
By stacking layers of foam like stairs, you can create mountains, cliffs, and gentle hills. When laminating foam layers together, spread wood glue evenly across the entire contact surface. Place a weight on top until the glue cures to ensure a solid bond.
Once the glue is completely dry, use a craft knife or coarse sandpaper to shave down the sharp corners of the foam steps, blending them into natural slopes and rolling contours.
Simply shaving foam leaves stair steps, blade marks, and the visible cell structure of the foam. To remedy this, apply a thin, continuous coat of clay or modeling paste over the entire surface.
If you are using stone powder clay, dip your fingertips or a spatula in a little water to blend the seams between the foam layers and the base board smoothly. Avoid applying the clay too thickly, as excessive thickness leads to cracks during drying; aim for a uniform layer roughly 2 to 3 millimeters thick.
After spreading the clay, lightly stipple the surface with your fingertips, a sponge, or an old toothbrush to impart a natural, earthy grit and rocky texture before it cures.
Once your clay or paste is applied, do not rush—allow it to dry thoroughly. Depending on ambient room conditions and thickness, let it sit for at least 24 to 48 hours so all moisture fully evaporates. Even if the surface appears dry, trapped internal moisture can cause peeling or mold later.
When it is bone dry, paint the ground using acrylic paint. An absolute golden rule: even if you intend to scatter bright green grass or sand on top, always paint the ground with a dark color first, such as dark brown, burnt umber, or deep slate gray.
Painting the base dark allows subtle shadows to peek through tiny gaps between the flocking and sand powders, giving your terrain realistic depth and natural shadows. Applying bright colors as an undercoat will make the ground look flat and artificial.
Once the base coat of paint is dry, it's time to build the actual surface terrain.
Mix equal parts wood glue and water with one single drop of liquid dish soap to make diluted scenic glue ("bond water"). The drop of dish soap breaks surface tension, allowing the adhesive liquid to soak evenly across the entire ground without beading up. Brush this mixture generously over the base.
Next, sprinkle on scenic modeling sand, static grass / flocking powder, and real tiny pebbles. Distributing green flocking randomly over a bed of fine brown sand instantly creates the look of real, wild vegetation sprouting across the earth.
Beginners often run into a few predictable issues when building their first diorama bases. Understanding the causes and solutions beforehand will save you time and frustration.
This is the most common mistake of all. Wet clay shrinks considerably as water evaporates. If the structural base underneath cannot resist that pulling force, the outer corners will curl upward.
Here are three ways to avoid warping:
Extruded polystyrene and standard beaded foam will dissolve instantly into a gooey mess if exposed to organic solvents found in superglues, solvent-based adhesives, or spray lacquer paints.
To avoid this, always use PVA wood glue or water-based adhesives on foam. If you plan to use lacquer spray paint later, seal the foam completely with acrylic paint or a continuous layer of clay first, ensuring no raw foam is exposed to the spray solvents.
This happens when ground textures, loose sand, or grass powders shed every time the finished diorama is handled or moved.
To fix this, make sure to perform a final fixing step. After sprinkling on your sand and grass powders, gently drip diluted scenic glue over everything using an eyedropper, or mist the scene lightly from a distance with a matte protective varnish spray to lock everything firmly in place.
Spreading grass evenly across a flat square board rarely looks like a piece of the real world. In nature, even seemingly flat paths or meadows have subtle slopes, ruts, and gentle undulations.
As a design trick, intentionally elevate the back of the base slightly higher than the front. Introducing this gentle upward slope creates an illusion of depth, making even a tiny base feel expansive and professional.
Here is my personal favorite method that I use when making compact dioramas and miniature display bases—it is both sturdy and exceptionally easy.
I frequently use deep wooden frames or shallow wooden divider boxes from 100-yen shops. Because these frames have raised sides, the unsightly raw edges of your carved foam remain hidden inside the box, turning the entire diorama into an attractive interior display piece right away.
Yassy’s Wooden Box Diorama Base RoutineSpread wood glue on the bottom of the wooden box and press in a block of extruded foam trimmed to match the depth of the box.Carve subtle depressions and slopes with a craft knife to mark paths, sunken ruts, or riverbeds.Coat the entire top surface with modeling paste (textured with fine sand). This fills minor gaps around the foam and adds texture all in one go!Once dry, coat the entire terrain generously with dark brown acrylic paint.Scatter green grass flock and small stones, then lock everything down with diluted scenic glue.
Using this approach, the rigid wooden walls firmly prevent any warping from moisture shrinkage. It is a virtually foolproof technique that I highly recommend for beginners.
Diorama making is wonderful fun, but because you will be handling sharp blades, adhesives, and paints, safe work habits are essential.
When cutting extruded foam, use a sharp utility blade and avoid extending the blade excessively far. Even though the foam is soft, applying too much pressure can cause the knife to slip. Always work on a proper cutting mat and keep your free hand well clear of the blade's cutting path.
Additionally, when using spray paints, varnishes, or solvent-based adhesives, ensure your workspace is well ventilated. Open windows or work outdoors whenever possible. Always read and follow the manufacturer instructions and safety warnings printed on your craft materials.
In this guide, we explored the foundational steps to building a diorama base, covering essential supplies, drying procedures, and techniques to keep your work from warping or crumbling.
Base construction might seem like the least glamorous part of diorama crafting. However, choosing a rigid wooden foundation, carving dynamic terrain with extruded foam, and sealing it properly with dark undercoats and warp-resistant methods is the fastest route to creating a piece that looks authentic and lasts for years.
You don't have to start with a massive project. Pick up a palm-sized wooden frame or small box and practice making a simple base first. Once your foundation is locked in, the absolute best part begins: bringing your diorama to life with plants, scenery, and your favorite figures!
Start building your very own miniature world today on a foundation that will stand the test of time.
If you found this guide helpful, please share it with your fellow crafter friends on social media—it means the world to me and keeps me motivated!
Until next time, happy crafting! This was Yassy from Crafters!






For example, if you are looking for articles about mizuhiki, try searching for "mizuhiki"; if you are interested in tools, try keywords like "nippers" or "pliers."
