Beginner’s Guide to Candle & Aroma Wax Sachet Making: Start Today with a Starter Kit
yassy
Crafters!

Hello, everyone! I'm Yassy from Crafters! (・∀・)
Lighting a candle—whether it's a favorite scented candle or one you poured with your own hands—creates such a relaxing, soothing time. The gentle glow and fragrance fill the room, transforming it into a truly special sanctuary.
However, have you ever felt frustrated watching your candle wax disappear far too quickly, or finding that only the center melts straight down, leaving a thick, wasteful rim of solid wax around the edges? When a carefully handcrafted piece or a cherished candle burns down before you can fully appreciate it, it feels like such a missed opportunity.
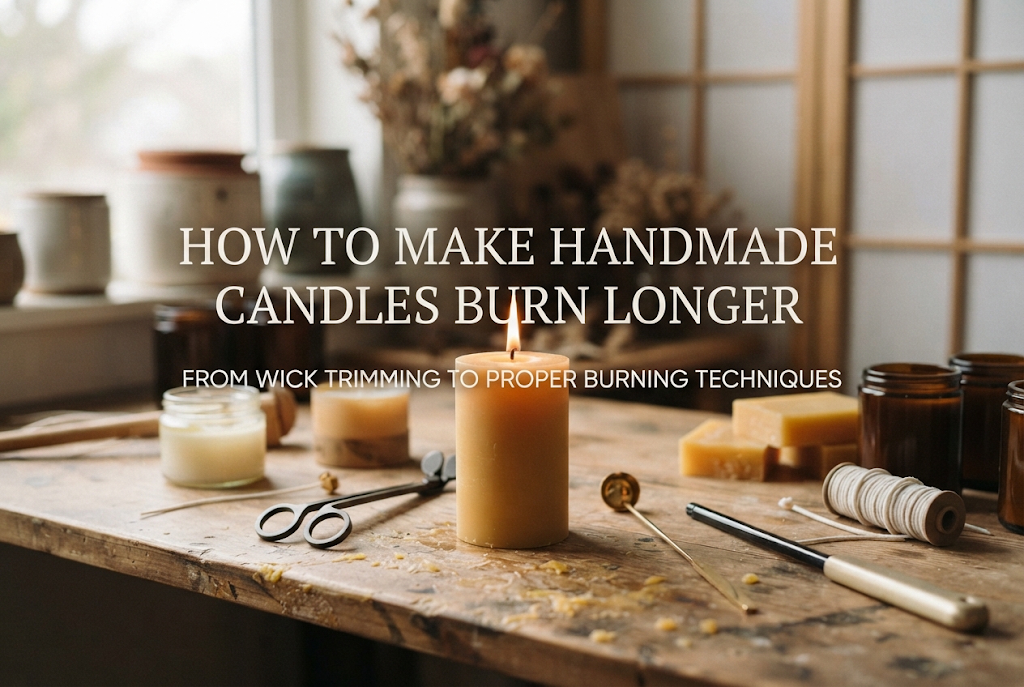
In fact, the burn time of a candle changes dramatically depending on whether you know a few simple maintenance habits and the correct steps for lighting it. With the right care and a few thoughtful adjustments during crafting, you can make the exact same candle last for many extra hours.
In this guide, I will thoroughly explain practical techniques to extend your candle's burn time in a way that is easy for beginners to put into practice immediately. Alongside burning advice for existing candles, I have also included tips for designing and making your own, so please read on to the end!
Before diving into techniques to prolong burn time, it helps to understand why candles burn away faster than expected. Once you identify the causes, the solutions become clear.
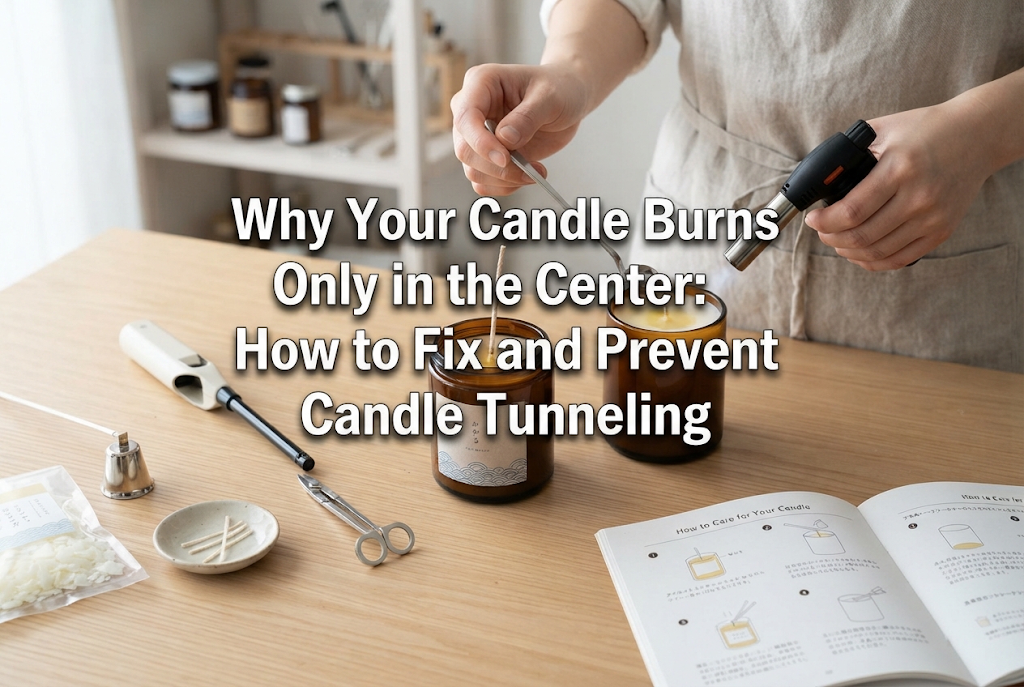
The biggest reason a candle's lifespan is cut short—or why it refuses to stay lit—is "tunneling." This occurs when only the wax in the very center around the wick melts straight downward like a cylinder, leaving the outer wax clinging to the container walls like a hard shell.
When tunneling happens, not only do you lose access to a large portion of the wax, but the wick sinks into a deep hole where oxygen cannot circulate well. This causes the flame to choke, flicker weakly, or drown entirely. A candle that should have melted evenly across its surface ends up unusable in a fraction of its intended lifespan.
When you light a candle with a wick that is too long, the flame grows far larger than necessary. A flame that is too big consumes a massive amount of melted wax per unit of time.
Large flames are also unstable, dancing erratically and generating black soot and smoke. This rapid fuel consumption quickly cuts your candle's burn time in half.
If you burn a candle in a breezy spot, the flame will constantly flicker, lean to one side, or crackle. This unsteady heat distribution causes the wax on one side to melt and drain away at an accelerated rate.
A drafty environment consumes wax much faster than a calm room. The airflow around your candle is a critical, often overlooked factor in how long it will last.
The very first time you light a new candle is the single most critical moment determining its overall lifespan. In the candle world, this is known as the "first burn."
Candle wax has a unique physical characteristic: it "remembers" the area melted during its previous burn. This behavior is widely referred to as "candle memory."
If you extinguish a candle before the surface wax has melted completely to the edges of the container during that first lighting, the wax sets a permanent boundary. On every subsequent burn, the heat struggle to spread past that initial pool diameter, inevitably locking in the dreaded tunneling effect.
Whenever you light a candle for the first time, keep it burning until the entire top surface melts evenly, forming a liquid wax pool that reaches all the way to the rim.
The time required for a successful first burn depends directly on the candle's diameter. As a general rule of thumb, plan for approximately one hour of burning per 2.5 cm (1 inch) of diameter.
For example, if you have a container candle with a diameter of about 7 cm (roughly 2.75 inches), you need to keep it burning continuously for at least 2 to 3 hours on its first outing. Extinguishing it too soon almost guarantees tunneling, so make sure to initiate that first burn on an evening or weekend when you have plenty of time to let it pool completely.
If you had to put out the candle early and notice a dip starting to form in the center, don't worry. If caught in the early stages, it is easy to recover.
My go-to fix is the "foil tent" method. Wrap a sheet of aluminum foil over the top rim of the candle container like a dome, cutting a small opening (about 2 to 3 cm in diameter) in the center so the flame receives oxygen and heat can vent safely. Light the candle with this cover in place; the trapped radiant heat will gently melt down the high, hardened wax walls, evening out the pool into a smooth, flat surface again.
By ensuring the heat circulates evenly, you can reset the flat top surface and erase the tunnel. Try this as soon as you notice an uneven depression.
Even if your first burn goes perfectly, neglect during day-to-day use will gradually diminish burning efficiency. The most vital habit is consistent wick maintenance.
Always check the length of your wick before lighting. A wick that is too long creates a roaring flame and excess soot, while a wick that is cut too short will produce a weak flame prone to drowning in melted wax.
The ideal length for peak burning efficiency is roughly 5 mm to 7 mm (about 1/4 inch). Brand-new candles—both store-bought and handmade—often have relatively long wicks, so always trim them before the very first light.
A dedicated tool called a "wick trimmer" makes it effortless to snip wicks sitting at the bottom of tall, narrow jars. A pair of regular craft scissors or nail clippers can work as substitutes, but be careful not to let the trimmed carbon pieces fall down into the wax.
After an extended burn, a small, dark, bulbous buildup resembling a tiny mushroom cap often forms at the tip of the cotton wick. This is called "mushrooming."
Relighting a wick with a mushroom intact causes an oversized, flickering flame, crackling sparks, and black soot. It also burns through wax much faster.
Once you put out the candle and the wax has cooled and solidified completely, gently pinch off that black carbon tip with a piece of tissue paper, or snip it off with your trimmer. This simple step keeps the flame steady and extends the burn time significantly.
Over repeated burns, a wick can bend and tilt toward one side. When this happens, the heat concentrates exclusively in that direction, melting one wall while leaving the opposite side untouched.
Right after putting out the candle—while the wax pool is still soft and liquid—use tweezers or a candle dipper to nudge the wick back into an upright, centered position. If you attempt to bend it after the wax has hardened, the brittle wick can snap, so centering it while the wax is warm is an absolute must.
The space where you place your candle and the way you put out the flame also have a major impact on burn speed.
As mentioned earlier, moving air is the enemy of an efficient burn. Avoid placing candles where air currents hit them directly, such as under an air conditioner, near electric fans, or close to open doorways and windows.
In a calm, draft-free room, the flame stands straight, quiet, and steady. An undisturbed flame consumes wax at the slowest, most balanced rate possible.
While you want to ensure the wax melts to the edges, leaving a candle burning for hours on end is counterproductive. Keep each burn session to a maximum of 2 to 4 hours.
If burned continuously for too long, the entire container and wax pool overheat. The wax turns completely runny and superheated, which can cause the wick to drift and lean, while increasing the evaporation rate of the wax. Letting the candle cool down and resolidify before lighting it again preserves its overall structure and longevity.
Do you casually blow out your candles with a puff of air? This common habit actually reduces the quality and lifespan of your candle.
Blowing out a flame generates harsh, smoky odors and a trail of soot. Worse, the glowing wick smolders away, eroding its tip and making it harder to light next time. The forceful breath can also splash hot wax and potentially submerge the wick.
The best method is to use a metal tool called a candle dipper. You gently push the burning wick down into the liquid wax pool to extinguish the flame instantly, then lift it right back up and straighten it. This creates zero smoke, zero smell, and coats the wick in fresh wax, making the next ignition smooth and instant. If you don't own a dipper, a metal snuffer or sturdy tweezers will also do the trick.
If you craft your own handmade candles, you don't have to rely solely on aftercare—you can engineer a longer burn time from the recipe stage. Here are the design factors you can control when pouring your own pieces.
The type of wax you choose fundamentally dictates how fast a candle burns. If long burn times are your priority, choose dense waxes with higher melting points.
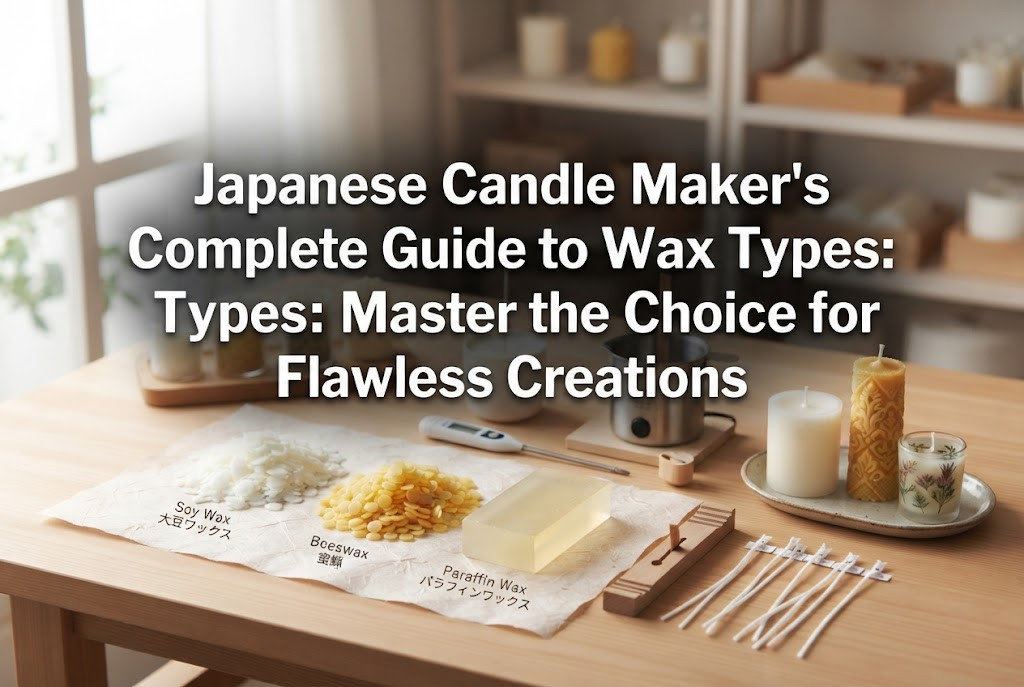
Here is a quick overview of how common waxes behave:Soy Wax (Vegetable-based): Has a lower melting point and a softer texture, but burns slowly and gently. It produces minimal soot and offers a clean, lasting burn.Beeswax: Exceptionally dense with a high melting point. It boasts the longest, slowest burn of all common candle waxes.Palm Wax: A firm, vegetable-based wax known for its beautiful crystalline patterns. It is very hard and burns relatively slowly.Paraffin Wax: A classic, petroleum-derived wax that is easy to mold and scent, though it can burn through quickly depending on its melting grade and the wick pairing.If your goal is an exceptionally long-lasting candle, blending beeswax into your formula or using a firmer soy wax grade will make a world of difference.
The trickiest and most critical step in candle making is wick selection.
If a wick is too thick for your vessel diameter, the oversized flame will swallow the wax rapidly. Conversely, if the wick is too thin, the flame will stay tiny, leaving thick unmelted margins. Always consult the manufacturer's recommended diameter guidelines for your chosen wick series. Keep in mind that whether you use traditional braided cotton wicks or wooden wicks, dimensions and thickness directly alter burning efficiency.
When crafting scented candles, it is tempting to overload fragrance oils to get a stronger scent throw. However, adding too much oil disrupts the combustion balance.
Excess oils can clog the wick capillaries, causing the flame to flicker wildly, produce heavy soot, or choke out. The same issue happens with excessive pigment or dye chips. Sticking strictly to recommended additive ratios—typically between 5% and 10% of total wax weight—is essential for a clean, stable burn.
When I set out to make an aroma candle designed to last as long as possible, my favorite approach is blending soy wax with natural beeswax.
By pairing the gentle texture and fragrance-carrying ability of soy wax with the natural firmness and slow burn rate of beeswax, you get a candle with superb burning efficiency. When prototyping, I always perform a full burn test from start to finish to ensure the melt pool spreads cleanly and no soot develops before making a final batch. Taking this extra step elevates the finished piece to an entirely new level of quality.
To truly enjoy a long-lasting candle, safety must always come first. Peaceful relaxation is only possible when safe practices are strictly respected.
Whether you are burning a purchased candle or using DIY wax kits and supplies, always review the safety labels and instructions. Container heat thresholds and recommended continuous burn times vary across brands. Following the recommended parameters is the safest, most reliable way to get the best performance from your candle.
In this guide, we explored practical methods to maximize your candle's burn time, spanning everyday maintenance, burning techniques, and maker-level design adjustments.
Here is a quick recap of the most important takeaways:On the first burn, let the candle burn until the melt pool reaches the container edge.Trim the wick to 5–7 mm before every single lighting.Remove any carbon mushrooming from the wick tip once the wax cools.Burn in a still, draft-free room to keep the flame steady.Extinguish using a candle dipper instead of blowing to eliminate smoke and prime the wick.When making candles, choose wax types and wick sizes carefully to match the vessel diameter.By investing just a little care into trimming the wick and respecting the initial burn time, your candles will burn brighter, cleaner, and last surprisingly longer.
Treat your favorite store-bought jars or your own handmade creations to proper care, and enjoy their gentle light to the very last drop!
If you found this guide helpful, sharing it with your crafting friends on social media means the world to me!
See you in the next post! This was Yassy from Crafters! (・∀・)





For example, if you are looking for articles about mizuhiki, try searching for "mizuhiki"; if you are interested in tools, try keywords like "nippers" or "pliers."
