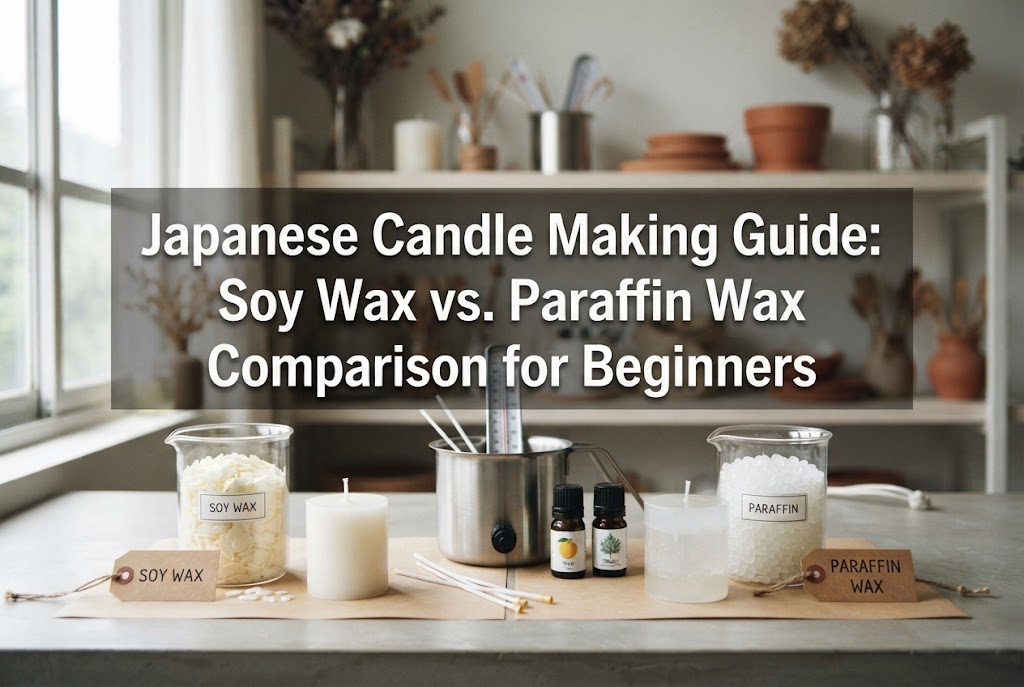
Japanese Candle Making Guide: Soy Wax vs. Paraffin Wax Comparison for Beginners
yassy
Crafters!


Hello, this is Yassy from Crafters! (・∀・)
Have you ever lit your favorite candle only to find the wick drowning in melted wax and going out? Or perhaps while making your own candle, you have faced the frustration of the wick being pulled downward and buried as the wax hardens.
It is really sad when a relaxing moment or a fun DIY experience gets ruined by wick troubles. In fact, the causes of a sinking candle wick are completely different depending on whether it happens "while burning the candle" or "while making the candle."
In this article, I will clearly explain the exact reasons why wicks sink in both scenarios, immediate troubleshooting steps, and practical techniques to prevent these issues before they happen!
The phenomenon of a candle wick drowning or sinking occurs mainly at two different timing:
Different causes naturally require different solutions and preventative measures. First, let's identify which situation matches your current problem as you read on.
Let's start by looking at why wicks sink into wax while burning commercially bought or handmade candles. There are clear reasons why a flame shrinks after lighting and eventually drowns.
The biggest reason for a wick sinking during use is an imbalance between candle size and wick thickness. Candles work by using the heat of the flame to melt surrounding wax, which the wick then draws up and burns.
However, if the wick is too thin for the candle's diameter, the heat cannot melt the wax evenly out to the edges. As a result, only the area directly beneath the wick melts deeply, creating a large pool of liquid wax that overpowers the thin wick, causing it to submerge.
Trimming your wick before lighting is an important maintenance step, but cutting it too short can also cause it to sink.
When a wick is too short, the flame created right after ignition is tiny. Even a small flame will melt some wax underneath, but because the flame is too small compared to the amount of liquid wax generated, it cannot draw up and burn all the wax. As a result, it drowns in the small pool of wax melted by its own heat.
If you have a habit of extinguishing a candle after burning it for only a short time, "tunneling" occurs. This is when only the central core melts, leaving thick walls of hard wax around the edges.
Once tunneling occurs, the next time you light the candle, the central crater burns even deeper. Eventually, a large amount of melted wax collects at the bottom of a deep hole surrounded by tall wax walls with nowhere to go, completely covering the wick.
As a general rule, once you light a candle, you should keep it burning until the entire top surface melts evenly, creating a shallow pool of wax.
If you repeatedly extinguish the candle before the entire surface has melted, the surface loses its flatness and becomes sloped like a mortar around the wick. The next time it is lit, melted wax runs down the slope and concentrates around the wick, crushing and submerging it.
If your wick is already buried in wax and won't light, you don't need to give up and throw it away! Follow these proper steps to dig out and restore your sunk wick easily.
This method works right after the flame has gone out or when the wick is about to sink, while the wax is still warm and soft.
If the wax has already hardened completely and the wick is fully submerged, use warm air to fix it.
In my own practice, to prevent wicks from sinking during use, I strictly manage the "first burn time." When lighting a candle for the first time, I never blow it out until the entire top surface melts evenly all the way to the edges of the container.
As a general guideline, you need about 1 hour of continuous burn time per inch (approx. 2.5 cm) of candle diameter. For example, for a candle with a 5 cm diameter, keep it lit for at least 2 hours. Just doing this dramatically reduces tunneling and eliminates any worry about the wick sinking!
Now let's look at why wicks sink while making your own handmade candles. Pouring melted wax into a mold or container and waiting for it to set, only to find the wick somehow pulled down into the wax, is a common mistake for beginners.
Wax as a material has a physical property called "cooling shrinkage," meaning its volume shrinks as it transforms from liquid to solid.
Paraffin wax, in particular, has a high shrinkage rate. As it cools and hardens from the outside in, strong pulling forces occur at the center. If the wick positioned in the center is not securely fastened, it will be pulled downward or inward by this shrinking energy.
During the cooling process, large holes or cavities can form in the center right around the wick, which cools the slowest.
Even if the surface appears flat, the internal cavity leaves no supporting base for the wick. Consequently, right before the wax fully cools or during the very first burn, the wick drops suddenly into the cavity.
If the wick tab (sustainer) placed at the bottom of the container isn't glued down securely, the adhesive can peel off the moment hot wax is poured in, causing the tab and wick to float up.
Also, if the wick holder (such as chopsticks or clips) securing the wick at the top of the container lacks sufficient tension, the wick will sag and sink, unable to withstand the weight and shrinkage of the wax.
Pouring wax at extremely high temperatures into containers is also dangerous. Wax poured too hot experiences significantly higher shrinkage, causing severe central sinkholes.
Furthermore, if you are using pre-waxed commercial wicks, excessively hot wax will completely melt off the wick's wax coating, leaving the wick soft and floppy so it can no longer stand upright on its own.
Wick sinking and cavities during candle making can be 100% prevented by following correct procedures and handy tips. Here are the foolproof techniques I actually use when crafting!
When setting a wick tab at the bottom of a container, do not use regular double-sided tape. Always use heat-resistant candle wick stickers or a heat-resistant glue gun.
Creating a strong, heat-resistant hold that won't peel when hot wax touches it is the very first step in preventing wicks from floating or sinking. Place it firmly in the exact center of the container and press down hard with your finger or the back of a skewer to bond it tightly.
When securing the wick at the top of the container, maintain a firm tension so the wick remains pulled taut and straight.
If using chopsticks to clamp the wick, bridge them across the opening of the container and pull the wick straight up with slight force before securing it. By eliminating all slack, you create a sturdy wick axis that won't give in to the pulling forces of hardening wax.
Especially when using paraffin wax or beeswax, a single pour almost always creates a dip or cavity around the wick. The essential step to prevent this is doing a "second pour" (re-topping).
Optimal pouring temperatures vary depending on the type of wax used. Never guess temperature; always measure with a thermometer.
Candle wicks come in various types, and their tendency to sink depends on their structure. Selecting the right wick for your project is key.
The most common cotton string-like wicks. Because they are flexible, wax coating (dipping) is essential to help them stand upright.
If you don't apply proper tension during crafting, they easily bend from their own weight or wax movement, leading to sinking. Securing them with a wick holder is crucial.
Thin wooden strips that make a delightful crackling sound. Since wood itself is rigid and self-standing, mistakes like bending and sinking during crafting almost never happen.
However, controlling the wax absorption rate can be tricky; if it draws up too much wax while burning, wax can flood the base of the wooden wick, drowning and extinguishing the flame. When using wooden wicks, keep the tab height proper and maintain a short exposed wick length of about 3 to 5 mm.
When making candles or fixing sunken wicks, handling fire and hot tools requires essential safety precautions.
First, melted wax reaches very high temperatures and poses a risk of burns if it contacts skin. Wear work gloves or heat-resistant gloves during crafting, and work in an environment away from small children and pets.
Also, avoid direct flame when melting wax. Always use a double boiler (bain-marie) or safe heating equipment designed for candle making (such as an induction cooktop). Wax can ignite if heated past its flashpoint, so never leave heating wax unattended.
When purchasing commercial wax, wicks, or supplies, always thoroughly read the manufacturer's instruction manuals and safety guidelines, strictly following recommended temperatures and usage instructions.
We have explored the causes and solutions for sinking candle wicks in detail!
Wicks drowning while burning are mainly caused by an imbalance between wick size and candle diameter, or tunneling from burning for too short a time. Even if it sinks, you can always revive your candle by removing wax with a spoon or gently scraping around it using a hair dryer.
On the other hand, wicks sinking during candle making are caused by "cooling shrinkage," improper wick tab adhesion, or incorrect pouring temperatures. By securely attaching wick tabs with heat-resistant stickers, keeping strong tension with chopsticks, and filling internal cavities with a "second pour," you can prevent failures every single time.
Once you understand the characteristics of candles and wax, there is no need to fear these troubles at all! Use these tips as a reference to enjoy a safe, fun, and wonderful candle-making journey and candle life!
If you shared this article with your friends on social media or messaging apps, I would be so happy and encouraged!
Well then, see you in the next article! This was Yassy from Crafters!





For example, if you are looking for articles about mizuhiki, try searching for "mizuhiki"; if you are interested in tools, try keywords like "nippers" or "pliers."
