How to Make Handmade Candles Burn Longer: From Wick Trimming to Proper Burning Techniques
yassy
Crafters!
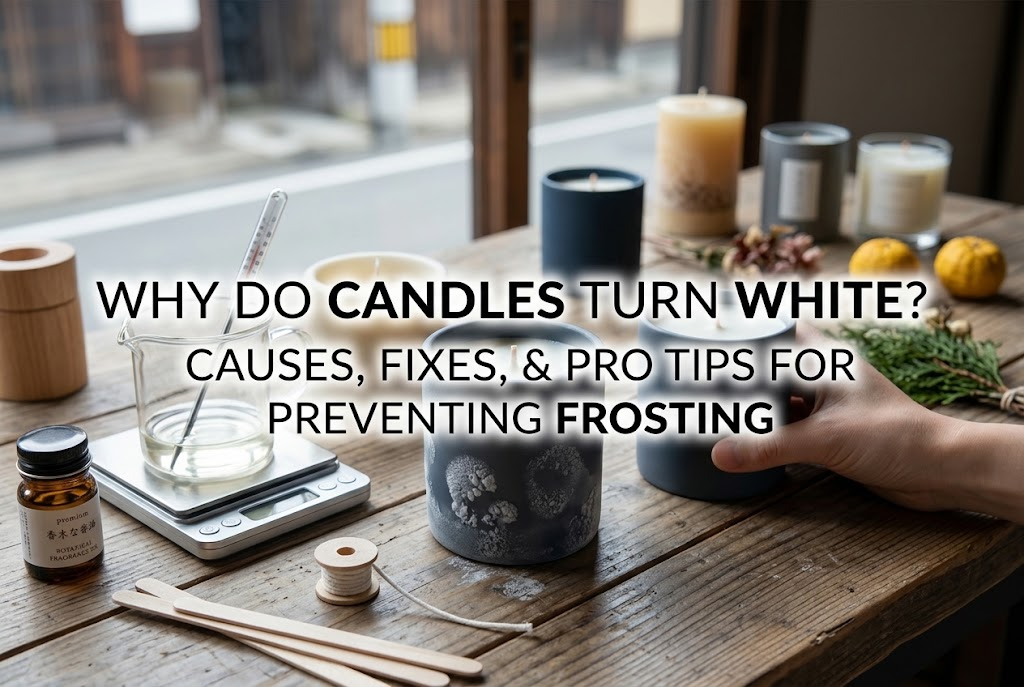

Hello, everyone! It’s Yassy from Crafters! (・∀・)
I absolutely love making, looking at, and collecting all kinds of handmade crafts. Candle making is one of my favorite creative passions—there’s nothing quite like the sweet aroma filling the studio or the satisfying moment when melted wax sets into a glossy, pristine finish.
However, almost every candlemaker hits a frustrating hurdle sooner or later: the candle surface turns dull, powdery, or cloudy white.
You spend time perfectly blending your dyes, only to watch a chalky film creep across your candle once it cures. It can be deeply disappointing! But this whitening phenomenon is not an unsolved mystery. It stems from well-defined chemical traits of the wax and specific missteps in temperature control and pouring conditions.
Once you understand the underlying science, you can prevent this white film completely. In this guide, I will break down every cause behind cloudy candle surfaces, share six reliable rules to prevent them, and show you how to rescue candles that have already turned white.
When a candle develops a white surface, the issue generally falls into one of two categories:
While both problems leave behind a chalky, clouded appearance, their mechanisms are entirely different. Identifying which wax you are working with is the essential first step.
If you are working with vegetable or animal waxes—such as soy wax, beeswax, or palm wax—whitening is almost certainly a crystallization process known as "frosting."
This occurs when the fatty acids within the wax slowly recrystallize over time and migrate to the surface. It often looks like a delicate layer of frost, a snowflake pattern, or a powdery coating.
Frosting is completely harmless and actually serves as proof that your wax is 100% natural and free of chemical stabilizers. However, when you are aiming for a flawless, vibrant finish, unintended frosting can take away from the clean look of your handmade piece.
In petroleum-derived paraffin wax, white patches are not caused by crystallization. Instead, they stem from temperature mishandling during pouring.
When hot wax meets a cold mold or container, the outer layer chills and hardens instantly. As the wax shrinks, it pulls away unevenly from the mold wall. The tiny gap between the wax and the mold scatters light, making the surface look cloudy or blotchy.
Additionally, if you pour paraffin when it is too cool and viscous, micro-bubbles become trapped along the walls, creating a hazy white film. In paraffin candles, whitening is an environmental and procedural issue rather than a natural characteristic of the material.
Soy wax is loved worldwide for its clean burn and soft texture, but it is far more sensitive to temperature fluctuations than synthetic alternatives. Let’s look at why these crystals form on a molecular level.
Soy wax is produced by hydrogenating soybean oil. As molten soy wax cools and solidifies, its molecules arrange themselves into orderly crystalline grids.
Even after the candle appears solid, molecular movement continues beneath the surface. As the wax settles into its most stable polymorphic state, surplus crystal structures are pushed outward to the exterior. This visible byproduct is frosting.
Pure, additive-free soy wax is especially prone to this shift. Because dyes do not recrystallize along with the wax, the white wax crystals stand out sharply against colored designs, making frosting much more obvious on deeply tinted candles.
The single biggest environmental trigger for frosting is room temperature fluctuation. If the space where your candle cools—or where you store your finished work—experiences sharp temperature shifts, the wax expands and contracts repeatedly.
Leaving a freshly made soy candle in a room that is warm during the day and chilly at night can cause a full layer of frosting to form in a single evening. The curing process doesn't end when the top looks solid; the wax remains reactive to its surroundings for days.
Soy wax comes in soft container blends and hard pillar blends. Generally, hard pillar soy waxes have a higher melting point achieved through heavier hydrogenation. This tighter molecular structure recrystallizes more readily, making hard soy waxes much more prone to frosting than container blends.
Furthermore, minimally refined natural waxes retain trace natural elements that serve as nucleation sites, encouraging crystal growth to spread rapidly across the surface.
When synthetic or petroleum waxes like paraffin or gel wax turn cloudy, the issue lies in technique rather than molecular instability.
If paraffin cools down too much before you pour, it loses fluidity instantly upon contact with the mold. Instead of flowing smoothly against the walls, it drags and creates ripples, stop-lines, and chalky patches. Pouring even 10°C (18°F) below the optimal range can destroy the glossy sheen and leave your candle looking hazy.
Even if your wax is at the correct temperature, pouring it into a cold silicone mold, polycarbonate mold, or glass vessel will cause thermal shock. The outer layer hardens prematurely, contracts sharply, and pulls away from the mold walls, trapping air that reflects light as chalky white spots.
Stirring fragrance or dye too vigorously introduces countless microscopic bubbles into the melted wax. If the wax is viscous, these bubbles cannot rise to the surface and escape. Clustered beneath the outer skin, they create a cloudy, bleached effect that is often mistaken for frosting.
Fragrance oils and colorants are chemical additives that alter wax balance. Using them incorrectly can quickly trigger surface defects.
Every wax has a maximum fragrance load, typically between 6% and 10% by weight. Adding 12% to 15% fragrance oil in an effort to maximize scent throw over-saturates the wax matrix.
As the candle cures, excess oil is squeezed out onto the surface. This weeping oil can oxidize upon contact with air or separate from the wax, leaving behind an oily white film.
Colorants fall into two categories: soluble dyes (liquid or chip form) and insoluble pigments (powder form). If pigment particles are not completely suspended, they aggregate as the wax cools, producing a powdery white or speckled bloom. Similarly, if dye blocks are added to wax that is too cool, undispersed dye particles act as seed points that spur surrounding wax crystallization.
By following these six practices that I rely on in my own studio, you can keep your candle finishes clean, smooth, and vibrant.
Never estimate temperatures by eye. Always use a thermometer and monitor your pour temperatures precisely.
Before pouring molten wax, warm your glass jars or molds using a heat gun, embossing tool, or hair dryer until they feel comfortably warm to the touch (around 40°C to 50°C / 104°F to 122°F). Pre-heating minimizes thermal shock, preventing pull-away marks on the sides and premature skinning on top.
Never rush the cooling process by placing freshly poured candles in a refrigerator, freezer, or in front of an air conditioning vent. Rapid chilling creates severe internal stress, leading to sinkholes, cracks, and intense crystallization.
Candles cure best at a stable room temperature between 20°C and 25°C (68°F to 77°F). During cold months, place an upside-down cardboard box or an insulated cover over your poured candles to slow down the cooling rate as much as possible.
Keep fragrance loads around 7% to 8% of the total wax weight. Add fragrance and dyes when the wax is sufficiently hot—typically 70°C to 80°C (158°F to 176°F)—and stir gently for a full two minutes without whipping air into the liquid. This allows the scent and color molecules to bind fully with the wax chains.
Maintain your workspace around 20°C to 22°C (68°F to 72°F) whenever possible. High humidity can cause micro-droplets of moisture to condense on cooling wax, resulting in a dull, milky surface. Avoid pouring candles on rainy days in non-climate-controlled spaces.
If you love soy wax but cannot eliminate frosting on deep-colored designs, consider blending your wax. Incorporating 5% to 10% paraffin wax or microcrystalline wax disrupts the orderly fatty acid crystalline matrix, virtually stopping frosting from developing.
If a candle ends up with a frosted or clouded surface, you do not need to throw it away. Here is how you can restore it.
The fastest way to fix surface frosting is by using a craft heat gun. Hold the heat gun 10 to 15 cm (4 to 6 inches) away on a low setting and sweep the warm air evenly across the top. Watch for the thin white film to turn clear and liquid. Turn off the heat immediately and leave the candle undisturbed to set. This resets the crystal pattern, leaving behind a smooth, satin plane.
For pillar candles with frosted or chalky sides, dipping works wonders. Melt a batch of matching or clear wax in a deep dipping can heated to 80°C to 85°C (176°F to 185°F). Hold the candle by its wick with pliers and submerge it entirely for one to two seconds, then lift it smoothly out. The hot bath melts away the frosted surface and coats the candle in a thin, glossy outer shell.
If a candle suffers from deep air pockets or extensive internal frosting that surface heat cannot reach, cut the wax into smaller pieces and remelt it using a double boiler. Bring the wax back up to 80°C (176°F) to reset its structure and disperse any trapped moisture, stir gently, pre-warm your mold, and repour at the proper temperature.
Here is my regular studio routine for ensuring smooth, frost-free candles every time:
Understanding wax characteristics helps you choose the right material for your target design:
Equipping your workspace with these three items makes temperature control much easier:
Cloudy surfaces and frosting don't have to be a recurring mystery. Once you identify whether your wax is recrystallizing or reacting to thermal shock, simple adjustments to your pouring temperatures, mold prep, and cooling conditions will yield reliable, professional results.
Take these techniques into your next studio session, enjoy the craft, and create beautiful, mirror-smooth candles you can be proud of! See you in the next project—this is Yassy from Crafters signing off!






For example, if you are looking for articles about mizuhiki, try searching for "mizuhiki"; if you are interested in tools, try keywords like "nippers" or "pliers."
