Japanese Clay Crafting Guide: Resin Clay vs. Lightweight Clay Explained
yassy
Crafters!

Hello, fellow makers! It's Yassy from Crafters! (・∀・)
Candles bring such warm light and lovely fragrance into a room. Whenever I see cute candles in shops, I can't resist picking them up. Whether displaying them on a shelf or watching the gentle flame flicker in the evening, they offer such a deeply soothing experience.
I personally love making, admiring, and buying handmade crafts of all kinds. But candle making in particular is an incredibly deep art form—once you get hooked, there's no turning back!
Still, many beginners feel hesitant: "Handling heat and fire sounds intimidating," or "What materials do I need, and how much will it cost to get started?"
To answer those questions, this guide covers everything a beginner needs to know: the fundamentals of candle crafting, popular project variations, required workspace, startup costs, and essential safety guidelines!
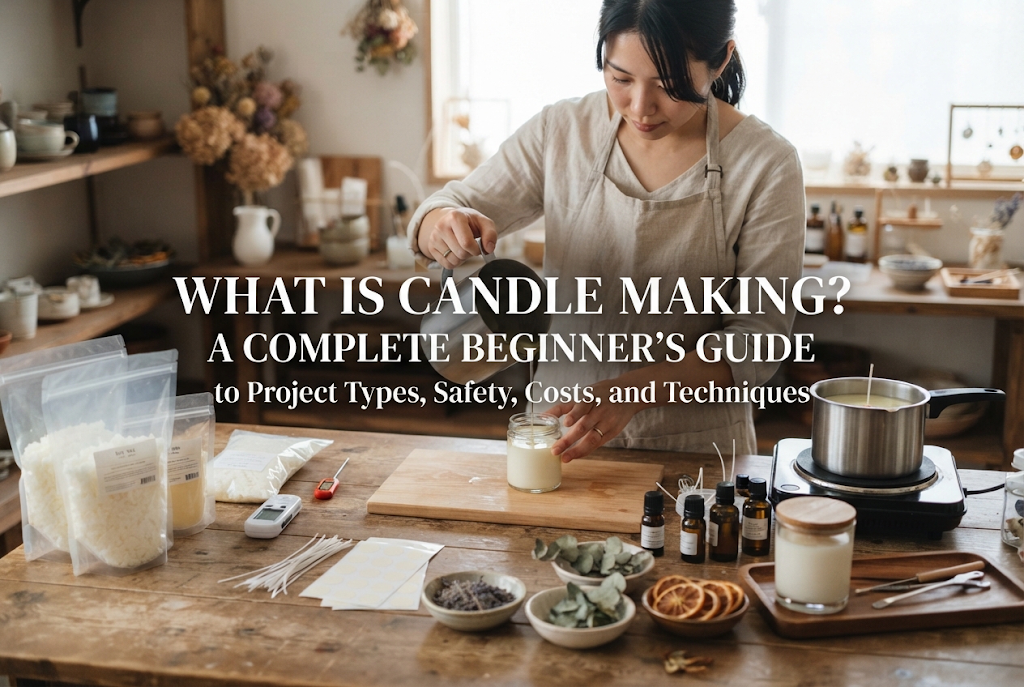
Candle crafting is the art of melting wax, pouring it into molds or containers, or shaping it by hand to create your own custom candles.
Commercial candles are lovely, but handmade candles offer unique joys that store-bought items simply cannot match. Let's look at what makes this craft so special.
With some craft projects, you finish making an item only to wonder where to display it. Candles, on the other hand, are the ultimate practical home decor: beautiful to look at, and calming to burn.
Lighting a candle infused with your favorite scent and colors instantly transforms the atmosphere of a room. The natural flickering of a candle flame is known to exhibit "1/f fluctuation" (a soothing rhythm found in nature), making it a wonderful way to unwind after a long day.
Another advantage is that candles are consumable. Because they melt away with use, you can freely burn them in your daily routine and continuously try out new designs without cluttering your living space.
The greatest delight of candle making lies in the absolute freedom of design.
You can choose the type of wax, color palette, fragrance strength, silhouette, and even embedded elements like dried flowers or glitter to fit your exact taste.
From soft pastel tones and chic gradient pillars to hyper-realistic dessert candles, you can bring whatever concept you envision into reality.
Candles come in an astonishing variety of styles. Here are six representative types you can craft at home.
These are made by pouring melted wax directly into glass jars, tins, or ceramic vessels. Because they do not need to be unmolded, they are ideal for softer waxes like soy wax. Without the risk of losing shape or wax spilling over the edges while burning, container candles are the number one recommendation for complete beginners.
These freestanding candles are formed by pouring wax into silicone or polycarbonate molds and releasing them once fully hardened. Classic cylinders (pillars), cubes, trendy bubble candles, and 3D shapes like bears or tulips fall into this category. They have strong visual presence and make striking decorative accents.
Aroma sachets are widely loved as "candles you don't burn." Fragrance is blended into melted wax, poured into flat molds, and decorated with dried flowers or dried fruits on the surface. Threading a ribbon through a pre-made hole lets you hang them in closets, on doorknobs, or on walls to enjoy subtle fragrance and botanical aesthetics. Since they involve no open flame, they make wonderful gifts for homes with young children or pets.
These stunning candles incorporate dried flowers, preserved blooms, or herbs embedded along their outer walls. When crafted using a two-layer structure—so only the inner core burns down—the outer floral layer stays intact and illuminates like a glowing lantern. It is an irresistible style for floral craft enthusiasts.
Gel candles use a clear, jelly-like wax made from mineral oil and polymer resins. Thanks to its crystal clarity, you can embed seashells, colored sand, dried botanicals, or glass figurines to create a piece that resembles an aquarium or an underwater scene. Intentional air bubbles can also be suspended inside for a sparkling effect.
Using whipped wax or hand-kneaded wax, these artistic creations faithfully replicate treats like cakes, cream sodas, canelés, and macarons. Working on them feels much like clay modeling, and displaying them instantly brightens up any room.
The most critical decision in candle making is choosing your base material: the wax. Different waxes vary dramatically in hardness, clarity, texture, and how they disperse scent (scent throw).
Here are the key waxes every beginner should know:
Paraffin is the most widespread and readily available candle wax. Refined from petroleum, it is affordable and easy to obtain. It holds vibrant colors exceptionally well and cures hard, making it the premier choice for pillar candles, gradient layers, and intricate molded shapes. Standard melting points generally fall between 58°C and 60°C (136°F–140°F).
Made from 100% soybean oil, soy wax is an eco-friendly vegetable wax known for producing minimal soot when burned. It sets with a warm, soft matte finish and an off-white, creamy hue. Because its melting point is relatively low (around 45°C–52°C / 113°F–126°F) and the wax remains soft, it is mainly used for container candles and wax sachets. Note that soy wax comes in "soft type" (for containers) and "hard type" (for molds and sachets), so make sure to select the correct variety for your project.
A natural wax secreted by honeybees to build honeycombs. It carries a naturally sweet, honey-like aroma and is a favorite among crafters who prefer all-natural materials. Once cooled, it becomes very firm yet slightly tacky, making it great for molded pillars and hand-rolled or kneaded candles. Although it is more expensive than synthetic waxes, it yields exceptionally high-quality finished products.
Formulated from mineral oil and specialized resins, gel wax remains flexible and transparent at room temperature. Its flawless transparency is essential when you want embedded decorations to show through clearly. Gel wax has a high melting point (around 90°C–100°C / 194°F–212°F), so extra care is required to prevent burns during handling.
While candle making might sound as simple as "melt wax and pour it into a mold," it actually requires the precision of a science experiment. The craft sits at an early-to-intermediate difficulty level. The physical steps are straightforward, but avoiding flaws requires a solid grasp of temperature control and material selection.
Here are the three most common hurdles beginners face, along with their exact solutions:
Wax expands when melted by heat and shrinks as it cools and solidifies. When pouring paraffin wax into large molds, a deep sinkhole often forms around the wick in the center. This is not a mistake on your part—it is simply the natural physical behavior of cooling wax.
Solution: Perform a "second pour." Once the wax has settled and formed a depression in the middle, top it off with an additional layer of melted wax to level out the surface. This is a standard corrective technique in candle making.
When working with natural waxes like soy wax, a whitish, powdery film or patchy pattern can form on the cured surface. This phenomenon is known as frosting or crystallization.
Solution: Frosting often occurs when room temperature is too low or pouring temperature is too hot. Pour at the recommended temperature (typically around 60°C / 140°F for soy wax) and let the candle cool slowly in a draft-free spot.
After lighting your finished candle, the flame might remain tiny, drown in a pool of melted wax, and go out—or, conversely, produce a large, soot-heavy flame.
Solution: This issue stems entirely from mismatched wick sizing relative to the container's diameter. Wicks come in graded sizes calibrated for specific melt pool diameters (e.g., for 3 cm, 5 cm, or 7 cm diameters). Choosing the correct wick size for your container's width is the golden rule for achieving an even, complete burn.
Working with melted wax means handling potential fuel. While candle making is completely safe when practiced correctly, improper handling can result in fires or severe burns. Always follow these essential safety rules:
Never place a pot of wax directly over an open gas flame. When wax exceeds a certain temperature, it emits invisible flammable vapors that can ignite explosively upon contact with an open flame. Always use a double boiler (placing your melting pot inside a water bath) or a temperature-controlled induction cooktop (IH heater).
A thermometer is mandatory for candle crafting—never gauge temperature by guesswork. Wax generally reaches its flash point around 200°C (392°F), where it can spontaneously catch fire. Always keep a thermometer resting in the melting pot and make sure the wax stays well below 100°C (212°F). If you ever see smoke rising from the pot, turn off the heat source immediately.
If even a single droplet of water enters hot liquid wax, it will instantly flash into steam, causing boiling wax to splatter violently. Keep your double boiler at a gentle simmer rather than a rolling boil, and ensure steam and water droplets do not splash into your wax pitcher.
You don't need a dedicated studio to craft candles at home. A small space is plenty, provided you prepare it thoughtfully.
A kitchen countertop or a standard dining table measuring roughly 70 cm × 50 cm (about 28 × 20 inches) is all you need. You just need enough room to position your heat source (an induction burner or stovetop) and an adjacent work area for pouring.
The trickiest part of candle making is cleaning up spilled wax. Once liquid wax splatters on furniture or flooring, it solidifies quickly and can be stubborn to remove. Here is my go-to setup:
With these layers in place, any accidental spills can simply be tossed out with the protective sheet, leaving your surfaces completely spotless.
Compared to hobbies like leathercraft or pottery, candle making has a remarkably accessible entry cost.
Your upfront cost depends on how many dedicated tools you decide to buy at once:
For a standard glass container candle using about 100 g of wax, here is a general cost breakdown:
Because materials per candle are inexpensive, mistakes are easy to brush off. You can melt down unburnt wax and try again, making it very gentle on your wallet.
Here is a quick summary of what you need before pouring your first batch:
If I were starting from scratch today with zero knowledge, here are the exact steps I would take:
Skip complicated molds and delicate botanical placements for your very first project. Instead, grab a small aluminum tin with a lid or a small heat-safe glass, and pour a scented container candle using soy wax.
Because you do not have to unmold it, surface imperfections are minimal, ensuring a professional-looking result right away. Building that initial confidence is the most important milestone!
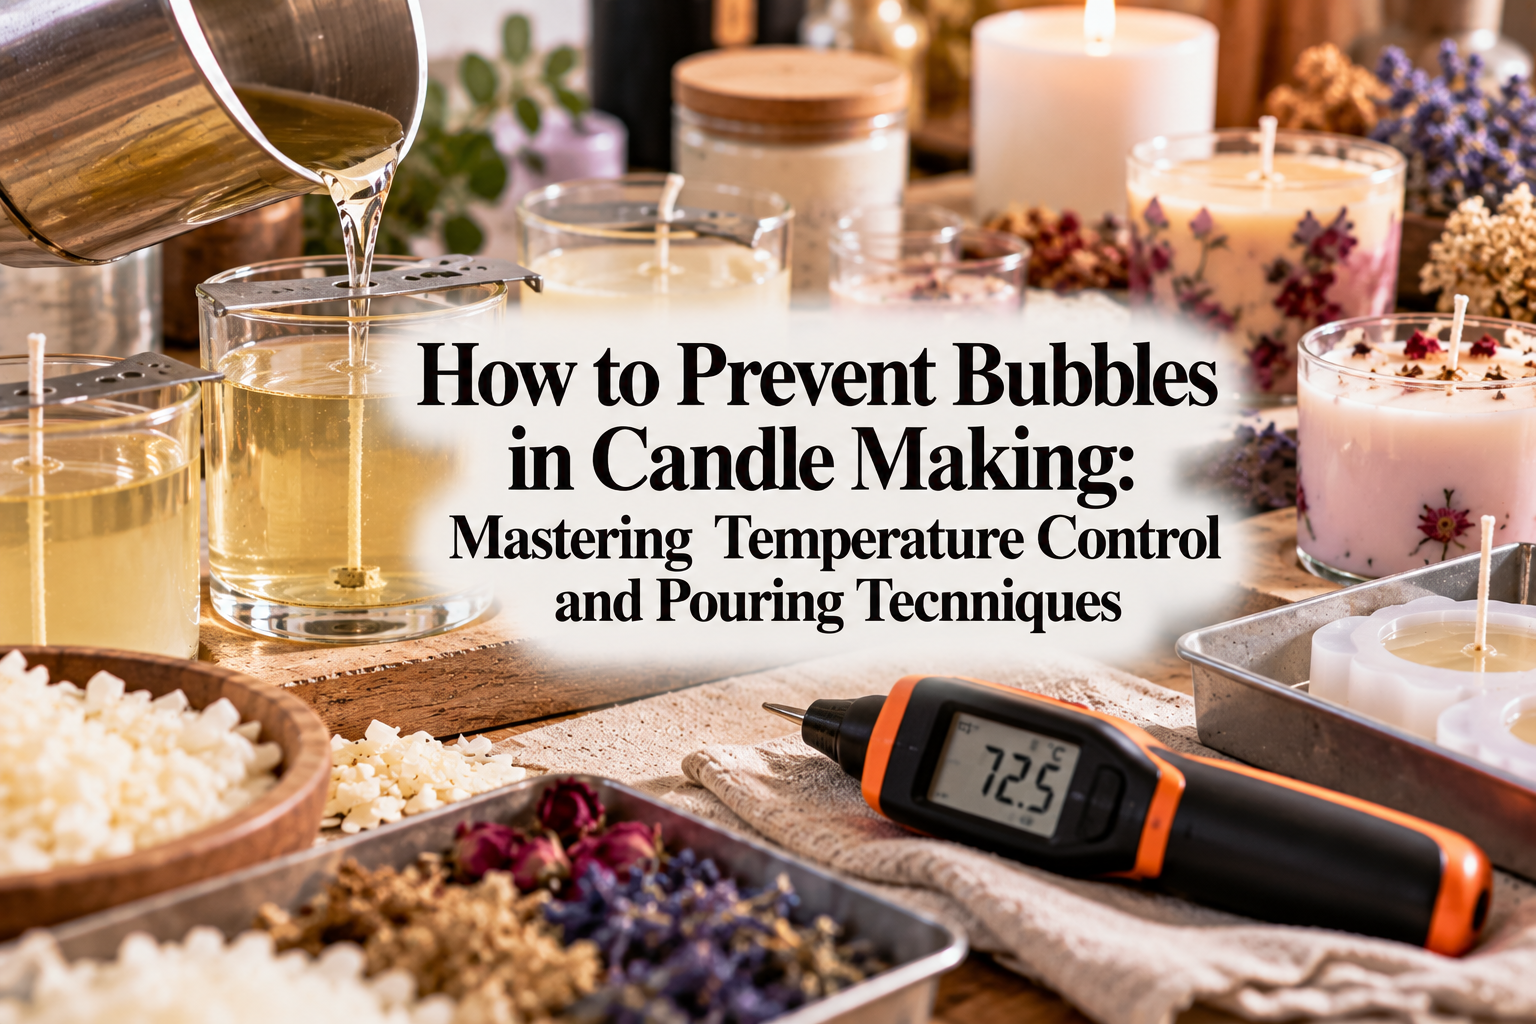
Successful candle making relies almost entirely on temperature control. Keep these standard target temperatures in mind:
Following these benchmarks prevents scents from evaporating prematurely and stops the wax surface from warping.
A frequent beginner mistake is attempting to wash wax-coated pots and utensils with cold water and dish soap in the kitchen sink. Wax is an oil-based solid; cold water hardens it, which can cause severe plumbing clogs. The cardinal rule is to wipe out pouring pots thoroughly with paper towels while they are still warm and liquid.
If leftover wax has already cooled and hardened, simply warm the pot with a hair dryer to soften it, then wipe it clean. No water needed!
A. You can, but with caution. Pure natural essential oils degrade easily under heat and can lose their scent throw; they should be added at lower temperatures (around 60°C or below). Water-soluble aroma drops will not blend with wax and will separate. For reliable scent performance, fragrance oils formulated specifically for candles are your best option.
A. Shaved crayons can be used in a pinch—a small shaving melted into the wax produces nice color. However, the heavy pigments in crayons can clog the tiny capillaries of the wick, causing the flame to extinguish prematurely. For larger or display-worthy candles, specialized candle dyes are strongly recommended.
In this guide, we explored the appeal of candle crafting, common project types, essential supplies, and crucial safety rules.
As long as you respect temperature guidelines and heat safety, candle making is an exceptionally rewarding craft that allows beginners to create boutique-quality pieces right from the start. Blending custom colors, watching a smooth candle pop cleanly out of a mold, and lighting that very first homemade wick brings a sense of comfort that nothing else can match.
Why not pick up a simple glass jar and some wax to take your first step into candle making? If you found this guide helpful, feel free to share it with your craft-loving friends! Until next time—happy crafting from Yassy!


For example, if you are looking for articles about mizuhiki, try searching for "mizuhiki"; if you are interested in tools, try keywords like "nippers" or "pliers."
