Mastering Japanese Clay Wedging: A Complete Guide to Araneri and Kikuneri
yassy
Crafters!

Hello everyone! This is Yassy from Crafters! (・∀・)
As someone who absolutely loves making, viewing, and collecting all kinds of handmade crafts, today I want to dive deep into a major hurdle that almost every candle maker runs into at least once.
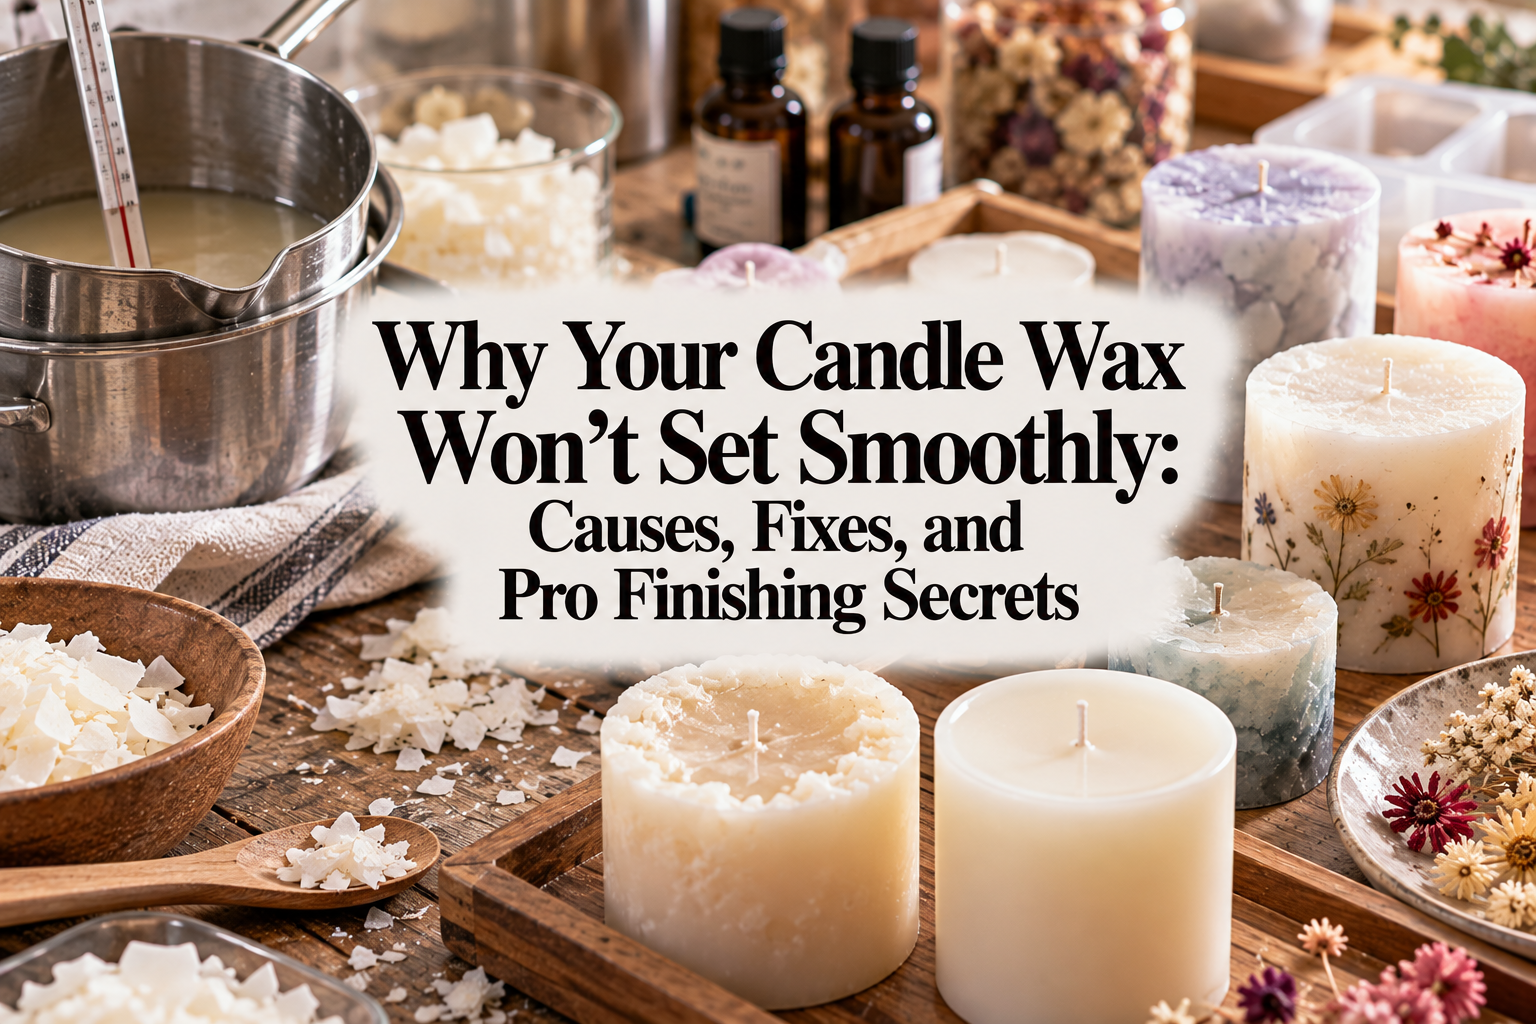
At first glance, candle making looks deceptively simple—all you do is melt wax and pour it into a mold or a glass jar. But have you ever experienced the heartbreak of waiting for your candle to cure, only to find a deep crater in the center, unsightly cracks, or a chalky white film across the top?
When I first started crafting candles, I went through that exact frustration time and time again. My candles never seemed to turn out with that flawless, glassy surface you see on store-bought pieces. No matter how lovely the fragrance or how beautiful the color, poor wax setting instantly detracts from the charm of a handmade piece.
The truth is, there is a clear, scientific reason behind every single flaw in how wax sets. Once you stop relying on intuition or luck and equip yourself with proper techniques and knowledge, anyone can reliably create gorgeously finished, professional-grade candles.
In this guide, I will break down the exact root causes behind poorly set wax and share foolproof solutions to prevent common beginner mistakes. I will also reveal handy repair techniques to rescue candles that have already cooled with flaws, so you can turn mishaps into pristine finished pieces!
Whenever candle wax sets unevenly, there is always a specific misstep somewhere in the process. Let's first explore the science behind these surface and internal issues across six main causes.
The single biggest reason candle wax fails to set smoothly comes down to pour temperature. Wax naturally shrinks in volume as it transitions from a liquid state into a solid.
If your pour temperature is too high, the temperature gap between the molten wax and the room creates drastic, uneven shrinkage. This pulls the wax downward toward the center, forming massive sinkholes or hidden internal cavities. Conversely, if your pour temperature is too low, the wax begins solidifying the instant it touches the container walls, leaving ripples, rough patches, and uneven textures. Adhering strictly to the optimal pouring temperature for your specific wax type down to the single degree is essential for a clean finish.
It is not just the temperature of the melted wax that matters—the ambient room temperature and the initial temperature of your molds or glassware play a huge role as well.
Working in a chilly winter room or right under the draft of an air conditioner forces the outer perimeter of the wax to cool drastically faster than the core. When the outer shell hardens while the center is still warm and contracting, intense internal tension builds up, causing surface and structural cracks. Furthermore, pouring hot wax into cold glass vessels causes localized shrinkage where the wax pulls away unevenly, resulting in patchy, blotchy visual flaws. Controlling the rate of cooling is crucial.
Candle makers work with a variety of materials, including petroleum-based paraffin, plant-derived soy wax, beeswax, and palm wax. Each wax possesses entirely different melting points, molecular structures, and shrinkage rates.
For example, using pure paraffin wax without additives almost guarantees severe center sinking due to its high shrinkage rate. To mitigate this, crafters typically blend in additives like microcrystalline wax to stabilize shrinkage. Furthermore, adding too much fragrance oil or dye is a frequent pitfall. If you exceed the maximum fragrance load your wax can hold, the wax cannot crystallize properly, leading to oil sweating on the surface or a perpetually sticky, uncured texture.
Once you pour your wax, how you treat it during the curing stage is vital. Touching a candle that is halfway set or bumping the work table disrupts the delicate crystalline matrix as it forms.
Moving wax mid-cure results in unsightly surface wrinkles, lopsided levels, and internal fractures. Similarly, attempting to adjust a crooked wick once the wax has begun to cloud over and gel will tear the cooling surface and create deep cracks around the core. The golden rule is simple: once poured, leave your candle completely undisturbed on a flat, vibration-free surface until it is fully set.
The material of your container or mold significantly changes how wax cools and releases. Polycarbonate molds, silicone molds, metal tins, and thick glass jars each conduct heat in distinct ways.
Metal molds dissipate heat rapidly, chilling wax from the outside inward very fast. Thick glass jars, on the other hand, retain heat longer, allowing the wax to cool more gradually. If you treat every vessel the same way without considering its thermal properties, you risk candles getting stuck in molds, uneven finishes, or wax separating awkwardly from glass walls.
Mistakes made while melting your wax also directly sabotage how it sets. When melting wax using a double boiler, even a single drop of stray water or steam condensing into the pot causes major problems.
Because oil and water do not mix, moisture trapped in molten wax results in cloudiness, discoloration, and a rough, patchy surface upon cooling. Furthermore, overheating wax over direct, high flame damages its chemical structure, destroying its natural hardness. Overheated wax can scorch, smell unpleasant, and fail to set correctly, making careful temperature regulation during melting just as vital as during pouring.
Different aesthetic flaws indicate specific issues during the candle-making process. Here are the most common defects and the proven methods I use to resolve each one.
The Cause: Natural volumetric shrinkage as wax cools from liquid to solid. This is especially prevalent with paraffin wax and deep containers. Because the outer edges cool first, the molten center around the wick is pulled downward as it solidifies last.
The Solution: Accept that shrinkage is simple physics, and plan ahead with a "two-pour" method. Pour your first layer to fill roughly 80% to 90% of the vessel. Once the wax solidifies enough to skin over and sink in the middle, use a bamboo skewer to poke a few relief holes around the wick down toward the base to release trapped air pockets. Then, reheat your reserved wax to about 5°C higher than your initial pour temperature and pour a smooth top coat over the sinkhole. This two-stage technique delivers a perfectly level, seamless top every time.
The Cause: A natural characteristic common in vegetable waxes like 100% soy wax or palm wax. Known as "frosting," this happens when the vegetable fats in the wax recrystallize over time, producing tiny white crystals on the surface and sides.
The Solution: While completely eliminating frosting in 100% soy candles can be tricky, you can dramatically reduce it by pouring at lower temperatures (around 50°C to 55°C / 122°F to 131°F) to control crystallization speed. Another professional trick is blending in 10% to 20% paraffin wax, which maintains the soft aesthetic of soy while preventing crystal blooms. Understanding plant-based wax chemistry and utilizing blends when appropriate is a great step forward in candle crafting.
The Cause: Thermal shock caused by rapid cooling. Placing warm candles in a cold room or in front of an air vent causes the exterior shell to shrink faster than the warm interior, tearing the wax apart under internal stress.
The Solution: Maintain a gentle, consistent cooling environment. Keep your room temperature at 20°C (68°F) or above during colder months, and position candles far from drafts. For larger pillar candles or thick containers, place your freshly poured molds inside an insulated cardboard box or foam cooler and close the lid. Slowing down the cooling rate allows internal stress to dissipate, preventing cracks entirely.
The Cause: Air gaps that form between the wax and the inner walls of clear glass containers. When hot wax hits cold glass, the sudden chill causes localized shrinkage, pulling the wax away and creating dark, spotty patches that look like wet glass from the outside.
The Solution: Before pouring, gently preheat your glassware to around 50°C to 60°C (122°F to 140°F) using an embossing craft heat tool or a hair dryer on a warm setting. Pouring wax into a warm container ensures the wax bonds evenly against the glass wall and cools gradually without shrinking away prematurely.
The Cause: Pouring at temperatures that are too low to maintain fluid leveling, or whipping too much air into the wax by stirring vigorously.
The Solution: When stirring in dye or fragrance, skip wire whisks and use a bamboo skewer or silicone spatula to blend gently in one steady direction. When pouring into your vessel, pour smoothly along the inner wall rather than splashing down from a high angle. If tiny surface bubbles appear right after pouring, gently pass the warm air from an embossing heat tool over the top from a safe distance to pop them instantly.
Consistently achieving smooth candle tops requires precision rather than guesswork. Here are the core practices I follow for dependable results every time.
In candle crafting, a thermometer is not an optional accessory—it is your most important tool. Never estimate temperatures by sight or touch.
Invest in an accurate digital kitchen probe thermometer. Every wax variety has designated melting, fragrance-addition, and pouring temperatures:
Always verify these temperatures digitally, and pour the moment your batch hits the target range.
Your crafting environment directly influences your finished results. Aim to keep your room temperature steady between 20°C and 22°C (68°F–72°F).
Avoid cooling candles near drafty windows or under direct sunlight. Work on a level, heat-resistant mat placed on a sturdy table where no accidental bumps or vibrations will disrupt the curing wax.
Accuracy matters just as much when coloring and scenting your candles. Adding fragrance oils by eye can ruin your cure.
The golden ratio for candle fragrance oils is generally 6% to 8% by wax weight. For example, use 6g to 8g of fragrance oil per 100g of wax. Adding more than 10% risks overwhelming the wax structure, leading to curing failures and oil seepage. Likewise, shave in solid dyes in small increments and ensure they are thoroughly dissolved before cooling down to your pour temperature.
Even with careful preparation, unexpected temperature drops can occasionally leave a candle with a rough top or a small crater. Never throw away a flawed candle! Here are two professional repair techniques to restore them to perfection.
Shallow surface indentations, frosting, ripples, and minor cracks can be smoothed out in moments with localized warm air. Avoid standard hair dryers, as their strong airflow tends to blow liquid wax everywhere and create splatters.
Instead, use an embossing heat gun designed for crafting or a heat gun with adjustable airflow. Hold the tool about 10 cm (4 inches) away from the surface and move it in slow, gentle circles. Once the top 1 millimeter of wax melts into a thin liquid pool, turn off the heat. Allow it to cool undisturbed, and it will reset into a smooth, glossy surface.
If a severe sinkhole has formed deep inside the candle, heat gun surface melting alone will not solve the issue.
In this case, use a bamboo skewer to gently scrape and widen the opening around the wick, exposing the underlying hollow space completely. Next, melt a small leftover batch of your original wax, cool it to the proper pouring temperature, and slowly pour it directly into the void. Fill it until it sits just slightly below the original top rim. Once set, give the entire surface a quick, gentle pass with your heat tool to blend the boundary lines completely, leaving an invisible, pristine finish.
Achieving a smooth, flawless candle top isn't a matter of luck or innate talent. It comes down to understanding the physics of wax: avoiding temperature mismatches, preventing rapid cooling, and measuring your waxes and additives accurately.
Remember these core principles on your next pour:
Keep these guidelines in mind, and the quality of your handmade candles will level up immediately. The most rewarding part of crafting is learning why a mistake happens and turning that knowledge into refined technique. I hope these tips help you pour silky-smooth, gift-worthy candles every single time!
If you found this guide helpful, please share it with your fellow makers! Until next time, happy crafting—this is Yassy from Crafters signing off!





For example, if you are looking for articles about mizuhiki, try searching for "mizuhiki"; if you are interested in tools, try keywords like "nippers" or "pliers."
