Genuine Leather vs. Faux Leather: Complete Guide to Differences, Identification, and Project Selection
yassy
Crafters!

Hello, this is Yassy from Crafters! (・∀・)
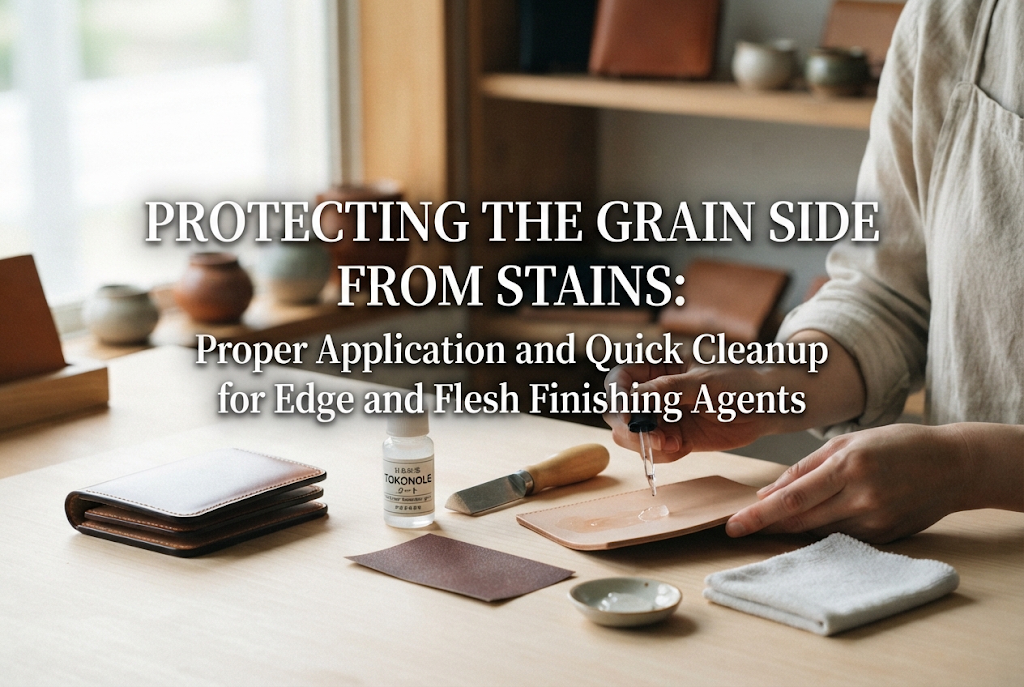
When it comes to leathercraft, edge (koba, the cut edges) and flesh side (tokomen, the back side of the leather) finishing are crucial steps that define the final quality of your work. That exact moment when you apply a finishing agent, burnish it smooth, and see a glossy, beautiful edge come to life is truly one of the most satisfying experiences in leatherworking.
However, many crafters have experienced that heartbreaking moment of realizing, "Oh no! The burnishing agent overflowed onto the grain side (the surface of the leather)!" Even if you wipe it off right away, it often leaves a darker spot or an awkward sheen once it dries, resulting in an irreversible stain.
In this guide, I will explain in detail how to adjust your application amount to completely prevent finishing agents like Tokonole from staining the grain side, as well as rescue techniques to quickly wipe it away if an accident happens. We will delve deeply into common beginner misunderstandings and the foolproof mindset I personally practice in my everyday leathercraft projects.
Before jumping into application control and cleanup techniques, it is essential to understand the structural mechanism behind why finishing agents create stains when they touch the grain side. Understanding the root cause will fundamentally transform your awareness and hand movements during work.
Just like human skin, the grain surface of vegetable-tanned leather has microscopic pores and fine gaps between the collagen fibers. Most edge and flesh burnishing agents, such as Tokonole, are water-based emulsions primarily composed of water-soluble synthetic resins, natural waxes, and natural glues.
When a finishing agent contacts the grain surface, capillary action rapidly pulls the moisture along with the dissolved resin components deep into the leather fibers. Even if you wipe off the surface moisture, the resins and waxes that have already penetrated remain trapped between the leather fibers.
Once the absorbed finishing agent dries within the grain, three troublesome issues occur:
Delicate, dye-finished untreated vegetable-tanned leathers (uncoated nude leathers) absorb moisture at an exceptionally rapid pace. An overflow can soak deep into the grain within seconds, making subsequent repair extremely difficult.
There are clear behavioral patterns among beginners who accidentally stain leather during edge burnishing. Check if you fall into any of these common traps.
This is the single biggest cause of mistakes. Some crafters believe that piling on plenty of burnishing agent will bond the fibers tighter and yield a shinier edge, leading them to heap mounds of agent directly onto the edge.
When you apply too much agent, the pressure exerted by a wooden slicker or canvas cloth pushes the excess outward, inevitably forcing it onto the grain side. Heaping on finishing agent is the worst move in edge burnishing; what you truly need is an "ultra-thin, uniform coat."
Sometimes crafters notice a small speck of agent on the grain side but think, "I'll focus on burnishing the edge right now and wipe everything off together later." You must never do this.
Finishing agents begin to dry rapidly as soon as they are exposed to the open air. If you try to scrub off an agent that has hardened and formed a film, you risk scuffing the grain finish or roughening the fibers, leaving behind an even larger blemish or scratch.
When applying Tokonole or paste to the flesh side and spreading it with a glass slicker, some try to sweep the agent all the way over the edge in one continuous motion.
Treating the flesh side and finishing edges are entirely distinct steps requiring completely different levels of control. The volume needed for the flesh side and the precise amount needed for the edge must be managed separately. Attempting to do both at the same time results in agent wrapping around to the grain surface almost 100% of the time.
The most dependable way to prevent stains is to understand what an exact "appropriate amount" looks like and to choose the right applicator tool.
An appropriate amount means a state where no liquid pooling or rounded bead forms at all on the cut cross-section of the leather.
When you touch the agent to the edge, the ideal state is when the surface looks slightly moist and faintly cloudy or white. If the liquid beads up into rounded droplets, you have applied far too much. Always scrape off any excess with a fingertip or a cloth before you start burnishing.
The precision of your volume control changes significantly depending on what tool you use to apply the burnishing agent. Choose your tool according to your task:
For beginners, I highly recommend using your own fingertip or a firm, ultra-fine cotton swab. Using your fingertip lets your sense of touch immediately detect any excess before it becomes a spill.
Here are the practical steps and techniques I use during my own leathercraft projects to proactively prevent edge agent accidents.
Before applying any finishing agent, it is essential to chamfer the sharp corners of the leather edge using an edge beveler (heri-otoshi).
If the edge remains a sharp 90-degree angle, burnishing pressure crushes the sharp lip, causing it to mushroom and roll over toward the grain side. As it deforms, it pushes the finishing agent straight onto the grain. Thorough edge beveling creates a rounded contour that prevents burnishing pressure from forcing liquid onto the top surface.
When working with expensive leather or sensitive, dye-finished vegetable-tanned leather that stains at the slightest touch of moisture, apply masking tape along the grain without hesitation.
Placing masking tape along the edge—leaving just a tiny 0.5 mm reveal—ensures that even if your hand slips, the tape catches all the overflow. Standard high-tack tape might lift the grain finish when peeled, so choose a low-tack masking tape or leathercraft-grade tape. Sticking the tape lightly to your hand or clothing first to slightly soften the adhesive is also an effective trick.
There is a definite rule for the angle of your hands. If you lay the leather completely flat and apply agent straight from above, you cannot control which way excess liquid might drip.
Hold the leather at a slight tilt, with the grain side facing upward (or away from you) and the flesh side angled downward (or toward you). When stroking your finger or cotton swab, always move in a direction that sweeps from the grain side toward the flesh side.
By using gravity and the natural path of your hand motion, any surplus agent escapes toward the flesh side rather than the grain, systematically lowering the risk of accidental grain staining to virtually zero.
No matter how careful you are, accidents can happen. What matters most is how quickly and correctly you rescue the leather.
The instant you notice agent on the grain, act without losing a single second:
If you noticed the spill late and a thin film has begun to form on the surface, do not try to rub it off dry.
Lightly moisten the tip of a cotton swab with a tiny drop of water (not dripping wet), and gently stroke the filmed area in tiny circular motions. Because these burnishing agents are water-soluble, reintroducing a controlled touch of moisture helps resolubilize the resin. As soon as the film softens, immediately blot it up using a clean, dry cloth.
The material of the cloth you use directly affects the outcome.
Paper tissues tear easily, leaving wet paper fibers stuck to the grain. Rough shop rags often shed lint. The best options are pieces of an old 100% cotton T-shirt, a well-used Japanese cotton hand towel (tenugui), or an undyed cotton cloth designed for leathercraft. Keep lint-free, highly absorbent cotton cloths within arm's reach at all times while working.
Whenever you handle edge finishes, flesh burnishing agents, adhesives, or other leathercraft chemicals, safety and environmental care should never be neglected.
Always read the manufacturer's directions and safety notices thoroughly before use. Certain finishing solutions contain preservatives or specific chemical formulations; crafters with sensitive skin should wear rubber gloves or protective finger cots. Furthermore, avoid working in closed rooms for extended periods—ensure regular ventilation. Store your bottles tightly capped in a cool, dark place out of reach of young children and pets.
Depending on the tanning method (chrome-tanned, combination-tanned, or exotic leathers), chemical ingredients in finishing agents can react unpredictably with the leather, causing localized chemical burns or discoloration. Always develop the habit of testing your finishing agent on a small scrap piece of the exact same leather to verify how it dries before applying it to your final project.
In this article, we covered how to fine-tune your application amount and master quick wipe-away techniques to prevent edge and flesh finishing agents like Tokonole from staining the grain side.
The golden rules of edge burnishing are simple: avoid heaping on agent, apply an ultra-thin, uniform layer, and always stroke your applicator from the grain side toward the flesh side. If an accidental smudge does occur, stay calm and blot it vertically before it dries to stop damage in its tracks.
Simply paying close attention to application amounts and preparation steps will elevate the refinement of your handmade leather goods to an entirely new level. Don't be afraid to experiment on scrap leather to find your perfect feel, and enjoy the process of creating beautifully burnished, glossy edges!
If you found this guide helpful, please share it with your fellow leathercraft friends on social media—it truly encourages me!
See you in the next article! This was Yassy from Crafters!









For example, if you are looking for articles about mizuhiki, try searching for "mizuhiki"; if you are interested in tools, try keywords like "nippers" or "pliers."
