Beginner’s Guide to Authentic Leathercraft: The Fastest Route to Hand Stitching with a Starter Kit
yassy
Crafters!

Hello, everyone! This is Yassy from Crafters! (・∀・)
As a true handmade fanatic, I love creating my own items, admiring the wonderful creations of fellow artisans, and shopping for unique supplies and goods at handmade craft stores. The thrill of making something new with your own hands, the excitement of finding cute parts, and the deep emotional touch of receiving a piece filled with a crafter's dedication—these are feelings I never tire of!
Today, I want to share my passion for leather craft! Leather accessories have a luxurious texture and develop a rich patina over time. It is a genre that almost every handmade lover dreams of trying at least once. When looking at beautiful real-leather card cases or key cases at craft fairs or shops, many people think, "How wonderful would it be if I could make this myself?"
However, when it comes to actually taking the first step into leather crafting, many women hesitate, worrying: "Does it look too difficult?" "Do I need too many specialized tools?" or "What if I ruin expensive leather?" Furthermore, even among those who muster the courage to start, many end up giving up halfway simply because they chose the wrong project for their skill level.
But don't worry! As long as you select the right first project and follow proper basic techniques, even complete beginners can successfully craft wonderful items without failing. In this article, as a craft writer who loves handmade creations, I will explain the best initial projects and essential crafting tips to ensure you enjoy a sense of professional accomplishment without getting frustrated!
The primary reason beginners get frustrated with leather craft is not a lack of innate skill or artistic talent. In 100% of cases, it is a mistake in choosing their very first project.
In sewing with fabric, if a stitch is slightly crooked, you can easily undo it, or the softness of the fabric will hide small imperfections. Leather, however, is a material that leaves no room for undoing once you cut or punch a hole in it. Failing to understand this tension and the nature of the material when selecting a project is the root cause of failure.
The most common mistake beginners make is jumping straight into making a zippered long wallet or a tote bag with gussets just because they want an item for daily use or think it looks cool.
To put it bluntly: Please do not start with a long wallet or bag as your first project!
Long wallets and structured bags condense advanced leather crafting techniques. They require dozens of difficult hurdles: precise cutting of multiple parts, skiving (skiving down leather thickness), stitching 3D gussets together, and installing complex zipper structures. Attempting these without foundational knowledge leads to confusion, misaligned stitching holes, wasted expensive materials, and spent hours. This is the number one pattern for beginner frustration.
You might wonder, "Then is any small item okay?" There are hidden traps here too! For example, round coin purses or molded key cases might look simple at first glance.
However, designs with many curves are far harder to cut accurately than straight lines, causing blades to slip and lose shape. Furthermore, techniques like wet-molding leather into 3D shapes or joining corners require calculating leather thickness and stretch, which is practically impossible for a beginner. Just because an item is small does not mean it is easy—this is a nuance of leather craft that often misleads newcomers.
Crafters accustomed to general sewing and sewing machines are often surprised by the characteristics of leather. First, let's understand the material and basic construction rules.
While fabric edges are usually folded over and hemmed, leather is basically finished with raw cut edges (cut-edge technique). Because of this, leather has three distinct elements:
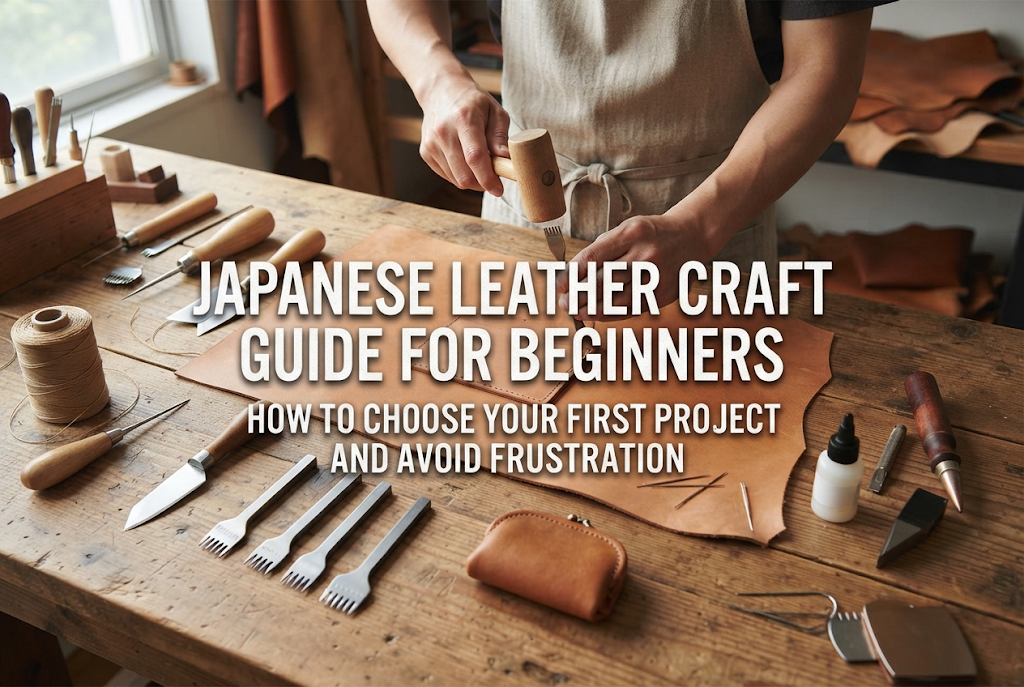
At its core, leather crafting is a repetition of three steps: cutting leather, burnishing the flesh side and edges smoothly, and punching holes to hand-stitch. Selecting a project that allows you to experience this process simply is the key to success.
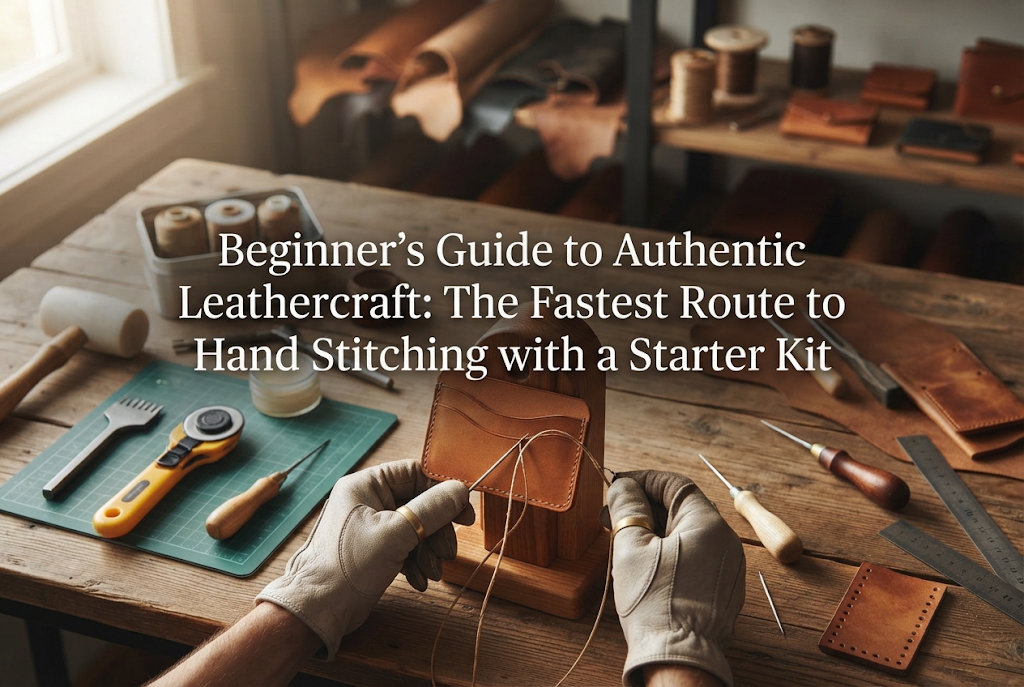
Hand-stitching leather (often called saddle stitching or hiranui in Japan) is entirely different from standard running stitches or machine stitching. Securing the leather with a stitching pony or between your knees, you attach a needle to each end of a single thread, passing them alternately from the front and back through the same hole to lock the stitch in place.
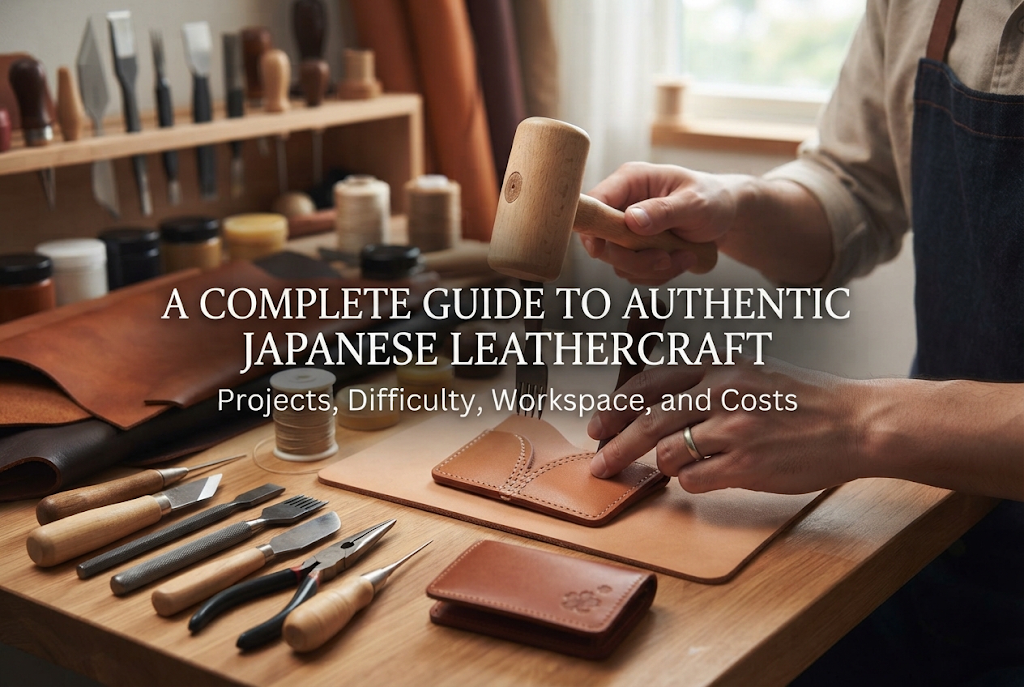
To achieve clean saddle stitching, you must pre-punch neat, angled holes at equal intervals using a specialized tool called a Hishime-uchi (Japanese diamond chisel). If you choose a long stitching line for your first project, punching holes and hand-sewing will tire your hands quickly, turning the process into a chore. That is why a short stitching distance is an absolute requirement for your first piece!
Here are three carefully selected beginner projects that offer zero frustration, clear execution, and a high sense of achievement along with practical usability. If a friend asked me where to start with leather craft, I would unconditionally recommend one of these three!
You might think, "Isn't that too simple?" However, this is the ultimate practice project containing all the core fundamentals of leather craft!
You simply cut the leather into a square or strip, burnish the toko-men (flesh side) and koba (edge) with a specialized finishing agent until shiny, and attach a snap button using a setting punch. With just that, you create a sleek leather item with a boutique-like finish.
Key Skills Learned: Getting the feel for cutting straight lines, adjusting pressure when burnishing edges/flesh side, and installing metal hardware (snaps). Because there is no stitching involved, you cannot fail. It is perfect for experiencing how leather transforms into something gorgeous through burnishing.
For those who want a real hand-stitching experience, a tri-fold simple key case or a single key cover is the best choice.
Because you only stitch short straight lines on the outer perimeter or secure the piece with rivets, the required stitching distance is extremely short. It is an item you use daily, giving you a wonderful sense of pride every time you take it out of your bag!
Key Skills Learned: Punching straight holes with a Hishime-uchi, mastering the rhythm of saddle stitching with two needles, and setting key hardware or rivets with a setter. You can complete it in about two hours without losing focus.
This involves placing two pieces of leather together and stitching around three sides in a U-shape to make a flat pass case or business card holder.
Since it has a flat structure with no gusset depth, there is no confusion in assembly. You experience the foundational process of leathercraft: gluing leather pieces together, punching straight holes through layers, and stitching with even tension.
Key Skills Learned: Laminating leather with leather adhesive, smoothing and burnishing multi-layer edges, and maintaining uniform stitch tension. Once you can make this neatly, you have cleared the basic level of leather craft!
Here are common pitfalls beginners face when picking up tools for the first time, along with practical solutions to overcome them!
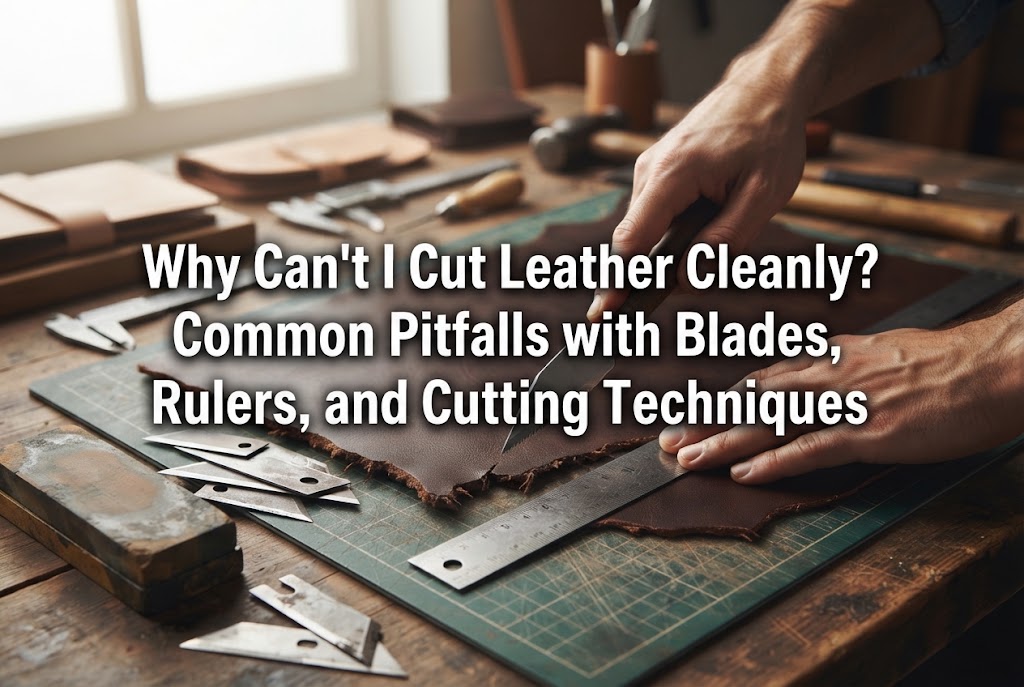
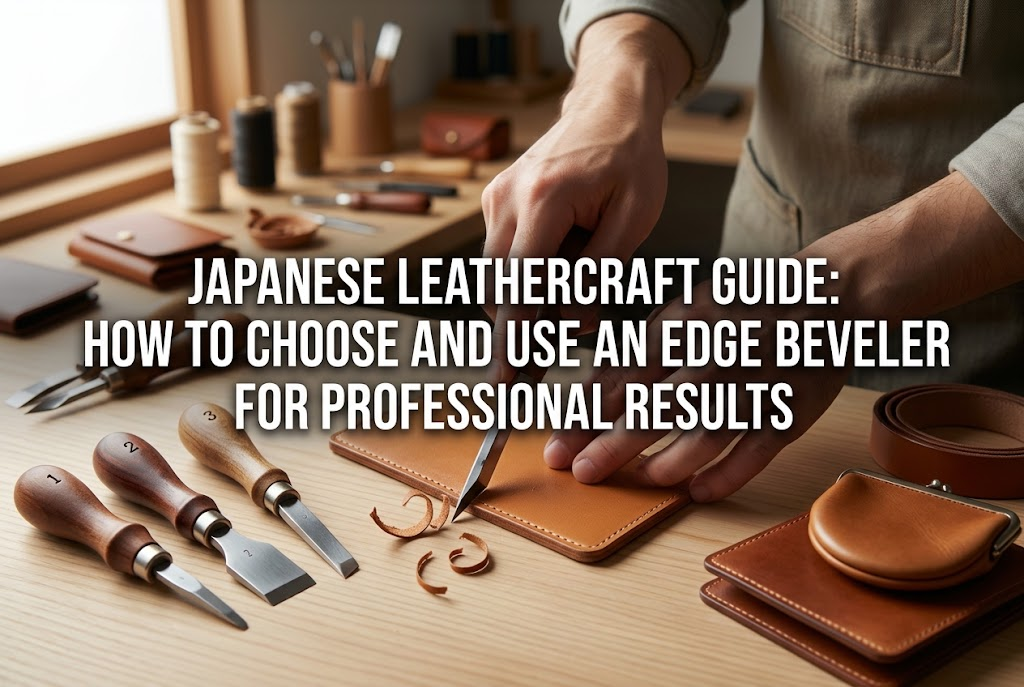
Cause: Trying to cut leather with household scissors or pulling hard to cut deep in a single pass with a utility knife. Leather fibers are dense; scissors flatten and angle the cut cross-section.
Yassy's Solution: Always use a dedicated leather utility knife (such as an OLFA craft knife or a Japanese Betsu-tachi leather utility knife) alongside a metal ruler. Plastic rulers are dangerous because blades can ride up them, shaving the ruler itself. Instead of cutting through in one heavy pull, lightly trace the exact line 3 to 5 times. This creates clean, perpendicular cut edges!
Cause: Ignoring the angle of the diamond punch holes and passing the needles inconsistently, or pulling the thread with variable tension.
Yassy's Solution: Leather saddle stitching follows a strict rule: maintain the same needle sequence for every stitch (e.g., always keep the right needle on top or bottom when passing through). Ensure you insert the second needle consistently above or below the first thread inside the hole, and keep your pull strength even. Following this rule creates uniform, machine-like stitches!
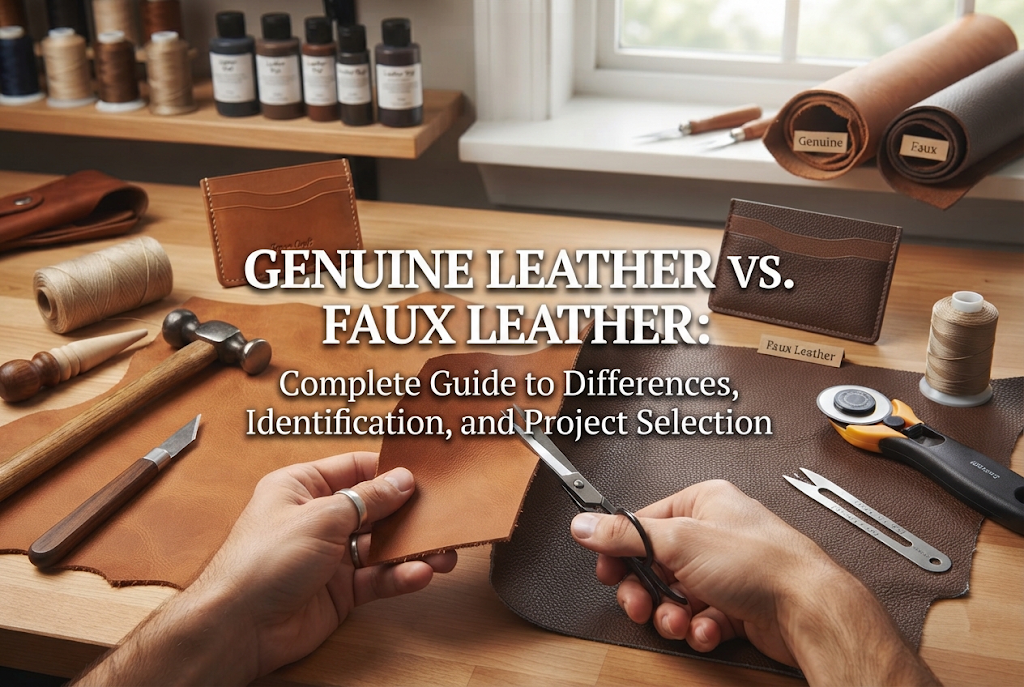
Cause: Buying cheap scrap leather bundles online often means getting mixed tannages without knowing whether it is chrome-tanned or vegetable-tanned leather.
In particular, chrome-tanned leather is soft and chemically processed; its raw cut edges (koba) will never shine even if you rub them with edge burnishing compounds like Tokonole. The edges will remain fuzzy.
Yassy's Solution: For your first project, always purchase vegetable-tanned cowhide (Nume leather)! Even if it seems slightly more expensive, it is easy to cut, easy to punch, and develops a gemstone-like sheen the more you burnish it. Beginners should rely on the quality of superior materials!
When starting leather craft, many craft enthusiasts ask, "Should I buy a 50-piece full beginner kit online?"
My conclusion is clear: Start by purchasing essential individual tools or choose a basic starter kit from a reputable leather craft specialty supplier!
Kits containing 20 to 50 tools priced very cheaply on marketplace sites look like great deals, but the precision of the tools is often extremely low. Dull Hishime-uchi chisels won't pierce leather, dull blades tear raw hide, and lightweight hammers fail to drive punches efficiently. Failing due to poor tools is a true waste.
In leathercraft, tool precision directly reflects on the quality of your finished project.
To create your first project (cord holder, key case, or card case), you only need these seven core tools:
With these items, you can create pieces that look remarkably professional. Items easily substituted from general stores include basic cutting mats and metal rulers; however, chisels, Tokonole, and leather needles should be selected from specialty craft brands (such as Craft Sha or Kyoshin Elle in Japan). The ease of use is night and day!
Once you have your tools and materials ready, it's time to build! Here are secret finishing hacks that elevate your project from looking homemade to expertly crafted.
When making rectangular card cases or key cases, leaving sharp 90-degree corners can look unfinished, and corners tend to bend over time during use.
Place a coin (like a small coin) on the leather corners and carefully cut around the arc with your utility knife to round them. This single step instantly turns a plain shape into a refined, soft design seen in boutique store items!
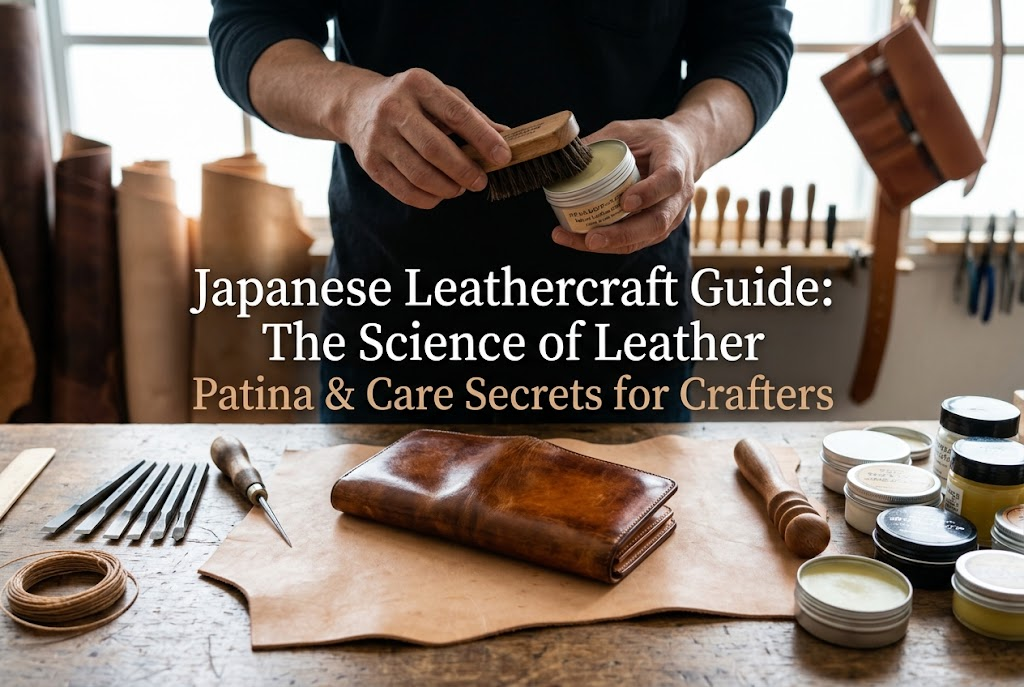
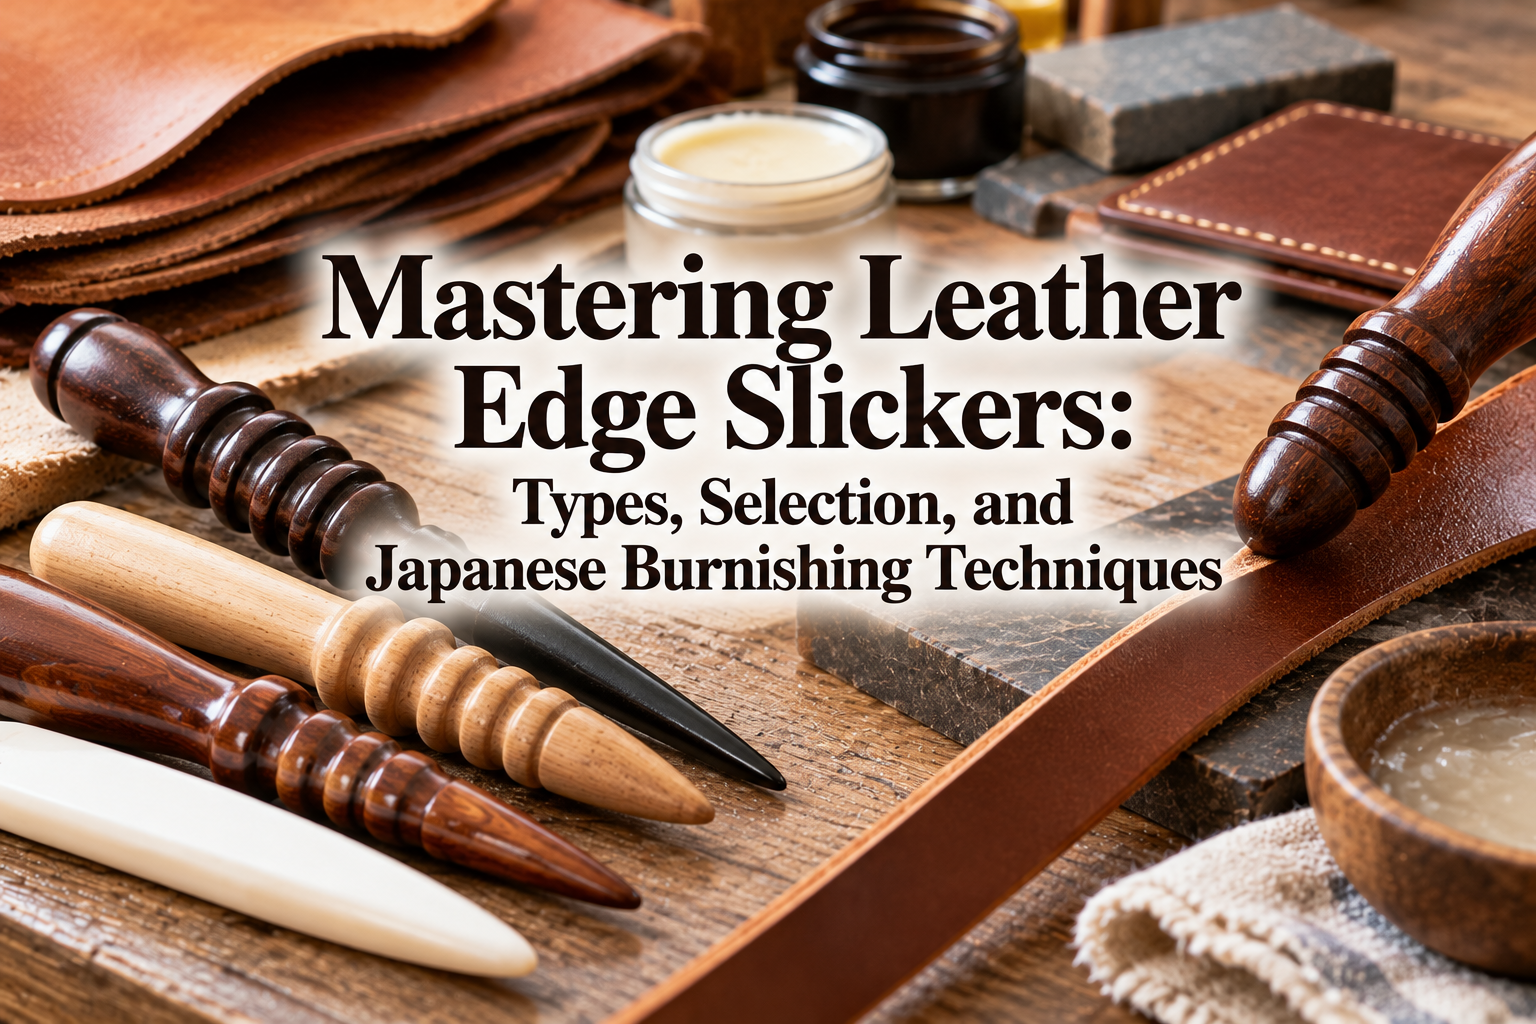
When burnishing cut edges (koba), applying thick glops of Tokonole is counterproductive. Spread a thin layer with your fingertip, wait until it becomes semi-dry, then place the matching groove of your wood slicker over the edge and rub back and forth quickly.
Frictional heat tightens the leather fibers, producing a beautiful, mirror-like gloss! Experiencing this transformation is pure magic and often makes people fall in love with leather craft.
Tying knot ends like in standard sewing ruins the sleek appearance of leatherwork. Instead, pass the thread twice through the final hole to pull it to the back side, apply a tiny drop of vinyl acetate craft glue (or leather cement) while pulling slightly, push the thread back into the hole, and trim flush at the root. (For synthetic nylon threads, melting the tip slightly with a lighter flame is also a traditional method).
This creates a clean finish on the back with no visible knots, raising the quality of your entire work!
Although I write about leathercraft with confidence today, my very first attempt was a series of total disasters!
Back then, I thought, "If I'm going to make something, it should be impressive!" I enthusiastically attempted a bi-fold wallet filled with multiple card slots. Guided by a pattern book, I used scissors to cut random scrap leather pieces of varying thickness and hammered holes purely by eye.
The result? As I stitched, the pieces shifted completely out of alignment, the corner holes did not line up, and the wallet couldn't even be assembled. It ended up straight in the trash bin. I felt an overwhelming sense of frustration, thinking, "I guess I just don't have the talent for leather craft…"
However, unable to give up, I took a step back and restarted with a single-piece leather keychain. I purchased quality vegetable-tanned cowhide, carefully cut straight lines, burnished the edges to a bright shine, and set a simple snap button.
I will never forget the joy when it was finished—the gleaming cut edges and the smooth feel of genuine leather in my hands. That was the moment I realized: "It wasn't a matter of talent; as long as I follow the proper steps and basics, I can do this!" That keychain remains a cherished item of mine and the origin of my crafting journey. That is why I don't want you to take the long detour I did!
Today, we covered how beginner craft enthusiasts can successfully choose their first leather project and master foundational techniques!
Let's review the key points:
The greatest charm of leather crafting lies in creating real leather goods from scratch that you can use and love for a long time. As you use your item daily, the leather softens, deepens in color, and develops a rich patina—a luxury unique to handmade creations that store-bought items cannot match.
Every time you pull out your handmade key case or pass through a turnstile with your custom card holder, you will feel a spark of pride and delight. The empowering realization that "I made this wonderful item myself!" enriches your entire craft life.
Everyone starts as a beginner. Don't overcomplicate things—grab a beautiful piece of leather and take your first step with a small key cover or coaster. I am cheering you on from Japan as you create a wonderful piece that shines!
See you in the next article! This was Yassy from Crafters!

For example, if you are looking for articles about mizuhiki, try searching for "mizuhiki"; if you are interested in tools, try keywords like "nippers" or "pliers."
