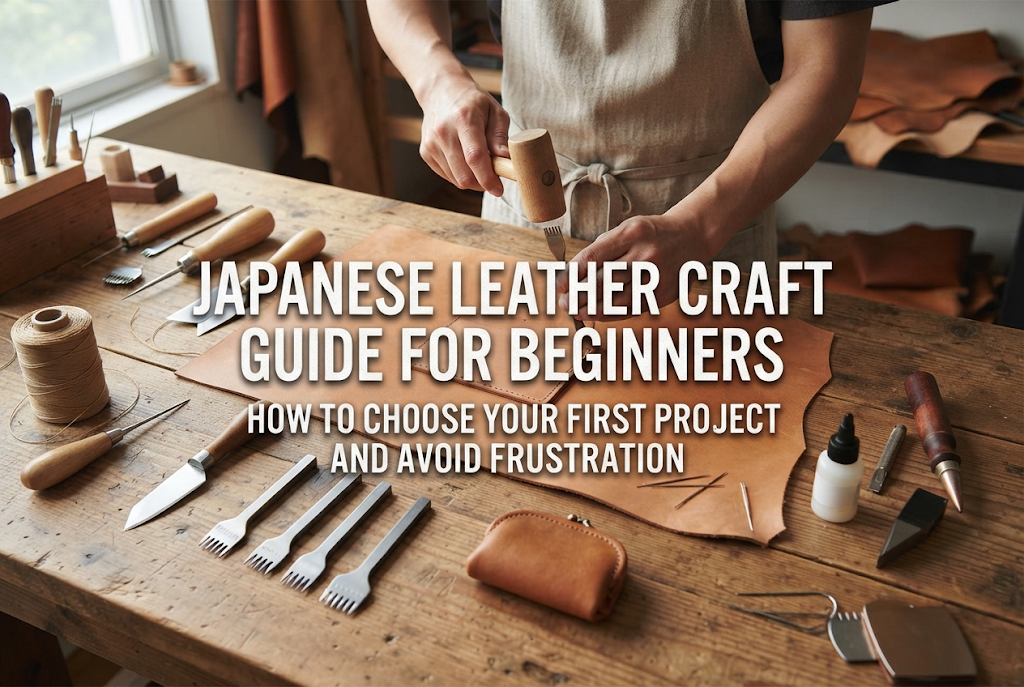
Japanese Leather Craft Guide for Beginners: How to Choose Your First Project and Avoid Frustration
yassy
Crafters!

Hello, everyone! This is Yassy from Crafters! (・∀・)
I absolutely love making handmade crafts, admiring beautiful handcrafted works, and collecting unique items for my own personal collection. Over the years, I have explored many different craft genres, but when it comes to a material that deepens in character over time and reveals a truly personal expression, genuine leather stands at the top of the list.
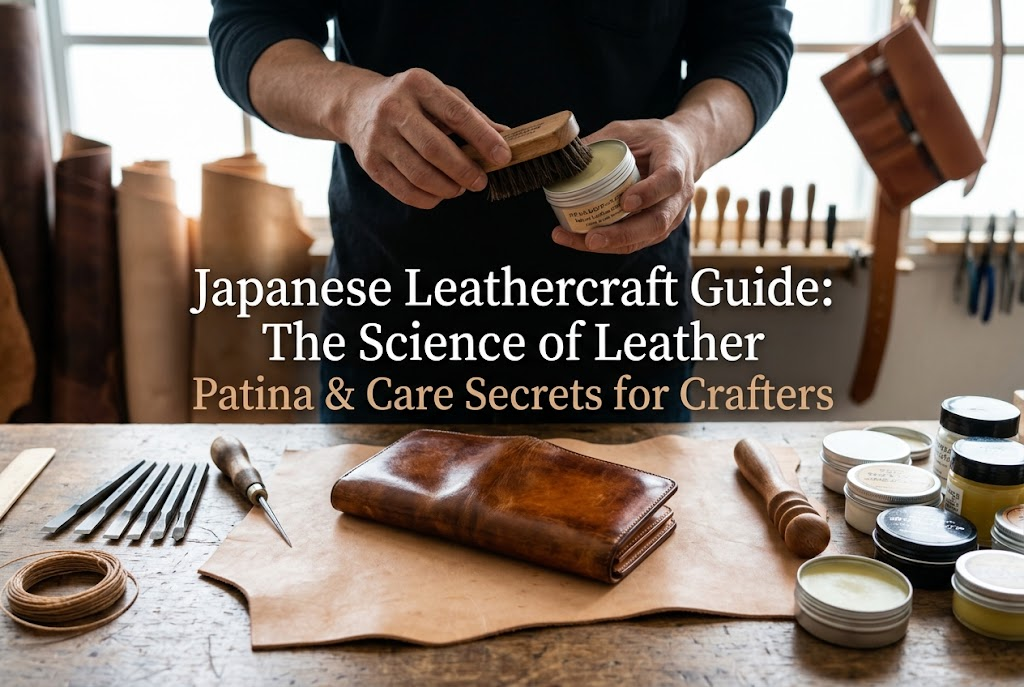
When you hold a piece made from genuine leather, the greatest joy lies in its patina (経年変化 – keinen henka). Watching the leather darken, gain a rich luster, and mold comfortably to your hands as you use it is the ultimate fulfillment of growing and nurturing a handmade leather item.
However, I frequently hear questions and worries from handmade craft beginners and customers—especially women looking to purchase their first leather accessories. They often ask: "Why does leather change color?", "I left my leather item alone and it looks dirty—did I fail?", or "Does every type of leather age the same way?"
The aging of leather is not random. It is driven by clear scientific mechanisms and absolute rules for proper care. If you use leather without the right knowledge or apply incorrect care methods, you won't get a beautiful patina—you'll end up with simple degradation and dirty stains.
In this guide, I've condensed my personal experience and technical knowledge to explain everything from the science behind leather patina and the types of leather that age best, to foolproof care routines and emergency fix secrets! By the end of this article, all your questions about leather aging will be resolved, empowering you to cultivate exquisite leather goods of your own.
First, let's clarify the true meaning of "leather patina" (aging) and how genuine leather differs from synthetic leather. Understanding this distinction is essential, as confusing the two will lead to mistakes when choosing materials or caring for your items.
Leather patina refers to the natural transformation in color, luster, and softness that genuine leather undergoes through daily use, contact with skin oils, friction, exposure to sunlight (UV rays), and oxygen in the air. Instead of losing value over time, the leather actually gains depth, character, and beauty through this evolution.
In contrast, synthetic leather (often called faux leather, PU, or PVC) is an industrial product made by coating fabric with synthetic resins. Synthetic leather is at its absolute prettiest the moment you purchase it. Over time, the resin layer breaks down, causing cracking, peeling, and flaking. This is aging degradation (経年劣化), not a beautiful patina.
Sometimes crafters or buyers hope to use a synthetic pouch for years to give it a "vintage look," but synthetic materials will never develop a true patina—they simply fall apart. The privilege of growing more beautiful as time passes belongs exclusively to natural genuine leather, derived from living animals.
Whenever I craft or purchase a genuine leather item, the very first thing I ask myself is: "What will this piece look like a few years from now?" That deep, living vitality—something synthetic leather coated only on the surface can never match—is the greatest charm of real leather.
The idea of "growing leather" is not just a poetic feeling; it is grounded in science. Understanding the three chemical and physical reactions happening inside and on the surface of leather is your first step toward achieving a stunning patina.
Genuine leather contains natural fats added during the tanning process, as well as conditioning oils absorbed during care routines. As you use a leather item daily, the pressure from touching, bending, and folding pushes these internal oils outward to the surface.
Combined with the microscopic amounts of natural sebum transferred from your hands and the gentle friction of daily handling, these oils form a thin, uniform protective layer on the surface. This layer is the source of the rich, deep gloss that develops over time. Rather than an artificial shine like brush-applied varnish, it creates an elegant radiance radiating from within.
Leather is made of animal skin, which consists primarily of protein fibers. When exposed to ultraviolet rays in sunlight, ambient room light, and oxygen in the atmosphere, the dyes, tanning compounds, and proteins within the leather undergo a chemical oxidation reaction.
In particular, minimally finished leather tanned with plant-based tannins reacts vividly to light, shifting from a light beige tone to a golden brown, and eventually to a deep, rich amber (飴色 – ame-iro). This process is very similar to how a sliced apple turns brown when exposed to air, or how human skin tans in the sun.
Genuine leather is composed of intricately woven collagen fibers. In a brand-new leather item, these fibers are tightly packed and firm. However, as you handle the item daily, slip it into a pocket, or store items inside it, the fibers in areas under stress gradually relax and soften.
Friction smooths out microscopic surface irregularities, allowing light to reflect off the leather more evenly. Furthermore, the leather molds itself around your grip, the shape of your cards, or your body's contour, creating a one-of-a-kind shape that literally remembers your lifestyle habits.
Here is the most common misconception among beginners: believing that any genuine leather will dramatically darken and turn into a glossy amber color. That is simply not true!
Whether leather develops a dramatic patina depends entirely on the tanning process—the technique used to preserve raw animal hide into durable leather. When selecting leather for your projects or purchases, always check how it was tanned.
If you want to enjoy a dramatic patina, vegetable-tanned leather (ヌメ革 – nume-kawa) is the absolute top choice. Tanned using natural tannins extracted from tree bark, this traditional method dates back to ancient times.
Vegetable-tanned leather reacts sensitively to light, air, and friction. While firm at first, it softens significantly with use, deepens into a rich caramel or amber tone, and develops a breathtaking gloss. If you are doing leathercraft specifically to enjoy aging, choosing vegetable-tanned leather is a golden rule.
On the other hand, chrome-tanned leather accounts for over 80% of the commercial leather market. Tanned using basic chromium sulfate, a metallic chemical element, this leather is soft, lightweight, highly durable, and capable of holding vivid colors.
The main advantage of chrome tanning is that it resists discoloration, scratches, and water. It is ideal if you want your item to stay the exact same bright color as the day you bought it. However, it will hardly undergo any color deepening or dramatic patina. Being disappointed that chrome-tanned leather doesn't change color is simply a matter of choosing the wrong material for the goal.
Combination tanning mixes both vegetable and chrome tanning methods. It retains the durability, softness, and water resistance of chrome tanning while allowing for a subtle, gentle patina from the vegetable tannins.
While it won't darken as dramatically as pure vegetable-tanned leather, it breaks in comfortably and develops a delicate sheen. For anyone who finds untreated vegetable-tanned leather intimidating due to water or scratch sensitivity, combination-tanned leather is an excellent, easy-to-handle option.
When trying to cultivate leather, many beginners accidentally ruin their precious items through improper care. Here are four common mistakes you should strictly avoid:
In a hurry to speed up the patina or add shine, beginners often coat brand-new leather with excessive amounts of oil or conditioning cream. Please avoid this!
New leather already contains ample oil from the tannery. Adding heavy coats of oil clogs the pores, leaving a sticky residue. Dust sticks to that stickiness, ultimately leading to dark spots and mold growth. Over-oiling is the single biggest enemy of beautiful leather aging.
Having heard that "vegetable-tanned leather likes sunbathing," some people leave their leather out in harsh, direct summer sunlight for days. This is a severe mistake.
Excessive ultraviolet exposure strips away both moisture and essential oils, leaving the leather bone-dry, stiff, and prone to cracking. Furthermore, if shadows fall across the item, it will develop harsh, permanent tan lines that can never be fixed.
Vegetable-tanned leather is surprisingly vulnerable to moisture in its early stages. Leaving rain drops or sink splashes on the leather causes the fibers in those spots to shrink, resulting in unsightly water rings or raised blisters.
Ignoring water spots under the assumption that "it will turn into character anyway" often leaves dirty spots rather than a smooth, beautiful color gradient. Immediate action is crucial when water hits untreated leather.
While over-oiling is dangerous, leaving leather unattended for years in a dry environment is equally destructive. Just like human skin, leather that loses its moisture and oils becomes brittle and will crack as soon as it is bent.
Once collagen fibers crack, they cannot be restored. Maintaining moderate humidity and applying minimal oil when needed are mandatory conditions for a healthy patina.
Here is my complete, step-by-step care routine—the exact routine I use to protect leather and cultivate a gorgeous amber shine without causing damage! You don't need complicated tools; just stick to these fundamental steps.
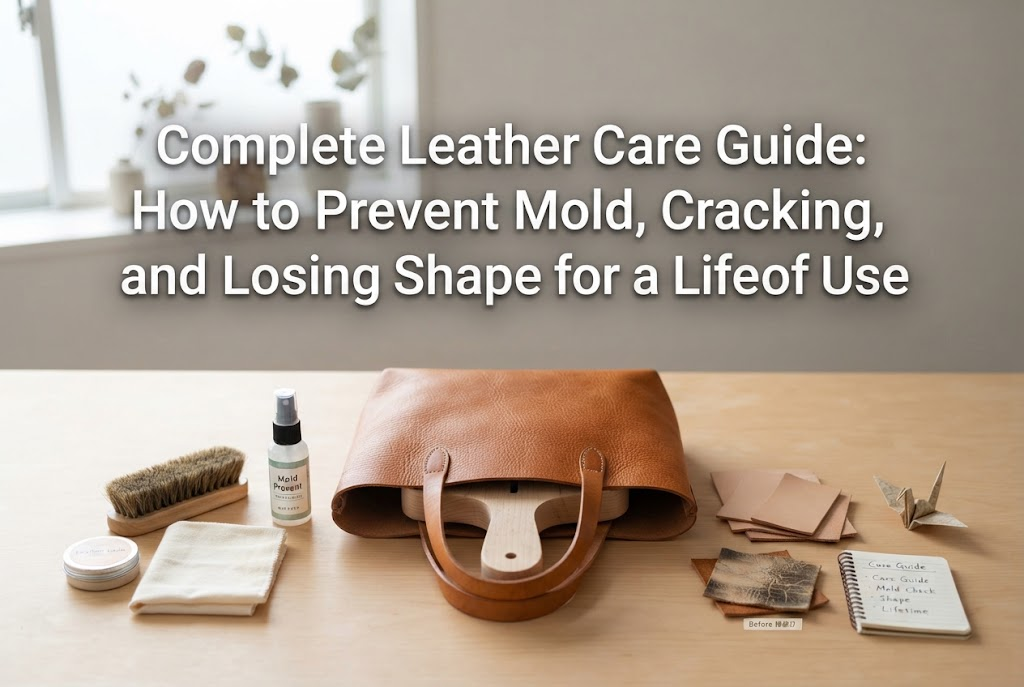
Brushing is the most critical foundation of leather care. The tool to use is a horsehair brush (馬毛ブラシ). Horsehair bristles offer the perfect balance of softness and elasticity, allowing you to sweep dust out of tight crevices without scratching the leather surface.
Fine dust and grit gather in stitching lines and leather creases. Dust acts like a sponge, pulling moisture and oil out of the leather. Brushing your item briefly after daily use—and always before applying any cream—dramatically extends the life of your leather craft.
In reality, daily maintenance is 80% complete with just brushing and dry wiping! Use a soft 100% cotton cloth (such as an old cotton T-shirt scrap or a soft flannel polishing cloth).
Gently wiping the entire surface spreads the natural skin oils from your hands and the oils from inside the leather evenly across the piece. Spending just a few seconds dry-wiping every day is the secret to producing a clear, natural, and radiant luster.
You only need to apply leather cream or oil when the leather feels dry to the touch or during seasonal changes (once every few months). Frequent application is entirely unnecessary.
Choose a colorless cream formulated with gentle, natural ingredients such as beeswax, jojoba oil, or lanolin. Here is how to apply it properly:
The leather will darken slightly immediately after application as it absorbs the oil, but it will settle as it dries. Remember the golden rule: less is always more.
If you acquire or craft an item made from natural, undyed vegetable-tanned leather (生成りヌメ革), I strongly recommend performing a "pre-aging" (プレエイジング) session before putting it to use.
Pre-aging means placing the new, clean item in a well-ventilated, shaded area or near a window with soft, indirect sunlight for a few days to a week before daily use.
This process gently brings internal oils to the surface, forming a light, protective coating. Turning the leather a uniform, pale wheat color beforehand makes it far less susceptible to dirty thumbprints, accidental water spots, or uneven staining later on, allowing it to develop a smooth, beautiful gradient as you use it.
Different leather items experience different levels of handling and environmental exposure. Here is how to tailor your selection and care strategy based on the item type:
Items you touch multiple times a day—such as wallets, key cases, and card holders—develop a patina fastest and most beautifully. Because your hands naturally supply mild skin oils and body warmth, these items rarely require conditioning cream!
For these items, vegetable-tanned leather is undeniably the best choice. Even without special care, the gentle friction of your pockets and natural handling will transform the leather into a glossy amber masterpiece within six months to a year. Daily use is truly the best maintenance.
Bag panels and planner covers receive less direct hand contact than wallets and are more exposed to dry ambient air. Because of their large surface area, dryness shows easily.
These items benefit from light brushing and a very thin coat of conditioning cream every 2 to 3 months. Regular attention prevents localized dryness and maintains a uniform color tone. When selecting materials, scratch-resistant textured veg-tan or supple combination-tanned leathers are very user-friendly options.
Small leather items like earrings, necklaces, or small charms come into direct contact with sweat and skin oils, yet applying heavy creams can ruin their delicate shape or clog hardware.
After wearing or using these pieces, simply wipe away sweat with a tightly wrung damp cloth followed by a soft dry cloth, then store them in a low-humidity spot. Conditioning oil is generally unnecessary. Keeping them out of direct sunlight during storage is the golden rule to prevent premature fading.
No matter how careful you are, unexpected spills or scratches happen. Don't panic! Wrong emergency moves make things worse, so keep these proper rescue steps in mind:
If water splashes onto your leather, act immediately. Never use a hair dryer or set the item in direct sunlight! Heat causes leather proteins to shrink and harden permanently, ruining the item beyond repair.
Follow this procedure instead:
If fingernails or keys leave light, whitish scratches on the leather surface, there is no need to worry.
For shallow scratches, gently rub the mark in small circles using the pad of your thumb or finger while applying light pressure. The natural warmth and sebum from your finger, combined with oils inside the leather, will cause light scratches to blend in and vanish. A thorough brushing with a horsehair brush afterwards will integrate the mark into the natural patina.
As a crafter who creates and sells leather goods, as well as a passionate fan who purchases handmade work, I hold a specific philosophy close to my heart:
When crafting leather goods for others, showing true sincerity means clearly communicating to your customers how the leather will evolve. Including thoughtful advice—such as "This item uses vegetable-tanned leather and will turn a rich amber color in about six months," or "Please protect it from water or consider pre-aging before use"—gives buyers total confidence in nurturing their new item.
Conversely, when buying handmade leather goods, it helps to shift away from expecting flawless, factory-made perfection. Embracing natural hide characteristics (such as natural wrinkles or visible blood vessel marks) and the tiny scuffs added through your own daily adventures turns the item into a cherished, one-of-a-kind treasure.
Leather patina is not just a material changing color—it is the physical recording of time, memories, and daily life shared with that item, made visible in shade and shine. That personal connection is why genuine leather holds a special place in the craft world.
We've covered everything from the science of leather aging and common beginner mistakes to precise care steps and emergency tips!
Let's do a quick recap of the essential rules for growing a beautiful patina:
A handmade leather item is not finished the moment it is made; its true beauty comes to completion through your daily use, gentle care, and shared journeys.
Don't be afraid of small mistakes. As long as you follow these simple care principles, your leather will reward you with a stunning, personalized character. Pick out a special leather piece, and start writing your own unique patina story today!
If you enjoyed this article, please share it with your craft friends on social media or messaging apps—it truly means the world to me and keeps me inspired! See you in the next article! This was Yassy from Crafters!


For example, if you are looking for articles about mizuhiki, try searching for "mizuhiki"; if you are interested in tools, try keywords like "nippers" or "pliers."
