Batch Crafting Without Compromise: How to Build an Efficient Production Workflow for Handmade Goods
yassy
Crafters!

Hello, I'm Yassy from Crafters! (・∀・)
When browsing handmade shops, do you ever stop to admire those beautiful leather items and think how wonderful it would be to create high-looking leather goods with your own hands?
However, when many people hear "leathercraft," they often give up before starting, thinking: "I need too many specialized tools," "The hammering noise will annoy the neighbors," or "It requires too much physical strength and skill."
All of those worries end today! What beginners should tackle first is not heavy, traditional leathercraft, but "Light Leathercraft."
With Light Leathercraft, you don't make noise, you keep complex hand-sewing to a absolute minimum, and you can complete gorgeous leather items right after opening your supplies. I personally enjoy making and buying all kinds of handmade crafts, and even now, I'm continually impressed by how easy and high-quality Light Leathercraft is.
In this guide, I will share my complete knowledge and experience to help beginners get started—from choosing supplies without failing to essential crafting techniques!
First, it's important to understand the clear difference between "traditional leathercraft" and "light leathercraft." Misunderstanding this often leads beginners to buy unnecessary tools and get discouraged.
Traditional Leathercraft involves working with thick, heavy vegetable-tanned leather, pounding holes with a wooden mallet, and hand-stitching with thick linen thread to construct structured bags or wallets. It is close to artisanal trade work and typically requires an initial investment of 20,000 to 30,000 yen (approx. $130–$200 USD) or more in tools.
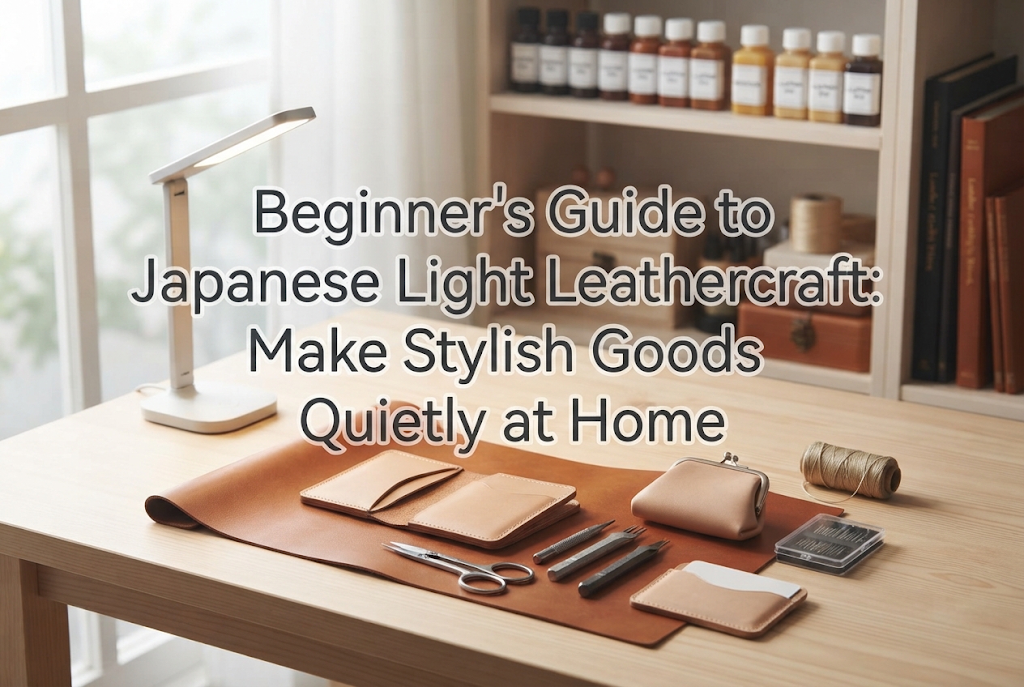
Light Leathercraft, on the other hand, uses thin, supple leather that is easy to handle. The process focuses on simple steps: cutting, gluing, and securing with hardware like rivets, eyelets, or snap buttons. You can even start with "no-sew" projects, making it completely beginner-friendly even if you dislike sewing.
It requires no physical force, and loud hammering is eliminated. This makes it ideal for anyone living in an apartment or condo who wants to enjoy crafting quietly in their room at night. It offers the best part of crafting—making authentic, stylish leather items that look store-bought—via the fastest, most enjoyable route.
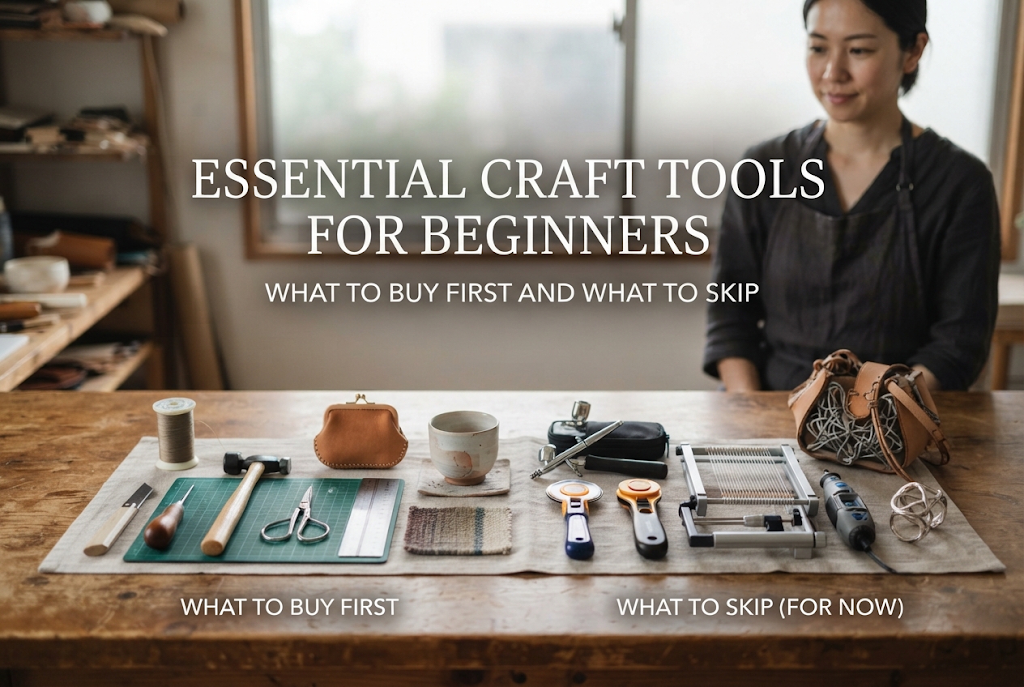
You don't need expensive specialized toolkits to try Light Leathercraft. Start with the absolute minimum essentials.
To avoid mistakes when sourcing leather, purchase A4-sized cut leather sheets from online craft suppliers. Look for a thickness of 1.0 mm to 1.5 mm. Anything thicker requires significant force to cut, while anything thinner feels floppy and loses that premium leather look.
Supple chrome-tanned or combination-tanned leather is ideal. These leathers resist scratches and come pre-dyed in beautiful colors, allowing you to begin crafting immediately upon arrival. Avoid buying large full or half hides as a beginner, as cutting and storing them adds unnecessary hassle.
Most tools you need can be found around the house or in basic stationery supplies:
That's all! Mallets and diamond chisels are not needed at the start. The plier-type hole punch is a true game-changer in Light Leathercraft—it punches clean round holes simply by squeezing the handle, completely eliminating the need for a hammer.
If buying tools individually feels overwhelming, purchasing a Light Leathercraft Starter Kit online is the fastest route. However, many kits online contain heavy mallets and punch sets intended for traditional leathercraft that beginners won't need.
Before buying, check the product description for these features:
Avoid massive "45-piece professional tool sets" filled mostly with tools you won't use. Instead, choose a project-oriented kit such as a "No-Sew Leather Key Case Kit" or "Rivet Leather Accessory Kit."
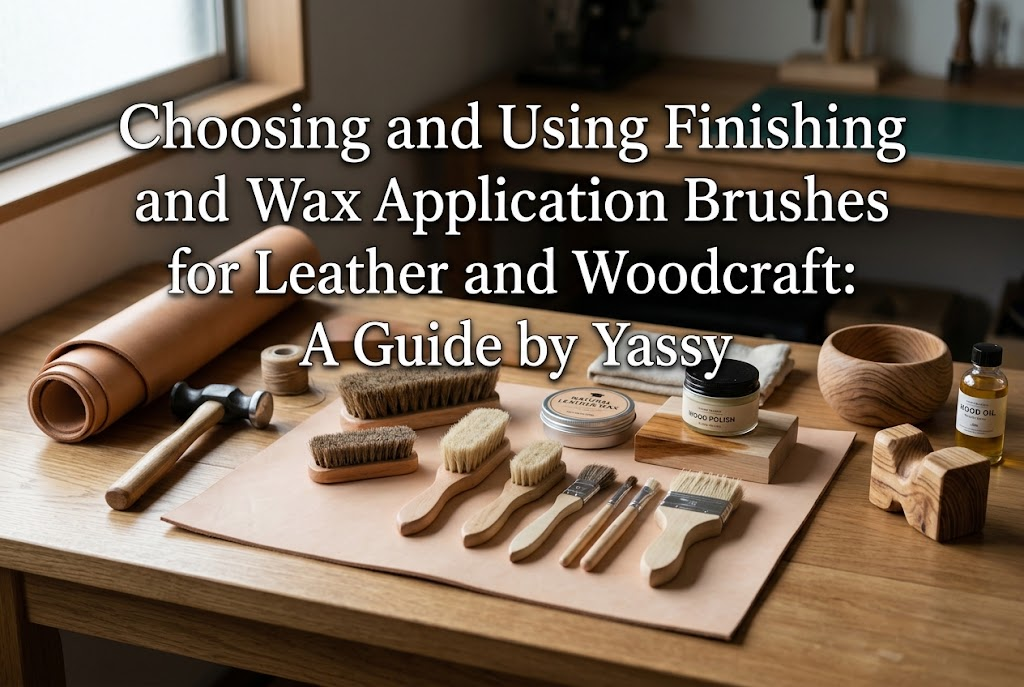
There is one extra item you should always add to your cart: Tokonole (leather finish and burnishing gum). Applying a thin layer of Tokonole to the backside (flesh side) and cut edges (koba) of the leather and polishing it with a cloth smooths out fuzzy fibers, giving your creation a polished, professional finish. It makes a world of difference in your final product!
Once your materials arrive, start with these simple projects that require only cutting, punching holes, and setting hardware:
Cut a strip of leather (approx. 1.5–2 cm wide by 15 cm long) and fold it in half. Punch a hole near the loose ends with your hole punch pliers, insert a key ring and rivet, and press the rivet securely. It takes just 10 minutes, but real leather gives it a satisfying, high-end feel that makes a fantastic quick gift.
This cute coin purse uses a single piece of leather folded into a triangle and secured with two spring snap buttons or rivets. With zero sewing involved, you simply cut the leather according to the pattern, install the snaps, and fold it into shape. It's perfect for holding coins, small jewelry, or wireless earbuds.
Use up leftover leather scraps by making bookmarks and cable organizers. For a bookmark, cut a rectangle, round off the corners, punch a hole at the top, and thread a suede cord through. For a cable clip, cut an oval shape and attach snap buttons at both ends to neatly bundle phone chargers or headphones.
Light Leathercraft is simple, but paying attention to a few key techniques makes the difference between an amateur-looking piece and a polished item.
Trying to force a cutter through leather in one heavy stroke can slip off the ruler and cause injuries or uneven edges. The rule for cutting leather is: Apply light pressure and trace the same line 3 to 4 times. The first pass lightly scores the surface, the second and third go deeper, and the fourth cuts through cleanly. Always snap off a fresh cutter blade segment before starting a project to ensure a sharp cut.
Unfinished cut edges can look frayed. Apply a small dab of Tokonole along the edge with your fingertip, then rub it rapidly with a piece of heavy canvas cloth or cotton scrap. The friction heat seals the fibers, creating a smooth, shiny edge that instantly looks high-end.
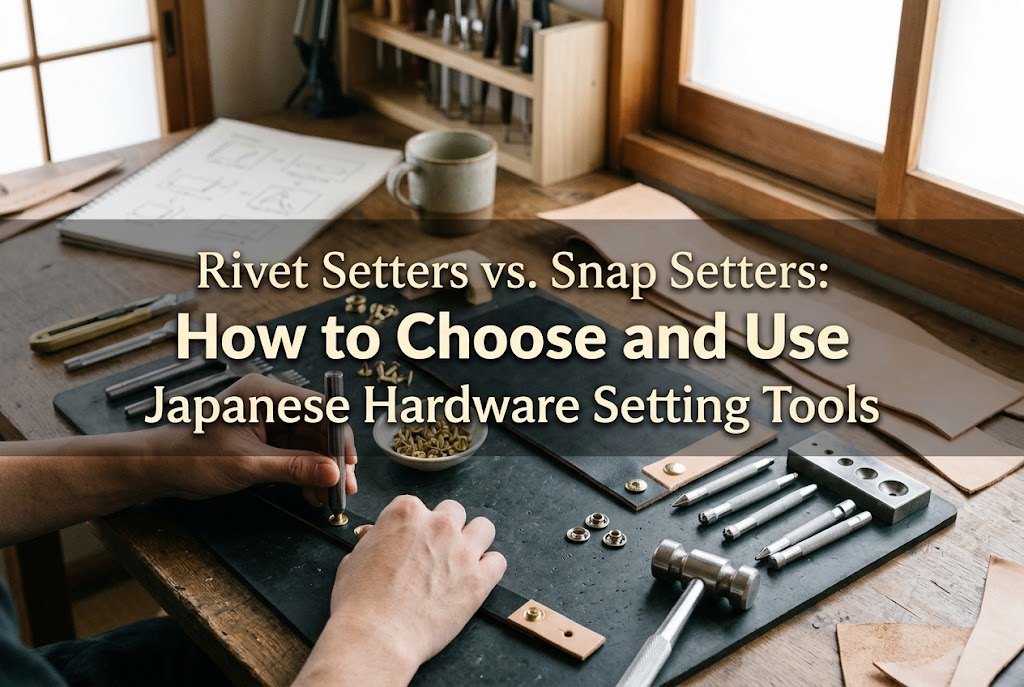
If rivets feel loose or won't snap shut, the post length might be wrong. The ideal post length for a rivet is: Total Leather Thickness + 1.5 mm to 2.0 mm. For example, joining two layers of 1.5 mm leather equals 3.0 mm total thickness, so choose a rivet with a post length of 4.5 mm to 5.0 mm.
Basic stationary like cutting mats, metal rulers, and utility knives from budget shops work fine. However, it is strongly recommended to buy genuine cut leather, Tokonole, and plier punches from craft suppliers. Dollar store leather is often faux synthetic leather, which cannot be burnished with Tokonole and tends to fray easily at the edges.
Using a rotary cutter alongside an acrylic ruler makes cutting both straight lines and smooth curves effortless. You can also temporarily fix paper patterns onto the leather using removable double-sided tape and roll the cutter blade directly along the line.
Light Leathercraft removes traditional barriers like noise, heavy physical effort, and expensive equipment. All you need are a few simple tools and a desire to create!
Carrying a real leather item you made yourself adds a special touch of craft warmth to everyday life. Grab your supplies, try your first project, and enjoy entering the wonderful world of handmade leather goods!
If you found this article helpful, feel free to share it with your fellow craft lovers on social media. See you in the next post! This was Yassy from Crafters!

For example, if you are looking for articles about mizuhiki, try searching for "mizuhiki"; if you are interested in tools, try keywords like "nippers" or "pliers."
