Beginner’s Guide to Japanese Dip Art: Essential Tools & Fast-Track Steps to Success
yassy
Crafters!
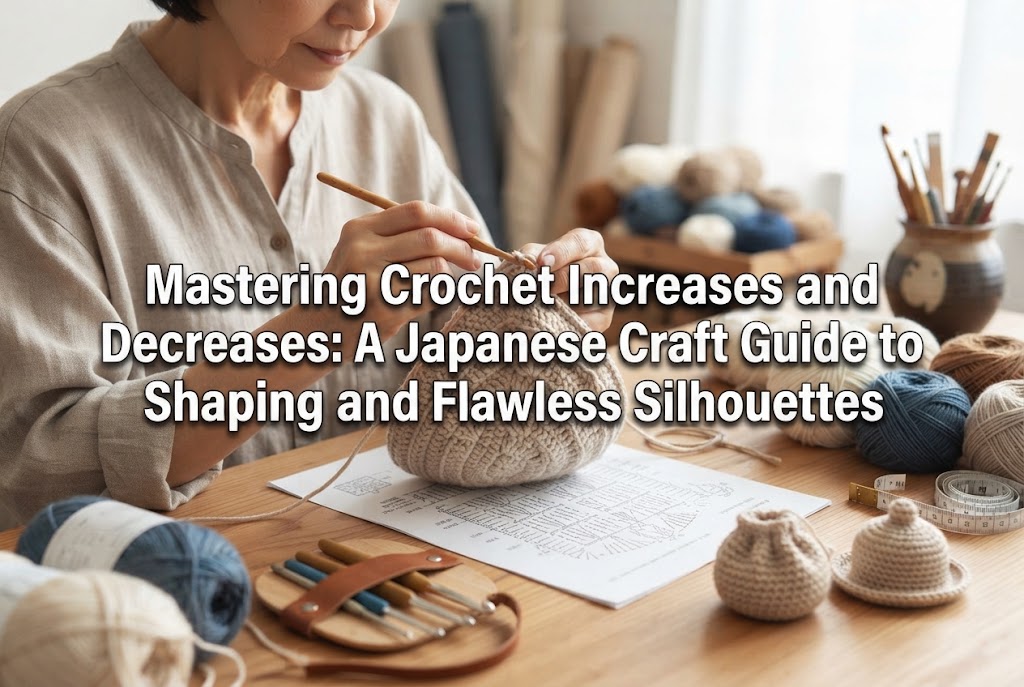

Hello, everyone! It’s Yassy from Crafters! (・∀・)
I absolutely love making various handmade items, looking at wonderful craft creations, and shopping for my favorite pieces at online shops and craft events. Crochet, in particular, is a truly amazing craft because it allows you to create infinite shapes using just a single hook and a strand of yarn.
When starting out with crochet, one of the biggest hurdles beginners encounter is understanding the mechanics and steps of "increasing" (mashime in Japanese) and "decreasing" (herashime). While basic stitches are enough for stitching a flat rectangle, learning how to increase and decrease is essential if you want to step up your skills to create shaped items—from coasters to 3D hats, bags, and cute amigurumi!
Once you grasp the proper techniques and hand movements, reading Japanese crochet charts and written patterns becomes so much fun, allowing you to freely express any shape you desire. In this guide, I’ll draw from my own crafting experience to explain everything from the fundamental principles of increasing and decreasing to professional tips for a beautiful finish and how to avoid common beginner mistakes.
Let's start with "increasing," which is used when you want to widen your crochet fabric or build 3D curves. The basic principle behind an increase is extremely simple: you increase your stitch count by working two or more stitches into the same stitch from the previous row or round.
Once you can clearly visualize this mechanism in your head, you won't get confused no matter what pattern or chart comes your way.
The single crochet increase (often written as sc inc or denoted in Japanese crochet charts as a V-shaped symbol) is the most frequently used increase method. Here is the step-by-step procedure:
Now you have two single crochet stitches rising from a single stitch of the previous row. The fabric will look very natural, widening smoothly with just a slight increase in thickness.
The key here is not to mistake where to insert your hook for the second stitch. After working the first stitch, the hole from the previous row might get pulled slightly and become harder to see, but the ironclad rule is to insert your hook precisely into that same hole.
The double crochet increase, frequently used in garments, snoods, and granny squares, follows the same basic principle as single crochet:
Because double crochet is a tall stitch, working two stitches into one creates a beautiful fan-like (V-shaped) opening. What beginners need to pay attention to here is when you increase at the edge (the turning chain area):
Checking which rule your pattern follows beforehand is the ultimate key to keeping the overall shape of your project intact.
For ruffles, doily patterns, or designs where you need to expand the width rapidly, techniques that work 3 or more stitches into a single stitch are used (e.g., "3 sc in 1 stitch" or "3 dc in 1 stitch"). The steps are simple: repeat the designated stitch 3 times (or more) into the exact same stitch from the previous row.
However, putting 3 or more stitches into a single hole can pull heavily on the thread below, causing a large hole to open up. The secret to preventing this is not to pull too tightly when drawing up loops; instead, pull them up gently with a bit of slack. Keeping the loop height uniform on your hook will minimize the enlargement of the center hole.
Next, let's look at "decreasing," which is used to narrow your fabric or shape a 3D project inward. Contrary to increasing, the basic structure of a decrease is combining two stitches from the previous row into one single stitch at the top.
In Japanese patterns, this is often described with terms like "2-stitch decrease" (2目一度, nime ichido) or "3-stitch decrease" (3目一度, sanme ichido).
The standard way to reduce single crochet stitches is the single crochet 2 together (sc2tog). You create two "unfinished single crochets" and pull the yarn through all loops at once to join two stitches into one top V-shape.
Now two stitches are merged into one, leaving a single top loop (chain) for the next row. Avoid the mistake of pulling through to finish the first stitch before moving to the next! Always leave unfinished loops on the hook before uniting them at the end.
The double crochet decrease (dc2tog) works on the same principle as the single crochet decrease. You create two unfinished double crochets and merge them:
This creates an inverted V-shape where the legs of two double crochets meet at the top, leaving a single stitch head to work into on the next row.
When making amigurumi or 3D bags, a standard single crochet decrease (sc2tog) can create a slightly thick, noticeable bump on the fabric or leave small gaps where fiberfill stuffing might peek through. The perfect technique to solve this issue is the Invisible Decrease.
Whenever I make amigurumi, I always use this method because it dramatically improves the neatness of the finished piece!
Using this technique prevents extra bulk on the surface, making the decreased area blend in so seamlessly you can barely tell where it was made. When working rounds for amigurumi or spheres, this front-loop-only decrease is definitely the best technique to use!
When practicing increases and decreases, many crafters run into trouble like "my stitch count doesn't match the pattern" or "there are weird dents and holes in my work." Here are clear explanations of where beginners often get confused and how to fix them.
If you finish a row or round and find you have more (or fewer) stitches than the pattern specifies, the main culprit is misidentifying where to insert your hook. This happens most often on the row immediately following an increase or decrease section.
Always remember the golden rule: Focus on the top chain loops (the V-shapes), not the legs below. Counting and working accurately into the top loops is the foolproof way to keep your stitch count correct.
If large gaps appear where you made a decrease, it is usually because you pulled up too much yarn slack while making the unfinished stitches. If the loops are loose when joining two stitches, that slack remains as a hole. When pulling up loops for unfinished stitches, keep them slightly tighter on the hook than usual.
If your decrease area feels bumpy and thick, it is because you are picking up both loops of the top V-shape. Switching to the Invisible Decrease described above (picking up front loops only) instantly fixes both bulkiness and gaps!
When you are new to crochet, it's completely normal to pause mid-project and think, "Wait, where did I place that increase or decrease?" Trying to rely purely on sight can be frustrating.
The most reliable trick I use myself to prevent mistakes is simple: attach a stitch marker (a safety-pin style ring) the very moment you complete an increase or decrease.
By placing a marker in the first stitch of an increase or into the head of a completed decrease, you will immediately recognize the spot when you come around on the next row or round. Relying on tools isn't something to be embarrassed about—it's the fastest shortcut to boosting your project quality! Be sure to keep a set of stitch markers handy.
Once you've mastered the mechanics of increases and decreases, understanding the structural principles behind combining them will make reading crochet charts second nature!
Working in continuous rounds from the center outward to create a flat circle is the foundation for coasters, doilies, hat crowns, and amigurumi heads.
When working single crochet in the round, the golden rule to maintain a flat circle is to add 6 stitches per round (for double crochet, the standard is usually 12 stitches per round):
Following this mathematical progression keeps your fabric flat without curling inward or warping into waves.
However, there's one tricky detail: if you place increases in the exact same location every round (for example, at the start of every repeat), those increase points will bulge outward, turning your smooth circle into a hexagon! To keep your circle perfectly round, shift or stagger the increase points on alternating rounds. For instance, on Round 4 instead of starting with "2 sc then inc," you can start with "1 sc then inc," and then continue with "2 sc, inc" for the rest of the round. Staggering prevents increase points from stacking directly on top of each other.
When crocheting back and forth in flat rows or in joined rounds, you will work turning chains (or standing chains). How turning chains interact with increases and decreases often causes confusion.
If you proceed without clarifying this distinction, your stitch count will shift at the row ends, causing your fabric to slant or warp. Before starting, always check whether the pattern's turning chain counts as a stitch!
When I design original pieces or modify patterns, I always think about controlling 3D structure through the rate of stitch count changes:
For example, if I want to make cute, chubby cheeks on an amigurumi doll, I place several consecutive increases concentrated only around the cheek area. Conversely, if I want a sharp chin shape, I distribute decreases evenly toward the bottom.
Instead of just blindly following a chart, feeling how your fabric responds as you stitch—thinking "It's expanding here because I'm increasing" or "It's snugging in here because I'm decreasing"—is the ultimate secret to improving your craft!
Increasing and decreasing are essential techniques that breathe life into your crochet, allowing you to transform flat strands into dynamic 3D creations. Let's do a quick recap of what we covered today:
At first, keeping track of unfinished stitches or finding the right insertion loops might feel tricky, but with a little practice, your hands will move smoothly without even thinking about it!
Once you can comfortably control increases and decreases, the variety of projects you can create—from round drawstring pouches and stylish hats to sweet amigurumi creatures and garments—will expand tenfold. Take it one stitch at a time, enjoy the process, and create your very own special handmade treasures!
If you enjoyed this guide, please consider sharing it with your crafting friends on social media! Until next time, happy crafting—this was Yassy from Crafters!

For example, if you are looking for articles about mizuhiki, try searching for "mizuhiki"; if you are interested in tools, try keywords like "nippers" or "pliers."
