Japanese Crafter’s Guide to Tatting Lace Thread: How to Choose the Right Size, Fiber, and Twist
yassy
Crafters!

Hello, this is Yassy from Crafters! (・∀・)
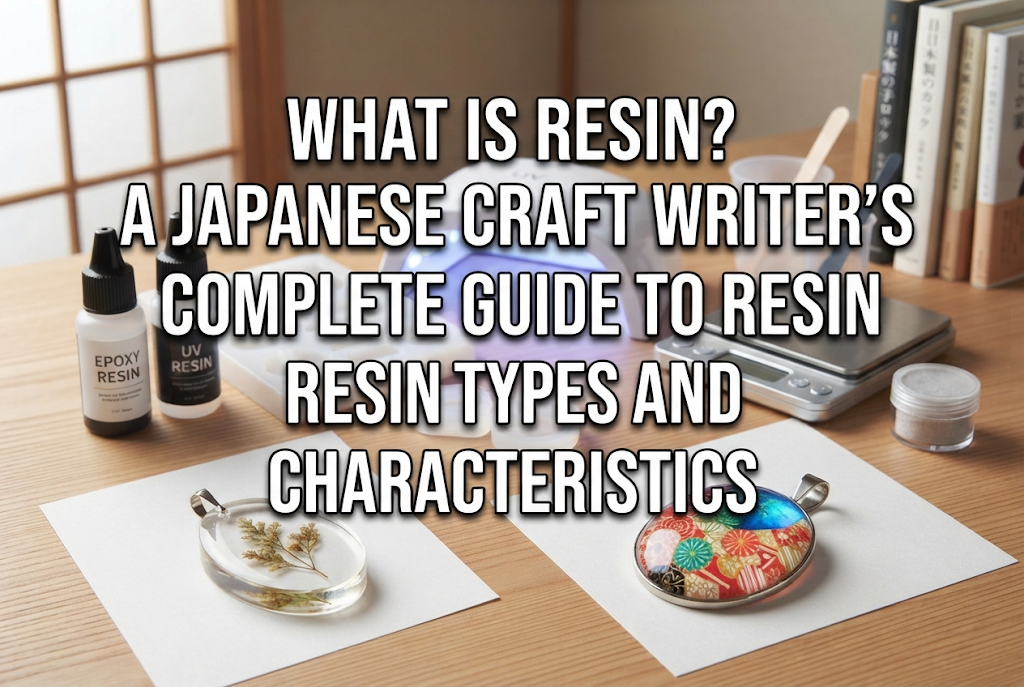
When it comes to overwhelmingly popular materials in the handmade world, resin is undeniably at the top of the list. Personally, I love making resin pieces, admiring gorgeous creations in shops and websites, and buying and wearing resin accessories made by my favorite craft artists! Its crystal-clear, shimmering beauty instantly captures the heart of anyone who sees it.
However, beginners who are just about to start resin crafting almost always run into the same wall: "How many types of resin are there, and what is the difference between them?"
When you browse craft supply stores or online shops, you will see a confusing array of terms like UV resin, LED resin, 2-part epoxy resin, hard type, and soft type. It is completely natural to feel overwhelmed and unsure about which one to choose for the project you want to make.
Resins differ completely depending on their type—including how they cure, which projects they suit best, and key safety/handling points. If you purchase resin liquid blindly without understanding these fundamentals, you will inevitably face frustrating mistakes like resin that won't cure, stays sticky, or warps out of shape.
In this guide, I will share all my crafting knowledge to thoroughly explain everything from basic resin knowledge to the distinct characteristics, pros and cons, and correct usage of each type! By the time you finish reading, you will clearly know which resin liquid is perfect for your upcoming project. Let's dive in and take your first step toward successful resin crafting!
First, let's clarify the original meaning of the word "resin" and what material it refers to in the craft world.
The word Resin originally refers to natural resins secreted by trees, such as pine resin. However, in the world of handmade crafting, "resin" refers to liquid synthetic resins created chemically.
These liquid resins have the property of solidifying into a hard, plastic-like state when exposed to specific triggers (such as light or chemical reactions). This ability to pour liquid into any shape and solidify it is resin's greatest feature and charm.
There are three main reasons why resin is loved by so many crafters:
I still remember the sheer thrill when I made my very first resin project. I encapsulated dried flowers and glitter in resin, cured it under a light, and within just a few minutes, I held a professional-looking charm in my hands. While admiring and buying resin crafts is fun, creating clear, beautiful shapes with your own hands is truly a special experience.
Resins used in crafting can be broadly divided into two main categories: 1-part resins (one-component) and 2-part resins (two-component).
1-Part Resin is ready to use straight out of the bottle. It cures in seconds to minutes when exposed to light (ultraviolet or LED light), making it quick, convenient, and beginner-friendly. "UV resin" and "LED resin" fall under this group.
2-Part Resin, on the other hand, consists of two separate liquids: a main resin and a hardener. You mix them together in a precise ratio to trigger a chemical reaction that cures the resin slowly over time. This is commonly known as "epoxy resin."
Understanding the difference between these two groups is the very first step in choosing the right resin. Now, let's explore the detailed characteristics of each specific type.
Resins commonly used in handmade crafts can be divided into three main types based on how they cure.
Note: Classification methods can vary. In particular, UV resin and LED resin are sometimes grouped together as "light-curing resins" depending on the manufacturer or source. For clarity in handmade project planning, this article classifies them into three practical categories: UV Resin, LED Resin, and Epoxy Resin.
Let's look at the mechanisms, benefits, and drawbacks of each.
UV resin is a 1-part resin liquid that hardens when exposed to ultraviolet (UV) light. It has been a beloved staple in the handmade craft world for many years.
When exposed to a specialized UV light (such as 365nm wavelength) or the UV rays contained in natural sunlight, its molecules rapidly bond and cure.
Pros of UV Resin:
Cons of UV Resin:
While its accessibility is fantastic, you may find it slightly lacking if you are aiming for high perfection or long-term preservation.
LED resin is a modern generation 1-part resin liquid that cures under specific LED light wavelengths (around 405nm). It is currently becoming the primary choice in the Japanese handmade accessory market.
Pros of LED Resin:
Cons of LED Resin:
In terms of finished quality, work speed, and long-lasting clarity, LED resin serves as an excellent upgrade to traditional UV resin. If you want to craft high-quality accessories, LED resin is a top choice.
Epoxy resin is a 2-part system made up of a clear main resin and a hardener. You mix these two liquids together according to a precise weight ratio (for example, 2 parts resin to 1 part hardener). It requires no UV/LED light apparatus at all; instead, it hardens gradually through the heat generated by its internal chemical reaction.
Pros of Epoxy Resin:
Cons of Epoxy Resin:
Although it takes time, epoxy resin is essential if you want to create deep 3D art, resin coasters, or large home decor items.
Here is a concise summary comparing the three main resin types:
As this chart illustrates, there is no single "best" resin overall—the right choice depends entirely on what you intend to make!
Beyond resin categories (UV, LED, Epoxy), two other vital factors affect your final pieces: curing hardness and liquid viscosity (thickness).
Resin formulas cure into different surface textures:
For general crafting, starting with Hard Type is recommended. Consider soft types only when creating specialized flexible items.
When buying 1-part resins (UV or LED), bottles often indicate "Low Viscosity," "Medium Viscosity," or "High Viscosity." Master these to boost your crafting efficiency:
In my own workflow, I cast base parts inside silicone molds using low-to-medium viscosity resin, and then apply a final top coat of high viscosity resin to achieve a plump, high-end shine. This simple step elevates handmade pieces to store-bought quality!
Here is a simple decision guide based on what you want to create:
Recommended Choice: LED Resin (Hard Type, Medium Viscosity)LED resin is ideal for small accessories. It cures in seconds, speeding up your process while delivering crisp, non-warped, sparkling results.
Recommended Choice: Epoxy Resin (2-Part Resin)Never use 1-part UV or LED resin for items thicker than 1cm or larger than your palm. Light cannot penetrate deep layers, leaving the core uncured and sticky. Always use 2-part epoxy resin for deep casts.
Recommended Choice: Low-Viscosity LED Resin (Layered) or Epoxy ResinHigh viscosity resin traps air between delicate flower petals, creating large bubbles inside 3D sphere molds. Use low-viscosity LED resin poured in thin layers and cured step-by-step, or use epoxy resin to allow natural bubble release.
Here are three frequent mistakes beginners make, along with the chemical reasons and solutions to prevent them!
Many beginners assume any resin lamp works for all resins, but resin cures only when exposed to specific light wavelengths (measured in nanometers, nm):
If you put LED resin under an older UV-only lamp (the large tube type), the wavelength match fails, leaving the resin liquid or tacky. When buying a lamp today, always choose a Dual UV-LED Hybrid Lamp (365nm + 405nm compatible) so you can cure both resin types flawlessly.
1-part light-curing resins harden from the top down where light hits. If you pour a deep mold full at once, light cannot reach the bottom. The top cures while the center remains wet.
The Golden Rule: Work in thin layers (2mm to 3mm at a time) and cure each layer with your lamp before adding the next. This layering technique guarantees full curing throughout the piece.
Yellowing occurs when resin degrades from exposure to solar UV rays and oxygen over time. Lower-quality resins or older UV formulas can turn yellow quickly.
The Solution: Use high-quality LED or epoxy resin specifically labeled as "UV-resistant" or "Non-yellowing." Save budget/100-yen resins for rough practice, and invest in reputable craft brands for finished pieces intended for gifts or sales.
Extremely cheap bulk resin liquids online can be tempting, but poor-quality resin causes frustration, noxious fumes, and failed projects. In the past, I bought a cheap unknown resin online that filled my room with harsh fumes and left a greasy texture even after curing—I had to throw it away!
Check these four criteria when selecting resin:
Resin is the literal foundation of your artwork. Choosing trusted specialized brands (such as Padico or Kiyohara in Japan) is the best secret to smooth crafting success.
Direct skin contact with liquid resin carries a risk of developing resin allergy (contact dermatitis). Once developed, it can prevent you from crafting with resin in the future.
Bubbles spoil crystal clarity. Follow these steps for professional results:
We've covered the fundamentals of craft resin, the three major resin types (UV, LED, Epoxy), their characteristics, and crucial safety and technical tips!
Quick Recap:
Once you understand how resin behaves, it is an accessible and joyful craft material. Transforming your creative ideas into clear, radiant 3D art is an exhilarating feeling!
I hope you enjoy exploring resin crafting and creating stunning pieces that bring you joy to make, wear, or share. Until next time, happy crafting from Yassy!

For example, if you are looking for articles about mizuhiki, try searching for "mizuhiki"; if you are interested in tools, try keywords like "nippers" or "pliers."
