How to Choose and Use Craft Sponges and Foam Brushes: A Complete Guide to Flawless Finishes
yassy
Crafters!
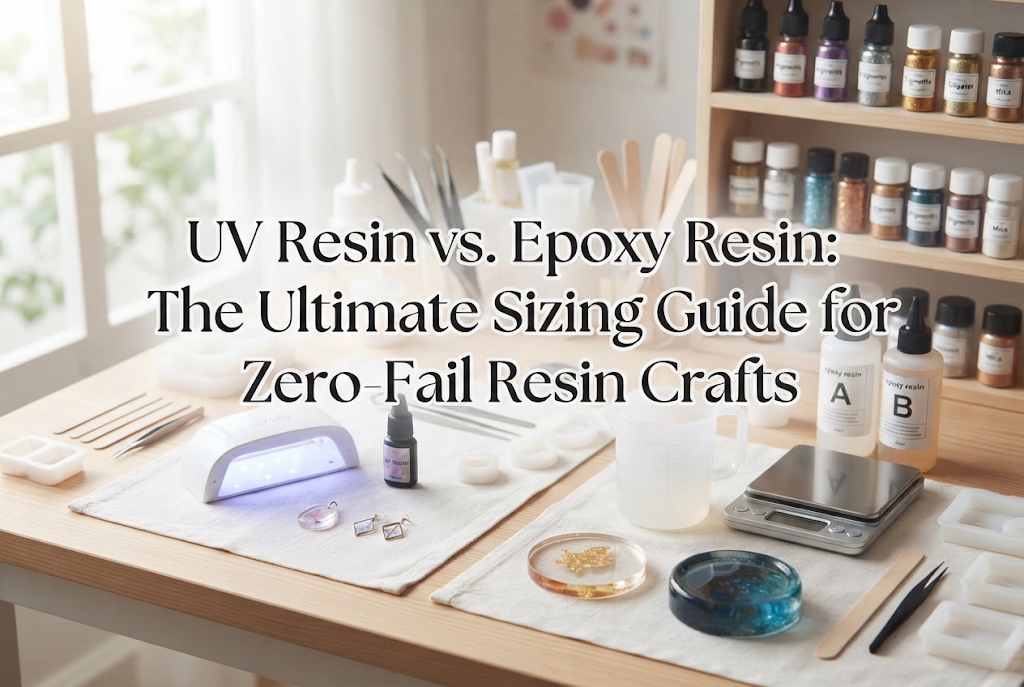

Hello, fellow makers! It's Yassy from Crafters! (・∀・)
When visiting handmade craft fairs or browsing artisan shops, it is so easy to fall in love with resin creations. From delicate floral studs to gorgeous, statement-making home decor trays, resin art offers infinite possibilities. Personally, I love crafting tiny rings embedded with micro pressed flowers, and I equally adore collecting sizable coaster sets and sculptural ornaments for my workspace.
However, many beginners hit an unexpected wall right at the start: failing to match their resin type with the physical size of their project. Have you ever tried curing a thick coaster with UV resin, only to end up with a severely warped, cracked block? Or attempted tiny post earrings using 2-part epoxy, watching the watery liquid overflow the bezel completely? These frustrating issues happen because the size of the piece simply did not match the resin chemistry.
In resin crafting, the concept of "one-size-fits-all" does not apply. Certain resins are engineered specifically for tiny pieces, while others work exclusively for large, thick pours. Today, I'll walk you through the definitive rules and practical techniques for choosing the perfect resin based on your project dimensions—saving you both time and precious craft supplies!
If you think all resin cures the exact same way, it's time to rethink that assumption. The curing mechanisms differ dramatically between resin types, and these chemical behaviors are precisely what determine how large or small your finished piece can be. Ignoring this relationship leads to failed projects. Here are the core scientific reasons why size dictates your resin choice.
UV and LED resins cure almost instantaneously under concentrated ultraviolet light. Because this polymerization happens rapidly, it generates intense exothermic heat in a matter of seconds. For a tiny piece, that heat dissipates easily into the surrounding air. In a thick or wide mold, however, the heat gets trapped internally, which can cause scorching, yellowing, or even smoke.
Furthermore, resin undergoes volumetric shrinkage as it hardens. When UV resin cures rapidly over a broad surface or deep cavity, the sheer force of this shrinkage pulls unevenly, warping the piece or leaving ripples across the face. Conversely, 2-part epoxy resin cures through a gradual chemical reaction over 24 to 48 hours. Its heat generation is gentle and shrinkage is minimal, making epoxy resin the absolute requirement for broad surfaces and deep pours.
Viscosity—the thickness of the liquid—is intimately tied to project scale. For small jewelry, crafters often rely on high-viscosity resins to create a domed, three-dimensional "pukkuri" finish (a lovely Japanese craft term for a plump, rounded surface tension effect). A thicker resin stays neatly inside a 1 cm bezel without spilling over the edges.
Yet, if you pour high-viscosity resin into a large or intricate mold, micro-bubbles will become permanently trapped inside. Large creations require thin, low-viscosity resin so that air bubbles naturally float to the top and dissipate before the mixture sets. Without matching viscosity to mold volume, achieving crystal-clear clarity is impossible.
Let's look at specific dimensions. For small items—stud earrings, dangles, rings, and tiny pendants under 3 cm (approx. 1.2 inches) across and just a few millimeters thick—the answer is straightforward: UV or LED resin is your best option. Using 2-part epoxy for pieces this small is inefficient and difficult to control.
If you attempt this scale with epoxy resin, the thin liquid spills out of bezels easily. Plus, waiting 24 hours just to see if a tiny 1 cm charm turned out right is an enormous test of patience.
Once you choose UV resin for your mini pieces, elevating your results comes down to choosing the right viscosity for each step. When embedding delicate botanicals into small silicone molds, start with a low-to-medium viscosity UV resin so the liquid flows around petals without trapping bubbles. Then, to create a plump protective dome or finish a bezel, switch to a high-viscosity UV resin for the final coat. This two-step method yields professional-grade boutique jewelry.
Next are larger items: drink coasters, vanity trays, paperweights, wood-resin art, and decorative desk clocks measuring 5 cm (2 inches) or wider, or exceeding 1 cm (0.4 inches) in depth. For these, 2-part epoxy resin is essential.
Early in my crafting journey, I made the painful mistake of pouring UV resin into a 2 cm deep cube mold and blasting it with a high-power lamp. The mold warped from the trapped heat, smoke rose from the top, and the piece emerged rippled on the outside while remaining a gooey, uncured mess inside. For sizable creations, patience and epoxy resin are non-negotiable.
Working with epoxy resin demands precision. Always measure your resin and hardener using a digital scale accurate to 0.1 g (or precise volume cups as specified by the manufacturer). Being off by even a tiny amount can leave your piece permanently sticky.
Additionally, mind the maximum pour depth recommended for your specific epoxy formula. Standard epoxies handle pours roughly 1 cm to 2 cm thick at one time. If you are casting a much deeper piece, pour in multiple layered stages. Pouring too much mass at once can trigger an uncontrolled thermal spike, causing discoloration and rapid bubbling.
What about borderline sizes, such as a 4 cm keychain charm or a 5 mm thick small coaster? When you aren't sure which resin to grab, run through this three-step decision checklist:
UV and LED resins require light transmission to cure. If you are casting in transparent or frosted white silicone molds, light reaches the bottom. However, if your mold is tinted, completely opaque, or made with wood or metal frames that block light, switch to epoxy resin regardless of size.
Because these two resin categories cure via entirely different mechanisms, your toolset and workspace should adjust accordingly.
A compact desk setup is plenty for UV resin. Keeping your curing lamp adjacent to your assembly board creates an efficient assembly-line workflow.
Working with larger epoxy volumes also produces more airborne vapor during the cure. Always work in a well-ventilated room, run an exhaust fan, and wear protective nitrile gloves along with an appropriate vapor respirator mask.
Color saturation and botanical placement behave very differently across small and large volumes.
Because miniature charms have very little physical depth, light washes through easily. Mix your tint slightly richer than you think you need, or the finished piece may look almost clear. Just be careful not to make it so opaque that UV rays cannot pass through.
For inclusions, build depth in stages. Pour a base layer, cure briefly, position your botanical or glitter element, cure again, and add the final clear cap. This segmented layering creates stunning three-dimensional depth in a piece only a few millimeters thick.
For thick slabs and deep trays, keep pigments soft and translucent. Concentrated dyes across a thick depth block light entirely, turning a vibrant hue into a murky, dark block. Soft, sheer tints allow light to pass through, creating mesmerizing, luminous gradients.
Keep in mind that epoxy remains liquid for a prolonged window, meaning lightweight inclusions (like pressed blooms or paper cuts) will float to the top, while dense metal charms sink to the bottom. To hold items in place, anchor them first with a thin bottom coat of resin, allow it to gel or cure, and then pour your main depth coat over top.
To help visualize these rules in action, here is how I approach two of my standard studio projects:
Total working time: around 15 minutes. The speed of LED resin makes batch-making earrings an absolute pleasure.
While this project requires patience, the end result is a mirror-flat, crystal-clear coastal scene without a trace of warping—something UV resin simply cannot achieve at this diameter.
I strongly advise against it. Attempting large pieces with UV resin requires building up dozens of wafer-thin coats, which consumes exorbitant amounts of expensive craft resin. Even with care, uneven shrinkage will almost always cause the piece to warp or ripple. Investing in a modest bottle of 2-part epoxy is vastly more economical and yields far superior results.
While it will physically harden, the finish is rarely satisfactory. Epoxy's low viscosity prevents it from forming a raised dome, leaving miniature charms looking flat and thin. Additionally, tiny cured epoxy pieces can be quite delicate during demolding. Instead of jewelry bezels, pour your leftover mixed epoxy into small paperweight molds or geometric trinket blocks.
Aligning your resin with your project's dimensions is the single most important step toward flawless results:
Once you match your resin to your mold, your creative possibilities expand exponentially. Have fun bringing your ideas to life, whether they are sparkling miniature pendants or statement interior pieces. Happy crafting, and see you in the next guide! This was Yassy from Crafters!

For example, if you are looking for articles about mizuhiki, try searching for "mizuhiki"; if you are interested in tools, try keywords like "nippers" or "pliers."
