The Ultimate Online Guide to UV Resin Craft Supplies: How to Choose Inclusions, Colorants, and Molds
yassy
Crafters!

Hello, everyone! I'm Yassy from Crafters! (・∀・)
I absolutely love everything about handmade crafts—from making my own pieces and browsing craft shops to collecting handmade treasures created by fellow artisans. While I enjoy doing my own gel nails at home, I am also deeply immersed in crafting resin jewelry, keychains, and accessories every single day.
Because of this, beginner crafters often ask me one particular question: "Can I use the UV gel nail lamp I already own to make resin crafts?"
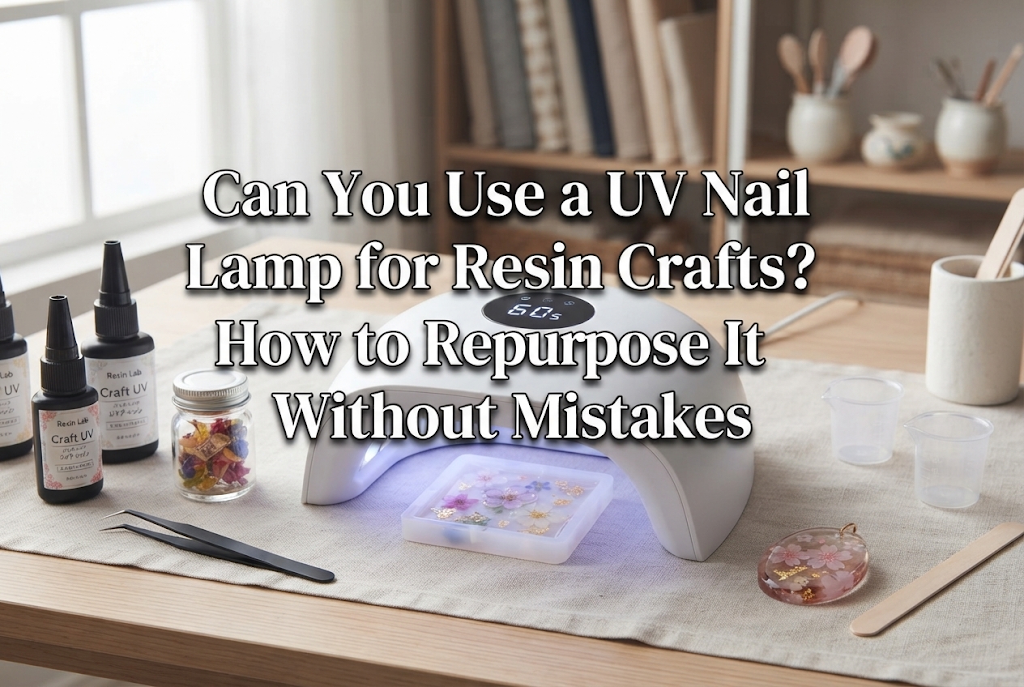
To give you the short answer right away: Yes, you can definitely use a UV nail lamp for resin crafting, provided you meet a few key conditions! You don't necessarily have to rush out and buy a dedicated resin curing light when you already have a functional nail lamp at home.
However, simply assuming that "if it cures nail gel, it will cure resin" without understanding how these lamps work can lead to major failures. You might end up with sticky surfaces, resin that stays liquid on the inside, or pieces that warp and turn yellow.
In this guide, I will explain the essential criteria to determine if your nail lamp will work with resin, common pitfalls to avoid, and practical techniques based on my own crafting experience so you can achieve flawless, crystal-clear results with the tools you already have.
Both gel nail lamps and dedicated resin craft lamps share the exact same fundamental mechanism: they emit specific wavelengths of light to trigger a chemical reaction that hardens a liquid synthetic resin. Therefore, curing crafting resin with a nail lamp is physically very possible.
However, the design philosophies behind these two types of equipment are quite different, reflecting their intended purposes. Overlooking these differences is the primary reason beginners run into trouble.
Understanding the key differences between a nail lamp and a dedicated resin lamp is the first step toward successful curing:
As you can see, nail lamps are engineered to cure thin layers safely without overheating human skin, whereas resin lamps are designed to cure thick, dense resin efficiently. Once you understand these distinctions and verify your nail lamp's capabilities, you can achieve fantastic results in your craft projects.
Before you begin your resin project, check your existing nail lamp against these four criteria. If your lamp meets all of them, it is ready to be a reliable crafting companion.
The most crucial factor in curing resin is the wavelength of light, measured in nanometers (nm). Resin only cures when exposed to the exact wavelength it is formulated to react with. If the lamp's output wavelength does not match your resin, the liquid will never harden, no matter how long you leave it under the light.
Check the label on the bottom of your lamp or its instruction manual for the wavelength specifications:
If your nail lamp states "365 nm + 405 nm" (UV-LED dual light), you are all set! You can work with almost any resin available. If your lamp is strictly "405 nm LED," always purchase resin labeled "LED compatible" or "UV-LED compatible." Resin labeled strictly "UV only" will not cure under an LED-only lamp.
Because nail lamps are designed for sliding hands in flat, many models have very low ceilings. While this is fine for flat keychains and thin charms, you may run into a physical barrier when trying to cure spherical pieces, deep crystal-point molds, or larger 3D figurines.
Check if your nail lamp has a removable base plate (either attached with magnets or sliding tabs). If the bottom plate comes off easily, that is a huge advantage! You can remove the base and elevate the lamp slightly to fit taller molds underneath. If the base is fixed and the opening is very tight, you will be limited to making thin, low-profile pieces.
A lamp's wattage directly impacts curing speed and consistency. Nail lamps range widely from small 6W portable units to 48W or 72W desktop models. For stress-free resin crafting, a wattage of 24W or higher is strongly recommended.
While compact 6W or 9W folding nail lamps can technically cure resin, their low light output means curing takes significantly longer—often three times as long. Weak light also struggles to reach the outer edges of a piece, which frequently results in sticky spots.
Look inside your lamp as well: check whether the small yellow LED diodes are evenly distributed across the entire inner dome. Lamps with very few chips concentrated only in the center tend to leave the sides of your pieces under-cured.
To protect nails from heat spikes, many nail lamps automatically shut off after 30 or 60 seconds. However, resin crafting often requires continuous exposure for 2 to 3 minutes (120 to 180 seconds) when curing thicker pieces.
If your lamp only runs for 60 seconds at a time, you will need to manually press the button multiple times for each layer. While this is a minor inconvenience, the lamp still works. Lamps with a continuous-on setting (such as holding down the power button) are the most convenient for crafting.
When crafters use nail lamps for resin without adjustments, they often encounter three specific issues. Knowing the causes beforehand will save you time and materials.
After curing, the surface feels tacky to the touch and easily picks up fingerprints. This is the most common issue beginners experience. It is caused by a combination of oxygen inhibition and insufficient light intensity.
Resin begins curing from the inside out when exposed to light, but the topmost layer in direct contact with ambient oxygen cures at a slower rate. The gentler output of a nail lamp is sometimes not strong enough to overcome oxygen inhibition quickly, leaving an uncured, tacky surface.
The piece appears completely cured on the outside, but when demolded, the bottom or core collapses, spilling uncured liquid resin everywhere.
This happens when too much resin is poured at once and the light cannot penetrate deep enough. Gel polish is applied in ultra-thin coats (under 1 mm), so nail lamps are not engineered for deep light penetration. Pouring resin 1 cm deep or more in a single step will block the light from reaching the bottom layers.
When removed from the lamp, the piece has wave-like wrinkles on the surface, the silicone mold is warped, or clear resin has turned slightly yellow.
This is caused by an intense exothermic reaction (curing heat). If you use a high-wattage nail lamp (such as 48W or higher) and expose uncured resin to intense light at very close range, the chemical reaction happens too rapidly. The sudden heat causes the resin to expand and contract unevenly, creating surface wrinkles and heat-induced yellowing.
Here are the practical techniques I personally use when crafting with a nail lamp to ensure hard, glass-like, and crystal-clear results every time:
The key to curing resin thoroughly with a nail lamp is exposing the piece to light from every angle.
First, remove the lamp's bottom plate. Place thick books or wooden blocks under both legs to elevate the unit by about 3 to 5 cm (1 to 2 inches). When working with silicone molds:
Because nail lamps primarily direct light downward, rotating and flipping your piece ensures that all sides receive sufficient exposure, eliminating uncured spots.
Your choice of resin makes a significant difference. Always choose resin labeled "UV-LED compatible." These formulas react rapidly to 405 nm LED wavelengths, allowing them to cure thoroughly even under the gentler output of a nail lamp.
Opting for a lower-viscosity (thinner, more fluid) resin is also beneficial. Thinner resin allows light to pass through more easily and makes it simpler to release trapped air bubbles, pairing wonderfully with nail lamps.
Pouring resin up to the top of a deep mold in one go is a recipe for uncured cores. When using a nail lamp, layering is the golden rule:
Curing in thin increments ensures that light reaches every millimetre of the piece, resulting in a rock-hard, perfectly clear finished craft.
For your final cure, double the time specified on your resin's packaging. For instance, if the bottle recommends a 60-second cure, give it a full 120 to 180 seconds (2 to 3 minutes) under your nail lamp.
Immediately after curing, the resin will be warm from the chemical reaction. Touching it while hot can leave faint fingerprint marks. Allow the piece to rest and cool down for about one full minute after the light turns off. As it cools, the surface molecules stabilize, resulting in a smooth, glass-like finish.
I always recommend starting with the nail lamp you already own and upgrading only when you hit clear limitations. Here are three situations where investing in a dedicated resin craft lamp makes sense:
If you want to create large orgonites, deep sphere paperweights, or thick geometric castings, layering multiple tiny coats becomes very time-consuming. A dedicated high-output resin lamp with high clearance allows you to cure larger volumes more efficiently without risking liquid cores.
When you transition from a casual hobbyist to selling your handmade crafts at markets or online shops, you may need to cure 10 to 20 pieces simultaneously. A dedicated craft lamp offers a wider curing area and continuous timer modes, dramatically speeding up production.
Dark pigments (like black, opaque white, or deep blue) block light transmission significantly. Gentle nail lamps often leave heavily tinted resin soft inside. A high-penetration resin lamp provides the focused power required to cure dense, opaque colors completely.
You don't need to purchase an expensive set of brand-new equipment just to try your hand at resin crafting. With the right wavelength, proper height adjustment, thin layering, and adequate curing time, the UV/LED nail lamp already sitting on your vanity can produce stunning, professional-quality resin accessories.
Handmade crafting is all about the joy of bringing your ideas to life. Use your tools creatively and enjoy exploring the wonderful world of resin! Happy crafting, from Yassy!



For example, if you are looking for articles about mizuhiki, try searching for "mizuhiki"; if you are interested in tools, try keywords like "nippers" or "pliers."
