Can You Resin-Coat Clay Crafts? Clay Compatibility and the Absolute Rules for a Shiny, Reinforced Finish
yassy
Crafters!

Hello, this is Yassy from Crafters! (・∀・)
Handmade jewelry is the absolute best craft for turning what you love into tangible form. Over the years, I've created countless pieces of resin jewelry, including earrings, necklaces, and hair accessories. Beyond making my own, I also adore discovering and buying wonderful pieces created by other crafters.
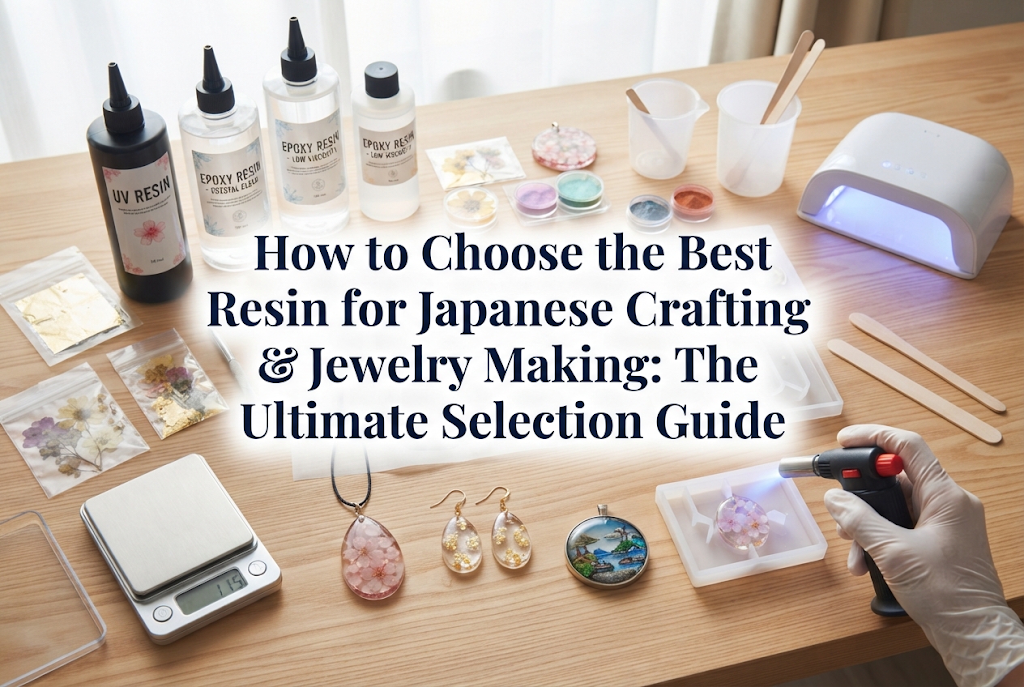
Resin jewelry making is a fantastic genre that allows even beginners to easily craft stunning works. However, when you look at online shops or craft stores to buy resin liquid, many people get overwhelmed by the sheer variety available. If you think "they're all the same, right?" and pick one at random, you are almost guaranteed to run into trouble.
When making jewelry, choosing the right resin liquid is the single most critical step that determines the quality and lifespan of your work. Because jewelry is something worn on the body, it requires distinct selection criteria different from keychains or home decor items. In this article, I will fully utilize my experience and knowledge to thoroughly explain how to choose the right resin liquid specifically for jewelry making.
Unlike keychains or display items, jewelry is worn on the body daily. It comes into direct contact with human skin and clothing, remaining constantly exposed to body heat, sweat, friction, and sunlight. Because of this harsh environment, using an ill-suited resin liquid leads to various problems.
For example, if you use a resin that leaves a sticky surface, hair or clothing fibers will cling to it when worn. If you use a resin with low hardness, parts can easily snap off and fall away from where earring posts or hooks are attached. Furthermore, if you use a resin that quickly yellows under ultraviolet rays, your favorite pair of earrings will look old and discolored in just a few months.
This is precisely why choosing a resin liquid equipped with high hardness, high transparency, non-yellowing properties, and an easy-to-handle viscosity is an absolute requirement for jewelry making. To achieve both beauty and durability, let's make no compromises when selecting our resin!
Resin generally falls into two main categories: "UV-LED Resin" and "Two-Part Epoxy Resin." Let's clearly define which one you should choose for jewelry crafting.
For more than 80% of jewelry making, UV-LED resin is the clear winner. The reason is its exceptional work efficiency: once exposed to a curing light, it hardens completely within seconds to a couple of minutes.
Jewelry making consists of a series of delicate steps, such as handling small earring parts, fixing components together, and applying multiple layers. Using UV-LED resin allows you to progress smoothly and rhythmically through your work. Moreover, the latest UV-LED resins currently available on the market are far less prone to yellowing than older UV resins and cure to a crystal-hard, glass-like finish. If you're making jewelry, don't hesitate—choose UV-LED resin.
Does this mean epoxy resin shouldn't be used for jewelry? Not quite. Epoxy resin demonstrates overwhelming strength when creating specific, large-scale jewelry pieces.
Specifically, it is ideal for making large pendants thicker than 1 cm, thick spherical bangles, or heavy crystal-like ear cuffs. If you attempt to cure an overly thick piece all at once using UV-LED resin, it may warp from heat, trap air bubbles inside, or fail to cure properly in the center. Epoxy resin hardens gradually through a chemical reaction over time, allowing air bubbles to release completely and producing ultra-high transparency and strength for thick, large pieces. Small accessories go with UV-LED resin, while thick, large pieces go with epoxy resin—this is the golden rule.
Even under the single banner of "jewelry," earrings and hair barrettes require different structural strength and properties. You need to match the resin's characteristics to the type of piece you plan to create.
For small pieces that adorn the ears or hands, a UV-LED resin with "ultra-high hardness (hard type)" and "low viscosity (runny)" is ideal.
When pouring resin into small molds, a thick, viscous resin won't reach every tiny corner, leading to chipped details. A runny, low-viscosity resin flows smoothly into intricate mold edges, and air bubbles escape easily. Furthermore, because rings and earrings experience frequent friction, using a hard-type resin that won't show any scratch even if pressed hard with a fingernail is an absolute necessity.
For pendant tops enclosing dried flowers, foil, or holograms, a resin with "medium viscosity" and "high transparency" is best suited.
If you use a resin that is too runny, your carefully placed inclusions will sink straight to the bottom. Using a medium-viscosity resin with moderate thickness keeps embedded elements floating right where you want them (in the center of the space). To showcase depth beautifully, select resins specifically advertised for high transparency that reflect light like a polished lens.
Hair accessories used to tie back hair are subjected to strong pulling forces daily. Here, a combination of hard resin with "high impact resistance" and "high viscosity (thick type)" is required.
When attaching metal barrette clips or elastic band findings to a resin base, a runny resin will drip off and fail to reinforce the joint properly. By using high-viscosity resin, you can dome it generously around the base of the finding to enclose it before curing. Choosing an impact-resistant resin perfectly prevents findings from snapping off even under strong tension when tying hair.
Resin packaging usually indicates "Low Viscosity," "Medium Viscosity," or "High Viscosity." Choosing the wrong viscosity makes it nearly impossible to craft jewelry as imagined. Here is how I use each type depending on the scenario.
Low-viscosity resin flows easily like water. It is best suited for filling intricate details in silicone molds or penetrating the tight crevices of dried flowers to push out air bubbles. It is also invaluable when you want to apply a thin, even layer across a surface. If you create delicate jewelry, this is a bottle you must have on hand.
Medium-viscosity resin is the all-around champion of ease of use. From pouring into molds to filling open bezels (frames), a single bottle handles it all effortlessly. For beginners purchasing their first bottle, choosing a medium-viscosity UV-LED resin is undeniably the smartest move, as it covers most standard jewelry projects.
High-viscosity resin has a rich, honey-like consistency. This thickness excels when you want to create a rounded, 3D domed finish or hold resin on sloped surfaces without it running off. It also serves as a powerful substitute for glue when temporarily holding components together.
In my jewelry making, a "non-wipe (no-tack) dedicated coating resin" is an absolute must-have. Unlike standard resin liquids, this is a very fluid coating designed to be applied to the surface as the final finishing step.
Pieces fresh out of a mold can look slightly dull or show mold seams. By applying a quick coat of dedicated coating resin and curing it under the lamp, you instantly achieve a brilliant, glass-like shine. It also makes the surface resistant to fingerprints and oil marks, dramatically raising the luxury feel of your jewelry. When crafting jewelry, always introduce a dedicated coating resin alongside your standard resin liquid.
To enjoy your handmade jewelry for years to come, or to give or sell it to others, "yellowing resistance" and "hardness" are two factors you must never compromise on.
Many inexpensive resins gradually turn yellow within weeks or months after crafting. This severely ruins the aesthetic, especially for clear designs or pieces tinted blue or white.
When choosing resin, look for products explicitly labeled "non-yellowing," "yellow-resistant," or "UV blocking formula." Even if it costs a bit more, using high-quality resin with superior yellowing resistance is the only way to preserve the long-term value of your craft.
Jewelry is constantly exposed to friction and impacts. If a resin can be slightly dented with a fingernail after full curing, it is unsuitable for jewelry making.
Low-hardness resin quickly becomes scratched when coming into contact with keys or other items inside a bag, losing its surface gloss. For jewelry crafting, select resin liquids explicitly marked as "Hard Type," which cure into a rigid finish akin to hard plastic or glass.
Here are typical failures beginners face in resin jewelry making, along with how to prevent them through proper resin selection.
Cause & Solution: Stickiness depends heavily on resin liquid quality, not just lamp strength. Some budget resins are easily inhibited by oxygen in the air, preventing proper surface curing.To prevent this, choose a "non-wipe" resin or a modern UV-LED resin engineered for superior surface curing. Using a quality resin guarantees a smooth, tack-free surface after the recommended curing time.
Cause & Solution: When making thin earrings or barrette components, they may curve instead of staying flat after demolding. This is caused by "curing shrinkage."High-shrinkage resin warps components badly, making them fail to lay flush against metal findings. Look for resin labeled "low shrinkage." A low-shrinkage resin reproduces clean straight lines and flat surfaces exactly as designed by the mold.
Cause & Solution: When mixing dedicated colorants to create colorful parts, light cannot penetrate deep into the piece if the pigment is too dark or incompatible with the resin, causing uncured spots inside.If you frequently make colored jewelry, select a resin with high light transmittance. High-reactivity resin allows UV/LED light to pass through smoothly even when mixed with colorants, ensuring thorough curing through to the core.
Here is a look at my thought process when choosing resin and setting up workflow for actual jewelry projects. Understanding this will help you choose with confidence.
Recommended Resins:- Base: Low-to-Medium Viscosity, Highly Transparent, Non-Yellowing UV-LED Resin- Finish: Brush-type Coating Resin
My Process & Reasoning:1. Air bubbles trapped in delicate flower petals ruin the look, so I first coat dried flowers in runny, low-viscosity resin to push out all trapped air.2. I pour medium-viscosity resin into the mold, arrange the flowers, and cure. High-transparency resin makes the colors and 3D detail of the petals pop vividly.3. After demolding, I brush coating resin across the entire surface and cure. This creates a glossy finish as if the fresh dewiness of the flowers is locked in forever.
Recommended Resins:- Leak Prevention Base: High-Viscosity UV-LED Resin- Main Filling: Medium-Viscosity UV-LED Resin- Surface Domed Layer: High-Viscosity UV-LED Resin
My Process & Reasoning:1. When placing an open frame on masking tape, I apply a thin layer of high-viscosity resin to form a seal, preventing bottom leakage.2. I arrange decor parts inside, fill with medium-viscosity resin, and cure.3. Finally, I dome high-viscosity resin on top, using surface tension to create a rounded 3D dome before curing. This creates a luxurious, dimensional pendant.
Combining resins of different viscosities and traits depending on the step is the secret to achieving professional-grade finishes!
Resin is easily purchased online through major retailers like Amazon, Rakuten, or specialized handmade craft supplier shops. Here are smart tips to avoid buyer's remorse.
Avoid buying large bulk bottles (100g or 500g) right away. Resin performance depends on individual workspace setups and lamp compatibility. Test a standard 20g–30g bottle first to verify curing time, surface texture, and clarity with your setup.
Jewelry making requires drop-by-drop precision. Ensure the bottle nozzle is fine enough to dispense resin exactly where intended. Also, if the bottle plastic is too rigid, squeezing requires excess hand force, leading to shaky hands. Bottles made with moderate flexibility by thoughtful manufacturers offer superior usability.
We've covered the crucial criteria for choosing the right resin for handmade jewelry. Let's recap the main points:
Resin technology continues to evolve every day. Armed with the right knowledge, picking the perfect resin for your needs will dramatically elevate your jewelry craftsmanship. Create beautiful pieces without worrying about stickiness, warping, or yellowing, and proudly say, "I made this!"
I hope your crafting life shines brightly alongside the brilliance of clear resin!
If you enjoyed this article, please share it with your friends on social media or messaging apps—it would mean the world to me! See you in the next article! This was Yassy from Crafters!


For example, if you are looking for articles about mizuhiki, try searching for "mizuhiki"; if you are interested in tools, try keywords like "nippers" or "pliers."
