How to Cleanly Split Japanese Craft Band: Golden Rules for Flawless Preparation
yassy
Crafters!

Hello! I'm Yassy from Crafters! (・∀・)
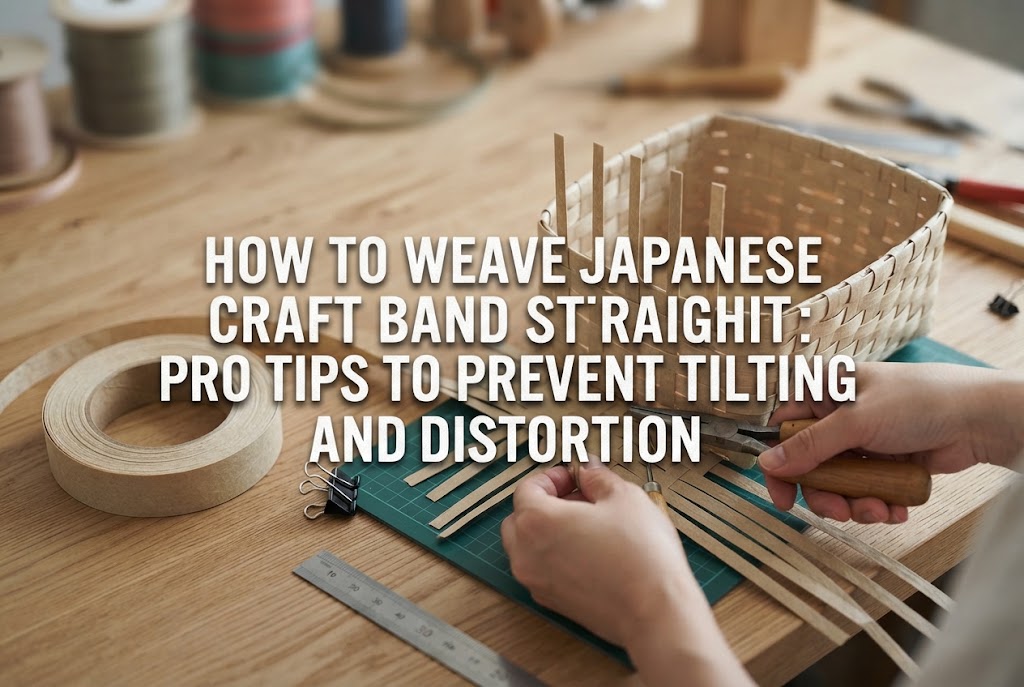
When making baskets or bags with Japanese craft band (paper band/kami band), have you ever noticed that even though you thought you were weaving straight at first, your stitches gradually tilt to one side or the entire piece twists out of shape? "I'm following the instructions, so why are the sides wavy?" or "My stitches look uneven and don't form the neat, straight lines you see on store-bought items…" This is a huge hurdle that almost everyone who enjoys craft band making encounters at least once.
In fact, weaving craft band cleanly and straight isn't about applying brute force. There are clear techniques for how to pull the weaving strips, secure the vertical warp strips, and position your hands. Once you understand the root causes of distortion, even beginners will be able to create strikingly beautiful, straight lines.
In this article, I will explain everything in detail and in an easy-to-understand way—from the fundamental reasons why weaving tilts, to essential prep work, techniques for specific weave styles, and how to fix distortion if it occurs! I'll also share plenty of secret tricks that I use in my daily project making, so be sure to read through to the end and aim for high-quality creations.
There is always a clear reason why a craft band project tilts or distorts overall. If you keep weaving without understanding why, your stitches will naturally lean no matter how carefully you try to work. First, let's properly understand the three major reasons why your weaving won't line up straight.
The first cause is inconsistent pulling force (tension) on the weaving strip. If your right hand pulls too hard, the stitches get pulled to the right; if your left hand pulls harder, it leans to the left.
Another factor is the change in pulling strength between when you first start working and when you get tired toward the end. When your tension fluctuates, the bottom becomes tight and stiff while the top remains loose, causing the entire basket to warp into a trapezoid or inverted trapezoid shape. Maintaining a consistent, even tension while pulling is the primary condition for creating beautiful straight lines.
The second cause is that the vertical strips (the core base bands) lean diagonally. In craft band weaving, vertical strips play the exact same role as columns in a building. If the columns lean, no matter how horizontally you try to pass the horizontal weaver strips, it's only natural that the entire piece will slant.
A very common issue is that while threading the horizontal strip, the momentum of pulling it inadvertently drags the vertical strips along, slanting the core columns without you even realizing it. Keeping the vertical strips strictly perpendicular is where the battle is won or lost.
The third cause lies in the inherent curls and twists of the material itself. Because craft band is often sold in rolls, once you cut it to the required length, it retains circular memory curls and subtle twists from being rolled up.
If you weave without straightening out these twists or fold creases, the stitches will bulge upward or the strip will try to slip off in a specific direction, ruining your lines. Neglecting prep work before weaving is a hidden, major cause that destroys straight-line beauty.
The secret to weaving craft band straight actually begins in the prep stage before you even start weaving. Simply caring for your materials and preparing accurately will dramatically improve both ease of weaving and the beauty of the final finish. Ever since I started doing this prep work meticulously, distortion in my own work has completely disappeared.
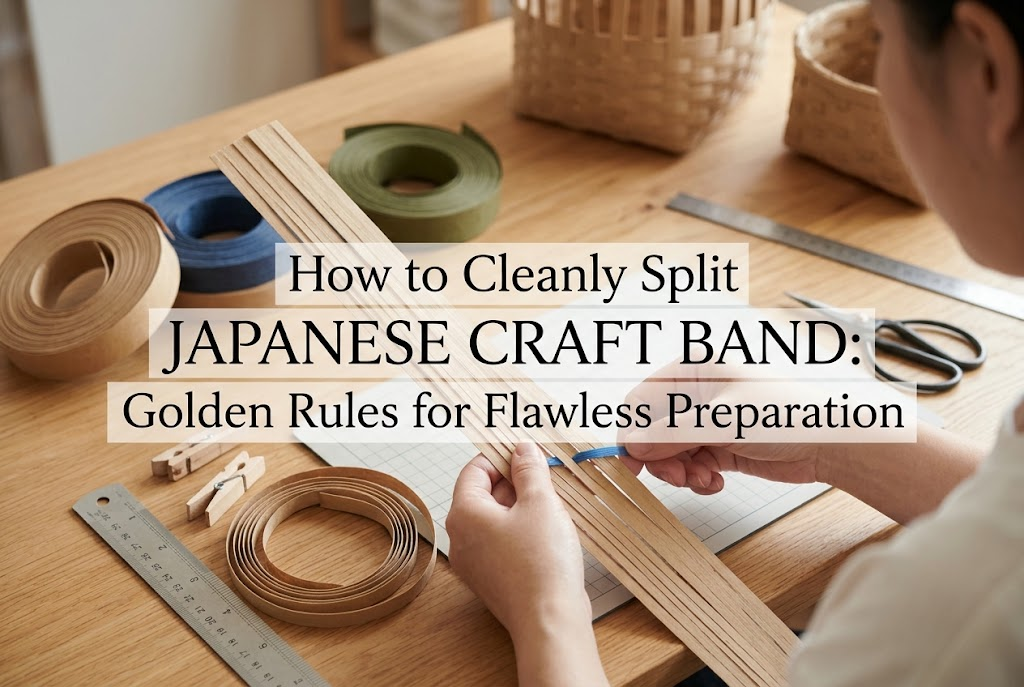
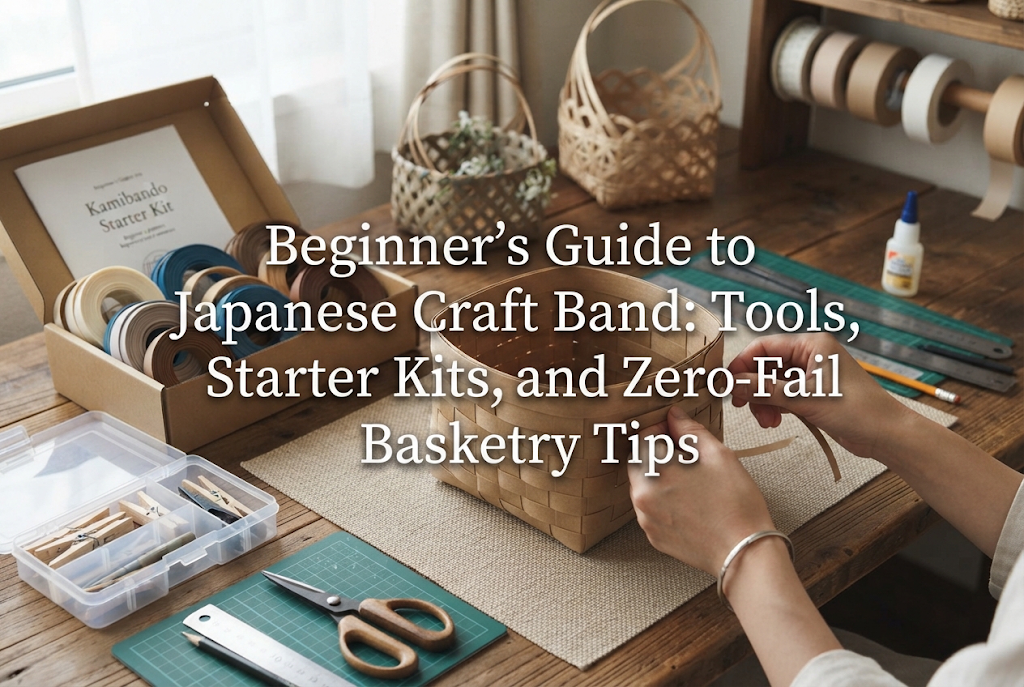
After cutting your craft band, always perform "shigoki" (smoothing/conditioning) before weaving. Shigoki is the process of pulling the band against the pad of your thumb or the edge of a ruler to stretch and flatten out roll memory curls and fine twists.
Specifically, hold one end of the craft band with one hand, pinch it between the thumb and index finger of your other hand, and pull it through smoothly from front to back. Spending just a moment on this step makes stiff bands supple, allowing them to hug the vertical strips tightly. As a result, horizontal strips won't bulge out, maintaining a clean, straight line.
The most common trap beginners fall into is trusting their own eye estimation while weaving. Human eyes are surprisingly imprecise; even if you feel you are weaving straight, tiny millimeter-level discrepancies accumulate into major distortions.
That is why I recommend marking small guidelines on your vertical strips using a pencil or water-based pen. For example, place a small mark every 1 cm or 2 cm on the back side of the vertical strips (where it won't be visible when finished). As you weave, check whether the line of your weaving strip aligns perfectly with those marks; this reliably prevents one side from rising or dipping as you go.
Your strongest ally for keeping vertical strips upright is craft band clips or wooden clothespins. By frequently securing active weaving areas and intersecting vertical strips with clips, you physically prevent the vertical strips from getting pulled and leaning over.
If you weave using only a few clips, your hands will bump into the strips or pull them, causing them to fan out before you know it. Have at least 15 to 20 clips ready, and keep the vertical strips firmly clamped and protected until the stitches are set.
Once prep work is complete, it's time to start weaving. Here, I'll explain body positioning and hand placement that help align your stitches straight.
Your posture while weaving directly impacts the slant of your project. If you place the project flat on a table and look down at it from above while weaving, an optical illusion occurs because the far side looks smaller and the near side looks larger. Consequently, you end up weaving tightly on the near side and loosely on the far side, causing the entire piece to tilt.
To weave straight, rotate your project constantly so that the face you are currently weaving is always directly in front of you. Additionally, it is extremely important to lift the project as needed to bring your eye level horizontal with the height of the stitches.
Are you aware of the division of labor between your hands when pulling the weaver? For right-handed crafters, putting too much force into the right hand to pull the horizontal strip often results in uneven stitches that slant upward to the right.
The secret to straight weaving is clearly dividing the roles of both hands. The left hand takes on the role of firmly pressing and securing the vertical strip upright at the weaving position. Meanwhile, the right hand should focus strictly on gently guiding the horizontal strip along the vertical strip, rather than pulling it hard.
Instead of pulling the horizontal strip to tighten it, imagine using your left hand to support the vertical strip so it doesn't fall over, while using your right hand to push the horizontal strip into its correct position. Just doing this dramatically reduces the pulling strain on your stitches.
Once you finish weaving one full round, do not immediately proceed to the next row. Always measure the height at the four corners, front, back, left, and right with a ruler after completing each row.
Minor discrepancies—such as "the front is 3 cm but the back is 3.5 cm"—can easily be adjusted using an awl if caught after just one row. However, if you only notice after weaving several rows, you'll have no choice but to unravel everything and restart. Making it a habit to check the height row by row creates flawless, straight beauty.
There are various weaving styles in craft band work, and points where distortion occurs vary depending on the technique. Let's master the key points for weaving straight across representative styles.
Oikake-ami, where two weaver strips chase each other alternately, is a basic technique frequently used on the sides of baskets. However, if there is a difference in pulling tension between the two strips, the weaving will become wavy.
The trick to weaving oikake-ami straight is to pull both the upper and lower strips at the exact same angle and strength. Since strips tend to loosen near connection points where rounds switch, hold overlapping joints firmly with your fingers to maintain uniform tension.
Techniques like nejiri-ami and nawa-ami, where two weavers cross over each other, create durable weaves, but they exert strong force on the vertical strips. Simply twisting and pulling normally will drag the vertical strips in the direction of the twist, causing them to lean diagonally.
To weave twist weaves straight, firmly back up the base of the vertical strip with your finger when twisting the weavers. When tightening crossed weavers, instead of pulling outward horizontally, apply downward force toward the base as if pushing them down snuggly. This allows vertical strips to stand straight without leaning.
In styles like ishidatami-ami or hanamusubi-ami (flower knot weave), where square knots are woven continuously, if individual knot shapes collapse, the entire grid pattern slants significantly.
The key to straight ishidatami-ami is visually checking after weaving each knot to ensure it forms a neat square. If knots are squashed into rectangles, that entire row will warp. When tightening, pull vertical and horizontal strips evenly, shaping them so that the corners of the square form solid 90-degree angles.
Even if you think, "I was being so careful, but it still tilted a bit…", there's no need to give up and undo your work immediately. Light distortion can be fixed using the following correction techniques.
If you spot an area where weaving is slanted, utilize an awl or bamboo skewer. Insert the tip of the awl into the gap of stitches that are too high, and gently push them downward. Conversely, for areas that are too low, lift the stitches from below to reposition them.
Since craft bands are made of paper, friction holds stitches in place, but applying gradual force with an awl lets you move stitch positions millimeter by millimeter. Nudge stitches gently until the overall line becomes horizontal.
If the entire finished piece is twisted, a reshaping technique using water is very effective. Craft band becomes soft when wet and hardens in place when dry, leveraging paper's natural characteristics.
Lightly spray water using a mist bottle over the distorted area until it is evenly damp. Once the bands soften, squeeze the entire piece firmly with both hands, adjusting it by hand so it becomes straight and square. Keep it in that straight position and let it dry completely in a well-ventilated area to cleanly reset distortion.
Here are secret techniques that I, Yassy, actually use in my everyday project making to prevent distortion guaranteed! These are easy methods anyone can try, so please give them a shot.
When making rectangular items like baskets or storage boxes, the most powerful technique is placing a cardboard box inside the project as a mold/form.
Prepare an empty box or cardboard trimmed to the finished size of your desired basket, and insert it neatly inside the project once the base weaving is complete. Secure the vertical strips along the sides of the cardboard box using tape or clips, and weave around it using the box as your guide.
Because a physical wall exists, the chance of vertical strips collapsing inward or flaring outward becomes zero. This revolutionary method allows even complete beginners to achieve 100% straight sidewalls.
For bags or shapes where inserting a box mold is difficult, using masking tape is highly recommended.
Use a straight line on your table (like the grid on a cutting mat) as a baseline, and temporarily tape the tips of your vertical strips to your worktable or guide paper so that intervals between strips remain equal (e.g., 1.5 cm apart). Doing this guards vertical strips against swaying left or right while you weave.
We've looked in detail at tips for weaving craft band straight.
Slanting stitches are not caused by a lack of skill, but by uneven tension, leaning vertical strips, and insufficient preparation. Before weaving, smooth out memory curls with shigoki, add measurement marks to vertical strips, and secure them with clips. Then, keep the project straight in front of your eyes while weaving and measure the height every single row. Simply adhering to these steps will dramatically elevate the quality of your finished work.
It might feel a bit tedious at first, but once you get the hang of weaving straight, crafting with paper bands will become so much more fun and rewarding! Try out the techniques and secret tricks introduced today, and enjoy making lots of beautifully aligned creations.
If you share this article with your friends on social media or messaging apps, it would make me super happy and encouraged!
Well then, see you in the next article! This was Yassy from Crafters!

For example, if you are looking for articles about mizuhiki, try searching for "mizuhiki"; if you are interested in tools, try keywords like "nippers" or "pliers."
