Types of Japanese Needle Felting Wool: A Complete Material Guide to Elevate Your Craft
yassy
Crafters!

Hello, crafters! This is Yassy from Crafters! (・∀・)
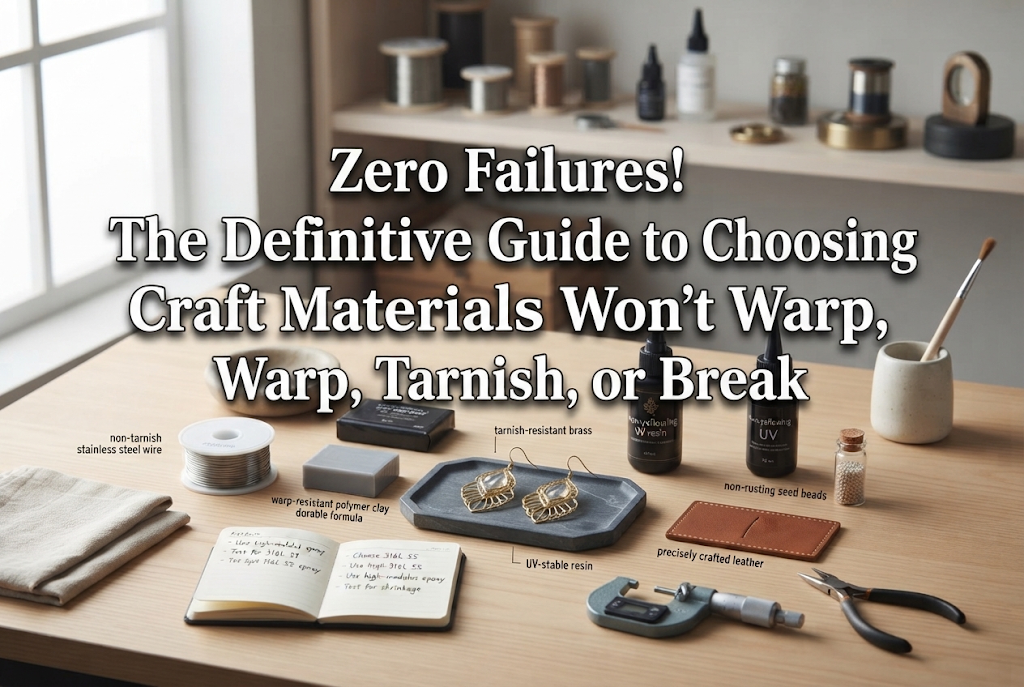
As someone who absolutely loves making, viewing, and shopping for handmade creations, today I want to share the foolproof rules of selecting craft materials so beginners never fail!
When you first dive into crafting, shopping for supplies is pure excitement. But once you start working, many people inevitably run into frustrating issues: fabrics that warp out of shape, metal findings that snap, resin that turns yellow, or glued pieces that peel right off.
Let me reassure you: these setbacks are rarely caused by a lack of skill or aesthetic sense. The real culprit is almost always choosing the wrong materials for the job!
Every craft supply has its own physical and chemical properties. If you overlook these traits and pick items purely because they look cute, your project can easily fail no matter how carefully you work.
Drawing on my years of crafting experience, I will break down the fundamental rules for choosing materials that physically prevent mistakes. This is not just a list of supply recommendations; we will look at the underlying structural and material reasons why certain choices guarantee success!
The single biggest trap for crafting beginners is picking materials based entirely on how they look. Spotting pretty colors or charming patterns in a store or online makes anyone want to buy immediately. However, if you purchase something without considering whether it is easy to manipulate or compatible with your other components, you will hit a wall during the assembly process.
The most crucial concept to master is material properties—both physical and chemical. Specifically, pay attention to these six factors: stretch, hardness, moisture absorption, curing shrinkage, heat resistance, and surface smoothness.
If you craft without understanding these properties, problems will crop up either on your workbench or long after the piece is finished. Projects go wrong when you fight against a material's inherent nature. Selecting supplies that behave reliably without working against you is the quickest secret to achieving a polished, professional finish.
When I first started out, I fell in love with a gorgeous, lightweight stretch knit fabric. I tried to sew it on a standard machine, only for the seams to bunch up into messy, puckered ripples—a total disaster. Another time, I used an incompatible glue on metal parts, and a charm popped off the second I attached the piece to a bag.
Looking back, knowing basic material characteristics would have prevented 100% of those accidents. In the craft world, choosing materials is not just a decorative decision; think of it as an engineering choice!
For crafters starting sewing or fabric crafts, the earliest obstacle is usually crooked seams and shifting cloth. The root causes here are the fabric's weave structure and its fiber blend.
For beginners, the undisputed champion is 100% cotton plain-weave fabric. In Japanese craft practice, the gold standards are "Oxford" (ox) and "Sheeting" (a balanced medium-lightweight plain weave). Venturing into other fabric types right away often leads to distortion before you even finish cutting your pattern pieces.
Here is how beginner-friendly and challenging fabrics differ structurally:
Always inspect the fiber blend ratio, specifically the percentage of polyester or polyurethane. While polyester blends resist wrinkles, they do not hold sharp, crisp ironed creases easily. For beginners who rely on pressing neat folds with an iron before stitching, fabrics with high polyester content can slow down workflow significantly.
Start by selecting Oxford or sheeting clearly labeled "100% Cotton." Doing just this will increase your sewing success rate by over 80%!
In jewelry making, the metal composition of your findings directly dictates longevity and wearer safety. Retail displays and online stores offer countless varieties, but buying them without knowing their material specifications can lead to rapid rust, skin irritation, or jump rings snapping during assembly.
Here are the primary metal categories every crafter should understand, along with optimal use cases:
One of the most frequent beginner jewelry mistakes is having a jump ring bend permanently out of shape when opened and closed. This happens when the wire thickness (gauge) is mismatched with the ring's overall outer diameter.
When picking jump rings, balance wire diameter with ring size:
Avoid overly soft brass jump rings at first. Instead, opt for "hard-temper" or stainless steel jump rings. While they require a bit more plier grip to manipulate, once closed, they retain their shape securely, significantly boosting your jewelry's durability!
Crafting with UV/LED resin and various craft clays (polymer, air-dry resin clay, lightweight clay) is immensely popular, but because these involve chemical cures or water evaporation, failing to account for their properties can ruin pieces over time.
Resin formulations might look identical in the bottle, but performance varies drastically. Bargain-bin resins often pull away from silicone molds upon curing—leaving rippled surfaces—or turn noticeably yellow within weeks.
When purchasing resin, check two essential specifications:
Clay selection for fake sweets, miniatures, or decorative charms requires clear intent:
For beginners, starting with a durable, firmly curing resin clay is the safest path forward!
Even if you pick quality components, assembling them with the wrong adhesive invites failure. Incidents like glued metal cabochons falling off or glue seeping through fabric and leaving hard, dark stains stem from mismatched adhesives.
There is no single universal glue for everything. You must match the adhesive chemistry to the two specific surfaces being joined.
Why should you avoid cyanoacrylate (super glue) when attaching metal to resin or glass? Because cyanoacrylates are notoriously brittle against shear impacts. Even if the bond seems firm, bumping inside a handbag can create sudden micro-fissures, causing the piece to pop clean off. Furthermore, evaporating fumes can leave a chalky, clouded white residue ("blooming") on clear surfaces.
When joining rigid non-porous items like metal, resin, or glass, always rely on a two-part epoxy adhesive mixed in equal proportions. As it cures, it forms a thick, structural resin layer that provides exceptional mechanical grip and impact resistance.
Regardless of how strong your adhesive is, perfectly smooth surfaces give the glue nothing to anchor into physically. Before gluing the back of a flat metal finding or a plastic component, lightly scuff the contact surface with fine-grit sandpaper (around 240 to 400 grit). In Japanese crafting, this surface prep is called ashitsuke (creating a mechanical key). This simple step can more than triple your bonding strength!
Whether you buy supplies at a brick-and-mortar craft shop or online, keeping a systematic checklist will save you time and money.
Physical stores allow you to evaluate texture and true color in person.
Online shops offer unmatched variety, but scale discrepancies can lead to disappointment.
If I were starting from scratch today as a complete beginner, here are the exact material setups I would choose without hesitation. If you are picking up a new hobby, feel free to replicate these configurations!
With this setup, the fabric won't stretch out of shape, it presses crisp folds under an iron, and machine sewing runs smoothly. There is no better baseline for learning sewing fundamentals.
This configuration prevents pins from bending prematurely during looping, and parts won't come apart while being worn or stored.
Whenever you are contemplating a purchase in a store or online, run through these three practical filters:
Only add items to your cart that pass all three checks. This habit alone will eliminate wasted purchases and crafting frustration!
Selecting craft materials is far more than casual shopping. It is an essential design phase that determines working ease, final quality, and the lifespan of your creations.
Instead of choosing solely on appearance, look closer: will it stretch, will it discolour, and will it bond securely? Once you work with materials whose physical properties match your goals, crafting becomes remarkably smooth, and your finish quality will soar!
Harness the nature of your materials, enjoy stress-free making, and bring your creative visions to life. I am cheering on your crafting journey all the way!
Until next time, happy crafting from Yassy!

For example, if you are looking for articles about mizuhiki, try searching for "mizuhiki"; if you are interested in tools, try keywords like "nippers" or "pliers."
