A Guide to Herbarium Oils: Mineral vs. Silicone and How to Choose the Right One
yassy
Crafters!

Hello! This is Yassy from Crafters! (・∀・)
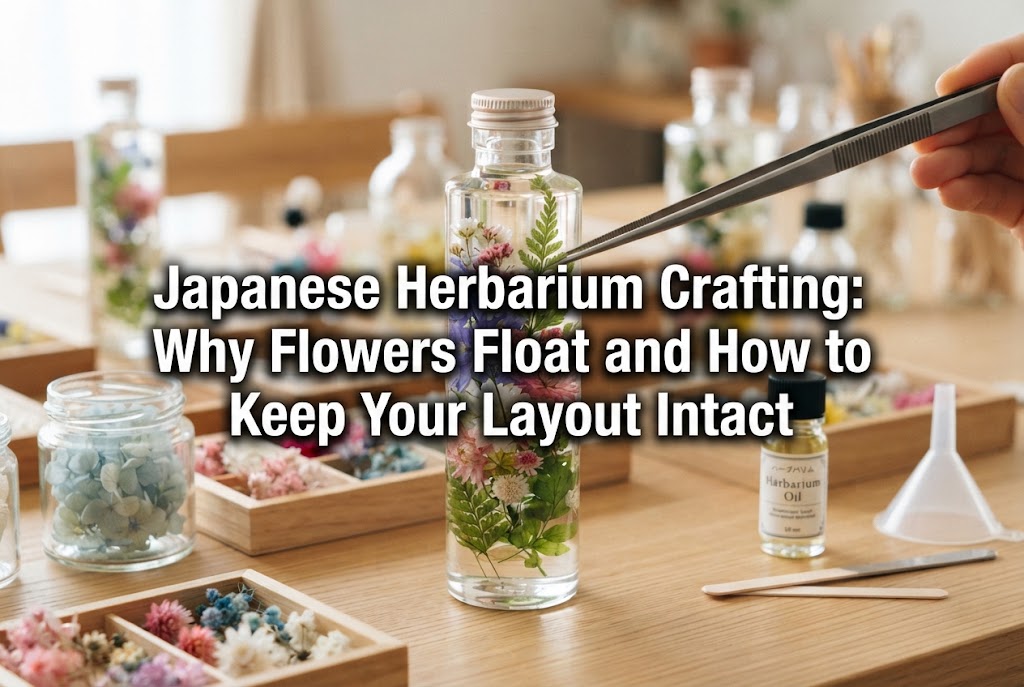
Have you ever experienced this? You carefully arrange your dried flowers inside a glass bottle for a herbarium, creating the exact design you envisioned—only to watch them float gently to the top the moment you pour in the herbarium oil, completely ruining your layout?
It can be truly discouraging when a tiny bloom placed at the bottom floats all the way to the surface, altering your entire composition. Floating botanical elements are one of the biggest hurdles that every beginner in herbarium crafting encounters.
However, once you understand the scientific and physical reasons behind why flowers float, and master proper securing techniques and pouring methods, anyone can easily keep their botanical materials locked in place exactly where intended.
In this guide, I will thoroughly explain the root causes of floating flowers in herbarium art, actionable solutions you can try today, and professional securing techniques to achieve a polished finish!
Before taking measures, it is essential to understand the physics of why plant materials drift upward. It isn't simply because the flowers are lightweight; it involves a combination of multiple factors.
Dried and preserved flowers used in herbariums have had their moisture completely removed or replaced with specialized solutions. Compared to fresh flowers containing natural water, these materials are extremely lightweight and low in density.
Herbarium oils have a density slightly lighter than water (with a specific gravity of roughly 0.85 to 0.96). Because dry petals and stems are even lighter than the oil itself, a strong buoyant force naturally pushes them upward when submerged in liquid.
Plant structures contain countless microscopic air pockets within their cellular gaps and vascular channels. Dried flowers, in particular, are filled with air inside their tissue.
When oil is poured into the bottle, this internal air does not escape immediately, acting like tiny balloons that buoy the flowers upward. Air bubbles trapped between layered petals or inside the calyx also contribute significantly to this buoyant effect.
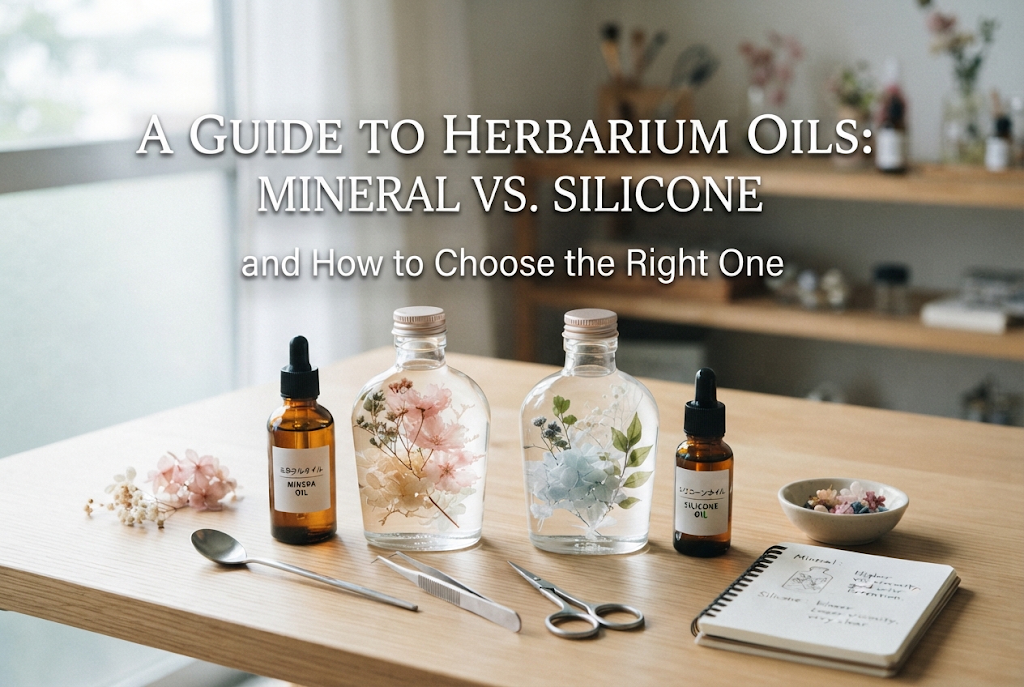
The floating tendency also varies depending on the type of herbarium oil used. The two main types available are mineral oil (liquid paraffin) and silicone oil.
Silicone oil has a slightly higher specific gravity and higher viscosity (thicker texture) compared to mineral oil. While viscous oil helps slow down movement, its stronger buoyant force means that if flowers are not firmly anchored, they can be lifted to the top all at once.
Often, it is the pouring technique itself that causes flowers to float.
If you pour oil hastily directly from the top, the hydraulic pressure and fluid motion dislodge the interlocking points of your botanical arrangements, washing them upward. The impact of heavy pouring can also trap extra air bubbles within the flowers, increasing buoyancy.
Considering the causes, preventing flowers from floating boils down to three core principles: increasing friction, interlocking structures, and releasing trapped air.
If you arrange botanical elements as isolated pieces floating independently inside a bottle, they will almost certainly float away. The fundamental rule of herbarium making is to create structures where flowers touch and support each other.
By combining materials with textured surfaces or branching shapes, you create a jungle-gym-like mesh inside the bottle that blocks movement in all directions.
If you are a beginner struggling with floating flowers, I recommend starting with mineral oil (with a viscosity around 350 cSt). Mineral oil is slightly lighter in density than silicone oil, resulting in a gentler buoyant force when poured.
On the other hand, silicone oil offers wonderful benefits, such as high clarity and excellent color retention, but because of its higher buoyant pull, flowers require more precise anchoring. Choose the oil that best matches your skill level and design goals.
Once you set your flowers inside the bottle, avoid pouring oil to the brim right away. Performing a quick air-elimination step works wonders.
Gently tap the bottom of the glass bottle on your work surface to vibrate trapped air loose. You can also let a small amount of oil soak into the deeper crevices and petal surfaces beforehand. Allowing air to escape increases the relative density of the materials and drastically reduces buoyancy.
Here are five practical securing techniques I frequently use in my own craft work to keep flowers firmly in place. None of these require elaborate tools—just a bit of clever technique!
Using long tweezers, intentionally entangle stems, small branches, and flowers with each other inside the bottle.
For example, insert the main focal flower (such as a rose or Helichrysum) deeply into the gaps of surrounding branches or foliage. Microscopic hairs, thorns, or branching stems interlock like hook-and-loop fasteners, forming a sturdy cluster that resists the buoyant force of the oil.
The most versatile and reliable "stopper" materials in herbarium crafting are preserved hydrangeas, baby's breath, and Tatarian statice.
Hydrangeas spread out softly, creating moderate frictional resistance along the inner glass walls. Place a cushion of hydrangea or vine-like materials at the bottom or middle layer of the bottle, then nestle your main focal flowers into the gaps. This "cushion sandwich method" perfectly prevents focal flowers from drifting upward on their own.
For flowers with short stems or lightweight elements that float easily, wiring is extremely effective.
Fine wire remains virtually invisible in clear liquid, allowing you to safely create advanced designs where blooms appear to float gracefully in mid-air at precise heights.
Using the shape of the bottle itself as a securing mechanism is another smart approach. Many herbarium bottles feature narrowed necks, such as cat-shaped bottles, lightbulb bottles, or tapered bottles.
Position wide branch pieces or rigid botanicals (such as globe amaranth, dried cinnamon sticks, or nuts) in the wider sections of the bottle so they catch on the narrowed neck above them, preventing higher movement. Design your layout with bottle height in mind, placing sturdy materials at neck points to act as natural tension rods.
If a flower drifts slightly by a few millimeters or centimeters immediately after pouring the oil, gently insert long tweezers or a bamboo skewer to make final adjustments.
Nudge the floating stem or petal back down, tucking it under a sturdy branch or inside a hydrangea gap below. To maintain a clean finish, move your tools slowly and gently to avoid introducing fresh air bubbles into the oil.
Here are a few personal tricks and practical habits I always use during my own crafting sessions to avoid failures!
Before placing anything inside the bottle, I always assemble a dry run layout on my worktable, matching the exact height and width of the glass container.
Rather than focusing purely on aesthetics, I assign structural roles to each layer:
Thinking like an architect building a structure from the ground up dramatically improves stability once the oil goes in.
Pouring the oil is the step requiring the utmost care. I never pour oil straight down from above onto the flowers.
Instead, tilt the bottle at roughly a 45-degree angle and rest the spout directly against the inner glass wall. Allow the oil to slide smoothly down the glass surface.
When the oil level rises gently from the bottom, it pushes air out sequentially without disturbing the flower arrangement. This single trick prevents over 70% of floating mishaps!
Even with careful preparation, issues can sometimes occur. Here is how to fix common problems:
If your entire design collapses into a floating clump right after pouring, it means there are too many open voids and not enough botanical density in the bottle.
Rather than forcing pieces down with tweezers, insert additional pieces of hydrangea, baby's breath, or firm twigs into the open gaps. Filling these spaces increases friction and holds the floating elements securely in place.
Sometimes an arrangement looks perfect initially, but flowers slowly rise hours later or the next morning. This happens because air trapped inside the plant tissues slowly escapes and is replaced by oil, but the rising micro-bubbles gather at the top and lift the flowers up.
To prevent this, leave the bottle uncapped for 30 to 60 minutes after pouring to let bubbles escape fully. If you notice floating during this waiting period, use a skewer or tweezers to release trapped bubbles and re-anchor the stems under lower layers before sealing the cap permanently. Once the air is fully released, your arrangement will remain perfectly stable.
We've covered the physical causes behind floating herbarium flowers and practical, reliable techniques to fix them!
Flowers float due to natural buoyancy, trapped air within dried plant tissue, and oil properties. However, by applying core methods—such as using hydrangeas as structural cushions, interlocking stems, creating wire anchors, and pouring oil gently along the glass wall—you can reliably prevent layout shifts.
It might take a little practice at first, but as you become mindful of internal structures, you will easily freeze your floral elements in exact position every time! I hope these tips help you create stunning, crystal-clear herbarium masterpieces.
If you found this guide helpful, please feel free to share it with your craft-loving friends on social media!
Until next time, happy crafting! This was Yassy from Crafters!

For example, if you are looking for articles about mizuhiki, try searching for "mizuhiki"; if you are interested in tools, try keywords like "nippers" or "pliers."
