Japanese Leathercraft Basics: How to Cut Leather Straight and Cleanly with the Right Tool Technique
yassy
Crafters!
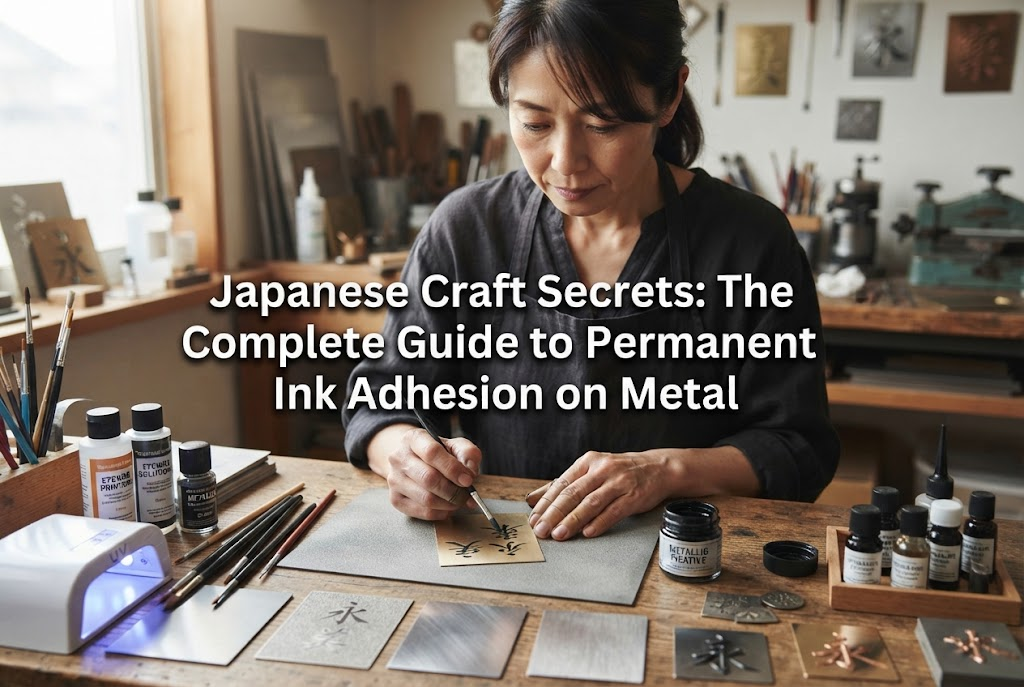

Hello everyone! This is Yassy from Crafters! (・∀・)
When making accessories or craft items, there are so many occasions where you might want to stamp or print text and patterns onto metal parts—like brass plates, aluminum charms, or stainless steel findings. I personally love the sophisticated shine of metal, and the process of creating original pieces using stamps and ink always gets me excited! Whenever I find lovely metal charms on online marketplace apps or shops, I cannot help but buy them in bulk because I am completely hooked on metal crafts.
However, many beginners who attempt to apply ink to metal run into a huge wall:
A vast number of crafters have had these bitter experiences.
I can say with certainty that using ink on metal with the same mindset as paper or fabric will result in a 100% failure rate. Metal is a non-porous material that does not absorb any ink at all, and its surface is covered by an invisible film of oil. But please don't worry! By following a scientific approach with proper surface preparation, choosing the right ink, and performing a final heat-setting treatment, you can achieve ink adhesion on metal that will absolutely not peel off.
In this article, I will dive deep into every step of setting ink on metal—a process that often confuses beginner crafters—based on my own practical crafting experience. I will skip vague theories or shortcut steps and share the absolute rules that allow anyone to recreate professional-grade adhesion strength. Please read through to the end and apply these methods to your work!
Before taking preventive measures, it is essential to correctly understand the fundamental mechanism behind why ink has a hard time adhering to metal. If you proceed without knowing the underlying cause, reliable adhesion will never be achieved. There are two distinct reasons why metal repels and sheds ink.
The first cause is the smooth nature of the metal surface and the presence of oils. Materials like paper, wood, and fabric contain microscopic fibers and cavities; ink penetrates inside these gaps to adhere. Metal surfaces, on the other hand, have a high-density structure with zero gaps, meaning they cannot absorb moisture or solvents at all.
Even more critical is the oil attached to the metal surface. Metal parts produced in factories are almost always coated with a thin layer of anti-rust oil to prevent oxidation (rust) caused by atmospheric oxygen. Furthermore, the natural skin oils transferred the second we touch metal with bare hands create a strong oil barrier. Just as oil and water repel each other, ink—whether water-based or even standard oil-based—will be repelled into droplets on an oily metal surface.
The second cause is the lack of physical traction. For paint or ink to adhere firmly to a smooth surface, a phenomenon known as the "anchor effect" (mechanical interlocking) is indispensable. The anchor effect refers to a mechanism where ink flows into microscopic grooves and hardens—much like a ship dropping an anchor into the seabed to hold its position—preventing the film from flaking off.
On a brightly polished metal surface, the microscopic irregularities needed for this anchor effect are practically zero. As a result, no matter how dry the surface appears to the eye, any physical friction (rubbing or scratching) will easily cause the ink film to detach and peel away. The key to permanent ink adhesion on metal relies on how effectively we can artificially create this anchor effect.
Selecting the wrong ink for metalworking leads directly to instant failure. Stationers and craft stores sell a wide variety of stamp pads and pens, but you must never use products that do not explicitly state "suitable for metal" on the package. Here are three ink categories that have an overwhelming track record of reliability in metal crafts.
When it comes to metal stamping, fast-drying solvent-based ink reigns supreme as the gold standard. The ultimate representative of this category is the StazOn series by Tsukineko. Unlike standard oil-based stamp pads, it contains special strong solvents that allow it to bond powerfully to smooth, non-porous surfaces like metal, plastic, and glass.
It dries extremely fast in just a few minutes, and once dry, it exhibits high resistance to water and friction. If you want to stamp delicate text or fine lines onto metal plates, solvent-based ink is your only real choice. Using other general stamp pads is simply a waste of time, so be sure to prepare a dedicated solvent ink.
If you want to draw lines by hand or fill color into recessed areas of metal parts, opaque acrylic paint markers are an absolute necessity. They have a high pigment concentration and high opacity, capable of completely covering the base metal color (whether silver or gold).
Standard dye-based permanent markers show transparency when used on metal, resulting in weak color payoff. They are also prone to fading from light exposure, making them unsuitable for items intended for sale. When hand-coloring metal, choose opaque paint markers containing ingredients close to paint.
If you want to create expressive artwork that utilizes the natural metallic sheen, alcohol ink is a powerful option. Alcohol inks use ethanol as their primary solvent; when dropped onto a metal surface, they spread smoothly to form beautiful gradients and marbled patterns.
Because the base shine of the metal shines through the translucent ink, you can produce dreamy pieces reminiscent of stained glass. However, alcohol ink itself does not contain strong adhesive resins, making it vulnerable to friction on its own. When using alcohol ink on metal, combining it with a protective top coat (explained below) is an absolute rule.
This is where the line is drawn between beginners and pros. No matter how expensive or high-performing your ink is, if you neglect surface preparation, the ink will peel easily. Spend 80% of your time on prep work before applying any ink. Personally, I would never press a stamp onto metal that hasn't undergone proper surface prep!
The first step is total degreasing (oil removal) of the metal surface. Do not use standard wet wipes just because they are convenient! Commercial wet wipes contain moisturizing agents or surfactants, which leave unnecessary residues on the metal.
Always use anhydrous ethanol or dedicated parts cleaner (degreasing spray). Saturate a lint-free Kimwipe or cotton pad with anhydrous ethanol and wipe the metal surface firmly. After this step, do not touch the metal surface with bare hands! Even a light touch from a fingertip leaves skin oils that will cause the ink to bead up right on that spot. After degreasing, wearing nitrile gloves or using tweezers is an absolute rule.
To ensure ink bonds tightly to smooth metals (like stainless steel or glossy brass), you need to create invisible, microscopic scratches through keying (sanding). Adding this single step jumps the ink's adhesion strength dramatically.
The tool to use is a sponge abrasive (ultra-fine grade around #800 to #1000) or an abrasive pad. Lightly and evenly rub the surface of the metal in gentle circular motions. You might worry, "Is it okay to scratch my piece?" But with an ultra-fine grade like #1000, deep scratches will not form; the surface simply takes on a soft, matte texture. When ink settles into these invisible grooves, a powerful anchor effect is created, forming a durable film that won't rub off.
If your piece requires keeping a mirror finish (high gloss), you may skip keying. However, because the risk of physical peeling increases, a strong top coating becomes mandatory later on.
Now that you understand the importance of surface preparation, let's go over the step-by-step process. By following these steps, you will not fail when inking metal.
First, wash off dust and debris from the metal parts with water or mild dish soap, then dry completely. Once dry, put on nitrile gloves as mentioned earlier and wipe the surface thoroughly with a cloth soaked in anhydrous ethanol. Create a completely clean, oil-free, smooth metal surface.
For pieces where a matte finish is fine, or for items like keychains that require high durability, perform uniform keying using a #1000 sponge abrasive. Since sanding dust will be generated, wipe the surface clean with anhydrous ethanol once more after sanding.
When stamping on metal, pay even closer attention to slipping than you would on paper. Because the metal surface is slick, any slight sideways motion will cause the ink to smudge and ruin the design.
When applying solvent ink to a stamp, lightly tap the ink pad onto the stamp surface repeatedly to coat it evenly. When stamping onto metal, apply downward pressure vertically from directly above, making sure not to move your hand sideways. After pressing down, lift the stamp straight up to release it.
Once the ink is applied, do not rely solely on air drying. Although solvent inks dry at room temperature within minutes, performing a heat setting step ensures maximum adhesion. An embossing heater or a hairdryer on hot air works wonderfully here.
Hold the embossing heater about 10 to 20 cm away from the inked metal part and blow hot air onto it for about 30 seconds to 1 minute. Heating melts and softens the resin binders in the ink, allowing them to flow deeper into the micro-grooves of the metal surface. After applying heat, leave the metal untouched until it cools down completely. Through this heat-and-cool cycle, the ink film cures hard, vastly increasing its adhesion strength.
Even after setting the ink directly onto the metal, the work isn't finished yet. Metal items frequently come into contact with keys, other jewelry, or fingers, meaning friction over extended use can gradually wear the ink away. To maintain the quality of your work long-term and enhance its value as a product, a protective coating is absolutely necessary.
If you want to protect the surface while preserving the flat, natural metal texture, use a commercial clear spray designed for metal. These come in glossy and matte finishes, so choose one that matches the mood of your project.
The crucial rule when applying clear spray is: never apply a thick layer all at once! Spraying a large amount at once allows the organic solvents in the spray to dissolve the stamped ink beneath it, causing letters or patterns to bleed disastrously. The professional technique is to lightly mist the surface from a distance first (a dust coat), let it dry completely, and then apply a second and third thin layer.
If you want to give the part a high-end, rounded thickness while permanently protecting the ink, coating with UV/LED resin is the ultimate choice. Once cured, resin forms a tough plastic layer that shields the ink inside completely from friction and moisture.
However, there is a caution here as well. If you pour resin directly onto metal where the ink adhesion process was rushed, the resin layer may pop off the metal entirely along with the ink underneath. Be sure to complete the degreasing, keying, and heat-setting steps before applying resin and curing it thoroughly under a UV light. By following this sequence, the metal, ink, and resin lock together seamlessly for a superb finish that will never peel off.
No matter how carefully you work, issues can arise due to material compatibility or environment. Here are common failure patterns along with reliable solutions you can use on the spot.
Cause: This is proof that anti-rust oil or skin oils remain on the metal surface.Solution: Even if you thought you wiped it, oil remains. Re-degrease thoroughly using a fresh Kimwipe soaked generously in anhydrous ethanol, applying firm pressure. Also, re-check whether you accidentally touched the surface with bare hands during the process.
Cause: Insufficient surface keying (sanding) or skipping the heat-setting step.Solution: If ink was applied directly to a polished surface without keying, no anchor effect was present. Remove the ink completely using solvent (ethanol or dedicated stamp cleaner), lightly sand the surface with a #1000 sponge abrasive, and try again. Don't forget to heat-set with an embossing heater after stamping.
Cause: Too much ink was applied to the stamp, or too much lateral pressure was applied while stamping, causing the stamp to slide. Alternatively, clear spray was sprayed too thickly in one go.Solution: When applying ink to the stamp, tap lightly and evenly so ink doesn't pool. When stamping, apply pressure evenly from directly above and avoid shifting sideways. When spraying clear coat, always keep a distance of 15 to 20 cm and apply multiple ultra-thin layers.
To help you visualize the process, here are step-by-step workflows for two popular metal materials used in handmade crafts. These are highly reliable methods that I practice in my own work.
This technique applies black alphabet stamps to warm, metallic brass to mimic stamped metal tags.
The result is a wonderful piece that looks like a genuine antique engraved tag used for years!
A modern craft technique where alcohol ink is dropped onto lightweight, easy-to-work aluminum plates to create expressive patterns.
The vivid colors of the alcohol ink combine with the metallic sheen of aluminum and the clarity of resin, creating a piece that looks like high-end jewelry in an instant!
We have covered all the knowledge and techniques needed to permanently adhere ink to metal. Finally, let's review the key points you should never forget during your craft projects:
Attempting to ink metal casually will lead to failure 100% of the time, but following the scientific logic behind these steps guarantees that anyone can create flawless pieces! The extra effort put into surface preparation shows in the final product, and customers who hold your work will definitely recognize its outstanding quality. Please incorporate these absolute rules into your handmade crafting routine today and create amazing, next-level metal crafts!
If you enjoyed this article, sharing it with friends on social media would mean the world to me and keep me motivated! See you in the next article! This was Yassy from Crafters!




For example, if you are looking for articles about mizuhiki, try searching for "mizuhiki"; if you are interested in tools, try keywords like "nippers" or "pliers."
