Beginner’s Guide to DIY Miniature Houses and Dollhouses: Must-Have Tools and Kit Selection Tips for Flawless Results
yassy
Crafters!

Hello, everyone! It’s Yassy from Crafters! (・∀・)
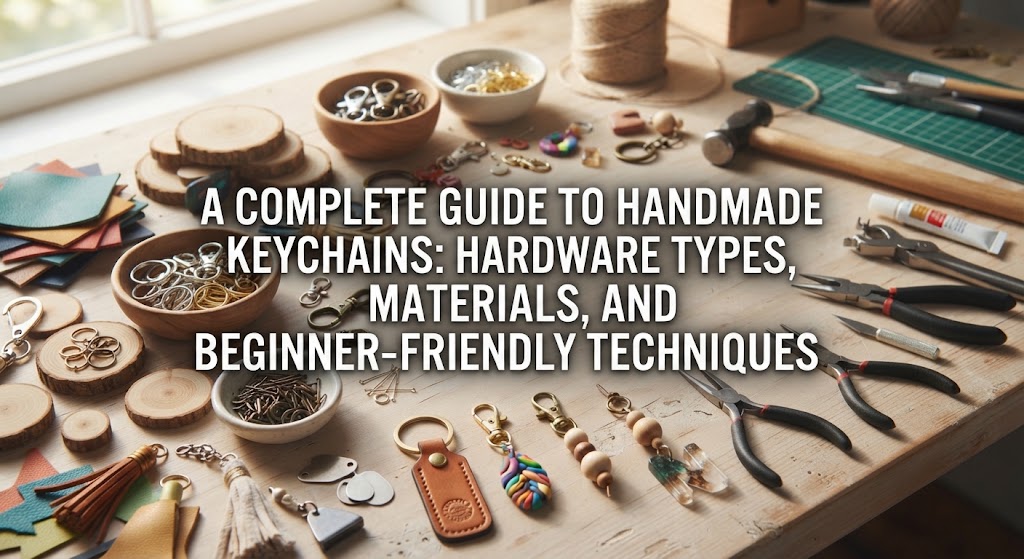
Keychains are fantastic little accessories that brighten up our everyday lives, whether clipped onto a bag, pouch, or set of keys. For craft beginners, they are also one of the most accessible and rewarding handmade projects to dive into. From quick, charming trinkets to intricate statement pieces built with advanced techniques, the creative possibilities are truly limitless.
However, when you actually sit down to make a keychain, you might wonder: What kinds of hardware should I use? What materials work best? Choosing the wrong findings or fragile base materials can cause parts to break or detach while in use.
In this guide, I will break down handmade keychain crafting from two key angles: attachment hardware and materials and crafting techniques. I have also packed in practical reinforcement tips, common beginner mistakes to avoid, and my personal approach to making sturdy, professional-looking keychains. Use this guide as your starting point to craft keychains you love!
In keychain making, the hardware you choose defines both how functional the piece is and its overall look. Different clasp mechanisms suit different purposes and attachment points. Let's look at the standard hardware types used in crafting.
Known as nasukan in Japan, swivel snap clasps are by far the most popular findings for handmade keychains. Pressing the spring lever opens the hook, making it easy to clip onto bag handles, D-rings, or belt loops with one hand.
Choosing a style with a swivel base prevents chains, cords, and charms from twisting as the keychain moves. In Japan and the broader craft market, you can find a wide variety of novelty snap clasps shaped like hearts, stars, or cat silhouettes, allowing the clasp itself to become an eye-catching design accent.
If your goal is to make a practical, heavy-duty keychain for holding keys together, a classic split ring (double ring) is the ideal choice. These feature a flat metal wire coiled twice, allowing keys to be threaded directly onto the ring.
Their biggest advantage is durability—the risk of keys or charms falling off during daily wear is extremely low. If you want both security and convenience, you can attach a small snap clasp onto the split ring so it easily clips onto bags while keeping keys tightly secured.
For lightweight motifs and petite charms, ball chains and wire cable rings work wonderfully. A ball chain consists of tiny connected metal beads that snap into a small connector. Because they are inexpensive and simple to assemble, they are frequently used in craft workshops and high-volume production.
Screw-lock wire rings, on the other hand, are made of flexible stainless steel wire fastened by a threaded barrel connector. They offer a sleek, modern, slightly industrial aesthetic with remarkable strength, making them great for minimalist or unisex designs.
When you want to hang a keychain from a thick purse handle or tote strap, a dedicated bag charm chain is your best option. These chains typically feature clasps on both ends, or a large swivel hook on one end, allowing you to loop the chain around wide handles that standard snap hooks cannot grip.
This hardware provides enough presence and strength to support layered, dimensional, and heavier decorative designs.
Next, let's explore the main body of the keychain. Depending on the material and technique you choose, the required tools, workflow, and finished texture will vary dramatically.
Resin keychains—cured with UV or LED lamps—are immensely popular in the handmade community. By pouring clear resin liquid into silicone molds and embedding dried flowers, glitter, metal charms, or pigments, you can produce gorgeous, crystal-clear accessories.
Alphabet initial molds and liquid-filled "shaker" charms that make rattling sounds are classic favorites. Because cured resin becomes hard, glossy, and water-resistant, it offers wonderful durability for daily handling.
Shrink plastic (often called plaban in Japan) involves drawing illustrations or lettering on plastic sheets, cutting them out, and baking them in a toaster oven so they shrink and thicken. It is loved because it requires minimal specialized equipment to get started.
You can color your sheets using colored pencils, paint markers, or soft pastels. Sealing the baked piece with a layer of UV resin or protective varnish gives it a high-gloss, sturdy finish comparable to store-bought acrylic charms. Shaping the plastic while warm or opting for frosted textures can elevate your designs into sophisticated art pieces.
Made by cutting, stitching, stamping, or embossing genuine leather or synthetic leather, leather keychains are timeless classics with a sophisticated feel. Using vegetable-tanned leather lets you enjoy the natural patina (aging) that deepens with use.
Burnishing the cut edges (called koba in Japanese leathercraft) and securing hardware with sturdy metal rivets (kashime) will produce durable, heirloom-quality pieces. Stamped initial leather tags also make beloved personalized gifts.
These keychains are created by stringing glass beads, natural gemstones, pearls, and metal spacers onto headpins, eye pins, wire, or beading cord. Layering multiple beaded strands creates a lovely chime and catches the light beautifully whenever you move.
Once you master bending headpins and eye pins into clean loops using round-nose pliers, you can assemble polished designs in no time. Selecting natural stones based on their traditional symbolism also makes them wonderful good-luck charms.
Keychains made from fabric scraps, wool felt, or yarn bring a soft, heartwarming texture to everyday accessories.
Popular styles include palm-sized crocheted stuffed animals (amigurumi), lightly stuffed felt animals, and embroidered fabric stretched over covered buttons. Because textiles are much lighter than metal and resin, they are ideal for decorating bags without adding extra weight.
Air-dry resin clay or lightweight polymer clay can be molded, painted, and varnished to create playful keychains. In Japan, miniature faux food charms—known as "fake sweets," depicting macarons, cookies, tiny croissants, and fruit slices—have a dedicated following.
When making clay charms into keychains, you must coat them thoroughly with waterproof sealer after drying, and firmly secure screw eye pins using strong craft adhesive.
Wooden keychains can be personalized using pyrography (wood-burning pens) to etch names or patterns, or by pairing geometric wood blanks with resin and leather accents.
The natural grain and warm tactile feel of wood make these charms a great fit for casual outdoor aesthetics, camping gear, and simple key organizers. Applying a clear, water-resistant protective topcoat ensures the wood stays clean over time.
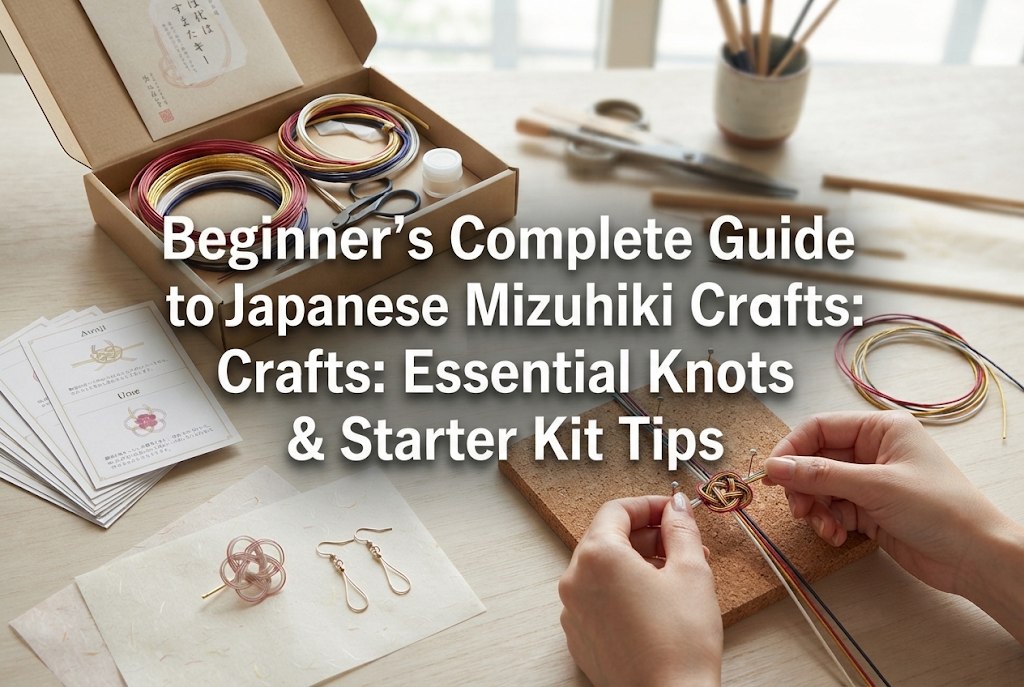
Incorporating traditional Japanese craft methods into keychains has gained wide popularity. Examples include mizuhiki (decorative paper cord) tied into auspicious knots like ume-musubi (plum blossom knot) or awaji-musubi, and tsumami zaiku (delicate folded fabric flowers made from silk or textured chirimen rayon).
These traditional charms make stunning pairings for kimono, yukata, or summer festival bags, and they are deeply appreciated as handmade gifts and souvenirs.
Because keychains seem straightforward to assemble, beginners often overlook hardware mechanics and structural balance. Without proper reinforcement, charms can easily detach. Here is how to avoid common pitfalls.
Jump rings (both round and oval) connect your charm to the main clasp. When opening and closing a jump ring with pliers, always twist the ends forward and backward sideways. Never pull the ends outward to the left and right, as this warps the circle out of shape.
When closing the ring, gently twist it back until the seam clicks shut with zero visible gap. Even a tiny opening will allow chains or thin cords to slip right through under pressure. If you need extra strength, opt for heavy-gauge jump rings (1.0 mm wire diameter or thicker) or use miniature split rings instead.
When attaching findings to resin or air-dry clay pieces, crafters frequently use screw eye pins. However, simply screwing them in without reinforcement means they will gradually loosen and pull out over time.
Always pre-drill a small pilot hole, coat the screw threads with strong multi-purpose adhesive or two-part epoxy glue, and screw it in place. For resin pieces, applying a small drop of UV resin around the base of the eye pin and curing it under a UV lamp will lock the hardware solidly into place.
Adding too many chunky resin charms or heavy glass beads makes a keychain hefty. Pairing a heavy motif with a delicate ball chain or a thin jump ring will cause metal fatigue, leading to accidental breakage.
Match your clasps to the piece's weight: use robust swivel hooks, thick jump rings, or sturdy split rings for heavier charms. Because keychains are handled every day, durability should always be your top priority.
Now that we've covered the basics, you might wonder: Where should a beginner actually start? Here is how I recommend taking your first steps! (・∀・)
If you have never made one before, I recommend starting with a UV resin initial keychain or a shrink plastic charm finished with a glossy resin dome. Silicone letter molds and shrink plastic sheets are easy to source, the steps are straightforward, and the finished products look polished and eye-catching right away.
My golden rule for making keychains look professional is: keep your hardware finishes consistent. If your main motif contains gold glitter or gold foil, make sure all your jump rings, chain links, and snap hooks are the exact same shade of gold. Mixing gold, silver, and antique bronze unintentionally makes a piece look unfinished.
Lastly, try adding a small "sub-charm" next to your main focal piece. Adding a single tiny pearl, a matching bead drop, or a small metal tag beside your main resin charm introduces gentle movement and immediately elevates your work to boutique quality!
Handmade keychains offer endless creative freedom. By pairing the right hardware—like swivel snap clasps or sturdy split rings—with materials like resin, leather, clay, or beads, you can bring any aesthetic to life.
Taking a few moments to close your jump rings tightly and reinforce inserted pins will ensure your handcrafted creations withstand daily use for years to come.
Grab a few materials that spark your interest and start building your very own custom keychain! If you found this guide helpful, sharing it with your crafting friends on social media means the world to me.
Until next time, happy crafting! This was Yassy from Crafters!


For example, if you are looking for articles about mizuhiki, try searching for "mizuhiki"; if you are interested in tools, try keywords like "nippers" or "pliers."
