The Complete Guide to Floral & Botanical Crafts: Materials, Projects, Costs, and Beginner Tips
yassy
Crafters!
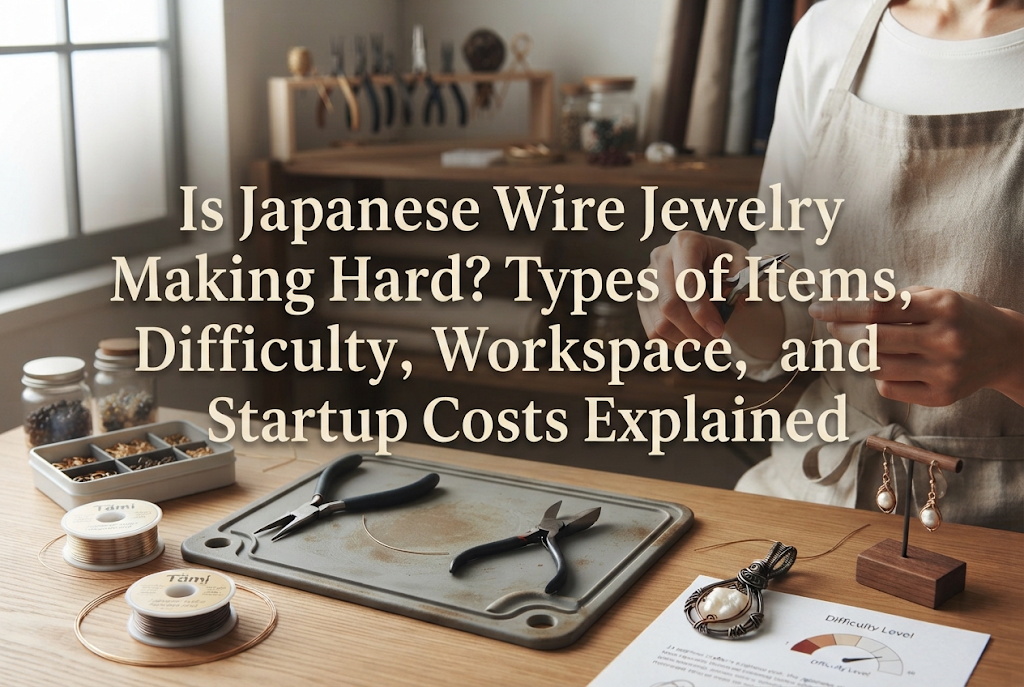

Hello, everyone! This is Yassy from Crafters! (・∀・)
With its beautiful metallic lines combined with sparkling natural stones and beads, wire jewelry is truly captivating. Whenever people spot these pieces at handmade shops or craft markets, many wonder, "How do they make that?" and "I wish I could make something like that myself!"
I absolutely love making, viewing, and buying handmade crafts. Having explored various crafts over the years, I can confidently say that wire jewelry making is top-tier when it comes to freedom of design and charm.
However, whenever beginners consider starting, I always hear the same worries:
To blow away all those doubts and anxieties, I'm going to explain everything—from the basics of wire craft and what items you can create to the actual difficulty level, workspace requirements, and realistic budget. By the end of this guide, you'll have a complete understanding of wire craft and feel ready to take your very first step with confidence!
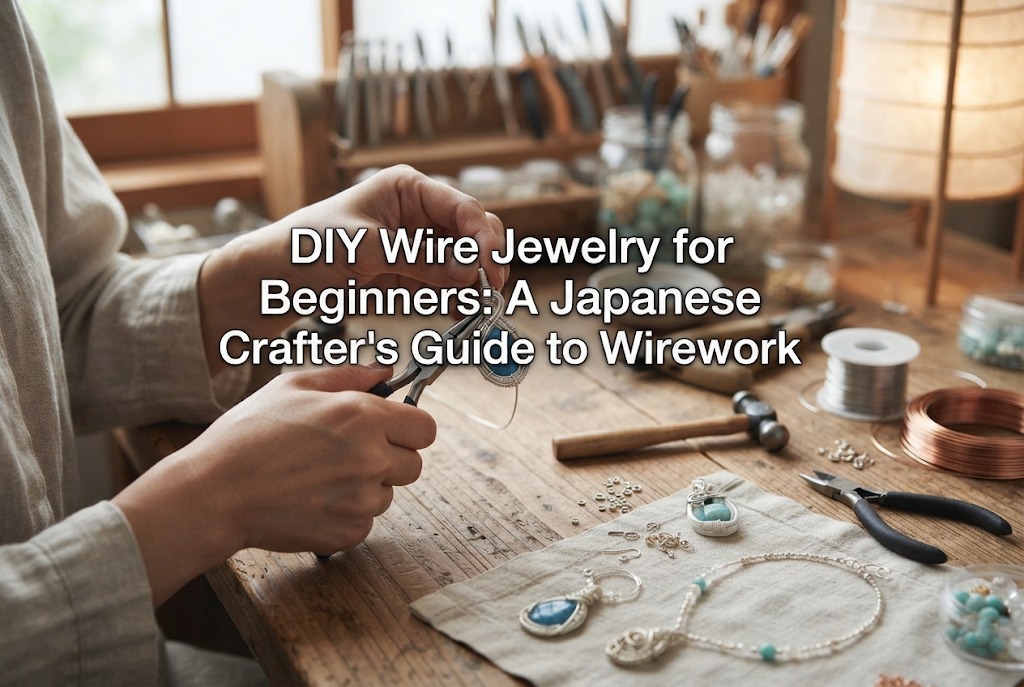
Wire jewelry (often referred to as wire craft or wire wrapped jewelry) refers to handmade accessories created by bending, twisting, or wrapping metal wire—such as Artistic Wire—around beads or components using specialized pliers and tools.
The greatest charm of wire jewelry is that you don't rely on molds or adhesives; instead, you can create infinite three-dimensional designs starting from a single piece of wire. Because you can alter the shape to fit individual stones, it's the perfect technique for creating one-of-a-kind original jewelry.
Unlike resin, ceramics, or clay, there is zero drying or curing time. You can start crafting the moment inspiration strikes, and if you need to pause mid-project, your work won't degrade. It fits seamlessly into a busy lifestyle.
The main reason I highly recommend wire jewelry is that material waste is minimal. If you make a mistake, you can simply cut the wire and start again. If a finding doesn't fit, you can bend a custom piece on the spot to get a perfect fit.
If you love looking at sparkly components or want to wear refined designs not found in ready-made mass products, wire jewelry will become your favorite creative hobby.
Here are five representative items you can make once you start wire crafting. By mastering just a few basic techniques, you'll be able to craft authentic, boutique-quality pieces with your own hands.
Wire wrapping is practically synonymous with wire jewelry craft. Undrilled gemstone cabochons (smooth, domed stones) or raw crystal points are enveloped in wire cages to create stunning pendant tops.
Without hiding the natural form of the stone, delicate metallic lines bring out its maximum charm. It's an irresistible technique for gemstone lovers.
Earrings made by connecting beads or natural stones with wire are classic beginner projects that can be finished in a short time.
Instead of relying on commercial headpins or eyepins, bending the wire yourself into a "wrapped loop" (known as megane-dome in Japanese crafting, a sturdy wire closure that won't slip open) yields delicate, luxurious-looking designs.
Rings formed by wrapping wire to fit finger sizes and featuring small natural stones or pearls in the center are extremely popular.
By varying wire gauge or twisting multiple wires together, you can enjoy styles ranging from simple minimalism to lavish statement rings. Being able to make custom rings without needing metal stamping or soldering gear is a huge advantage.
Using thicker wire as a base and wrapping beads onto it with thinner wire allows you to create elegant bracelets and bangles to adorn your wrist.
Since you can tailor the sizing precisely to your wrist, these projects are praised by people who can never find off-the-shelf bracelets that fit properly.
Forming petals with wire outlines filled with liquid resin to create "wire flowers," or twisting wire and beads together to resemble delicate branches for "twig accessories," are also popular wire techniques.
These are in high demand for bridal headpieces and party hair ornaments, letting you express a romantic, fairytale aesthetic.
Many people assume that handling wire requires strong hand power or extraordinary dexterity. The truth is: as long as you choose the correct tools and master basic holding techniques, anyone can handle wire smoothly without strong hands.
Let me clarify the true level of difficulty and where beginners tend to get stuck.
The main reason wire craft feels difficult to beginners is choosing wire that is too thick at the start.
Wire has specific gauges (thicknesses) and tempers (hardness). When beginners try to force wire into shape with brute strength and end up with sore hands, it's usually because they are using an inappropriate gauge for the task.
Start with manageable sizes like 0.4mm (#26 gauge) or 0.6mm (#22 gauge), which bend easily with fingertips or light tool pressure. With these gauges, simply applying a tool will transform the shape smoothly without needing any brute force.
In wirework, hand strength matters far less than leverage and tool angle. The three essential tools you'll use are:
You don't need to squeeze tightly when holding tools. Once you learn where to position the wire in the tool jaws and which direction to turn your wrist, anyone can form smooth, uniform curves.
Beginners almost always encounter three specific issues: scratches, distortion, and wire breakage.
When starting a new craft, room space is always a concern. But rest assured: wire craft requires the smallest footprint among almost all handmade craft genres.
Wire jewelry making requires no heavy machinery or sprawling drying areas.
Placing an A4-sized craft tray on your dining table or a corner of your desk transforms it into a full-fledged mini studio. When you need to pause, simply pick up the tray and tuck it into a shelf or small gap. Being able to set up and pack away in under a minute is a massive advantage unique to wire craft.
If you live in an apartment or have small children, noise, fumes, and dust are serious concerns. Wire jewelry offers total peace of mind:
You can immerse yourself in peaceful crafting late at night without worrying about family or neighbors.
To keep your creative time stress-free, here are three essential workspace accessories:
One of the biggest concerns when picking up a new hobby is cost. Fortunately, wire craft boasts an exceptionally low initial investment.
With a modest budget of around 3,000 to 5,000 yen (approx. $25–$40 USD), you can gather reliable tools, quality wire, and initial materials to start crafting immediately.
Here is a realistic breakdown of starter expenses:
Compared to crafts requiring special electronics (like UV lights for resin or sewing machines for garment making), wire craft needs very few items, making it wonderfully budget-friendly.
Beginners often ask whether discount shop tools are fine or if specialized craft tools are necessary. My answer is clear:
100-yen / budget shop wires and beads are fine to experiment with, but purchase your pliers and cutters from a dedicated craft supplier.
Budget hardware pliers often have misaligned tips or rough metallic surfaces that easily gouge wire. Low-quality cutters crush wire ends instead of making a clean shear cut, making it impossible to thread wire through bead holes. Tool quality directly impacts your finished piece and learning speed. Spending a little extra on dedicated jewelry pliers is the best shortcut to avoid frustration.
Here are common misconceptions beginners run into, along with professional tips to avoid wasting materials and time.
Thinking "I want a sturdy piece, so I'll buy thick 0.8mm (#20 gauge) wire first" is a classic mistake. Thick wire has strong spring-back and is difficult to control, quickly fatiguing your hands and causing frustration.
Limit your first wire purchases to these two essential sizes:
With these two spools, you can make over 90% of wire jewelry designs on the market.
Wires come in many metal compositions. Using cheap raw aluminum or un-coated brass wire from hardware stores can result in tarnish from skin oils or trigger metal allergies during wear.
For beginners, Artistic Wire is the gold standard.
Artistic Wire features a copper core plated with silver, colored enamels, and a clear polyurethane coating. It resists scratching, tarnish, and is gentler for sensitive skin. Being soft and pliable, it helps you finish beautiful creations reliably.
Wire is metal. If you un-bend a section and try to re-bend it repeatedly, micro-wrinkles form on the surface, dulling its shine. Metal fatigue will also weaken the line until it snaps.
My advice: If a bend goes completely wrong, don't hesitate to cut it off and start fresh.
A spool of wire containing several meters is quite affordable. Spending hours fighting a kinked wire is far less effective than snipping a fresh piece and wrapping it cleanly from scratch.
If you're excited to give wire jewelry a try, follow these three simple steps to start today:
Acquire these essential tools and materials from your local craft store or online suppliers:
Keep it simple and avoid over-buying at the start.
Jumping straight into a complex pendant top can feel overwhelming. Instead, cut a 10cm piece of wire and practice making clean round loops with your round-nose pliers. Practice the wrapped loop technique (megane-dome) 5 to 10 times. You will quickly get a feel for the pliers and wire behavior.
Once you are comfortable with basic loops, create a minimalist single-stone pendant:
Just like that, you've made an elegant necklace worthy of a shop window! The thrill of wearing something you crafted yourself will surely hook you on wire jewelry making.
We've explored the appeal of wire jewelry, what you can make, realistic difficulty, ideal workspace setups, and initial costs.
Wire jewelry craft requires no large studio, expensive machinery, or heavy strength. With a cozy corner of a desk, three small tools, and a spool of wire, you can step into this wonderful world right away.
Watching a single metallic wire transform into elegant, graceful jewelry through your hands is immensely rewarding. Don't waste time wondering "Can I really do it?" Pick up a spool of wire and pliers, and dive into the creative world of wire jewelry crafting!
If you enjoyed this guide, sharing it with your crafting friends on social media would mean the world to me! Until next time, happy crafting! This was Yassy from Crafters!



For example, if you are looking for articles about mizuhiki, try searching for "mizuhiki"; if you are interested in tools, try keywords like "nippers" or "pliers."
