Beginner’s Guide to Paper Quilling & 3D Paper Art: Start Zero-Fail Projects with Starter Kits
yassy
Crafters!

Hello, this is Yassy from Crafters! (・∀・)
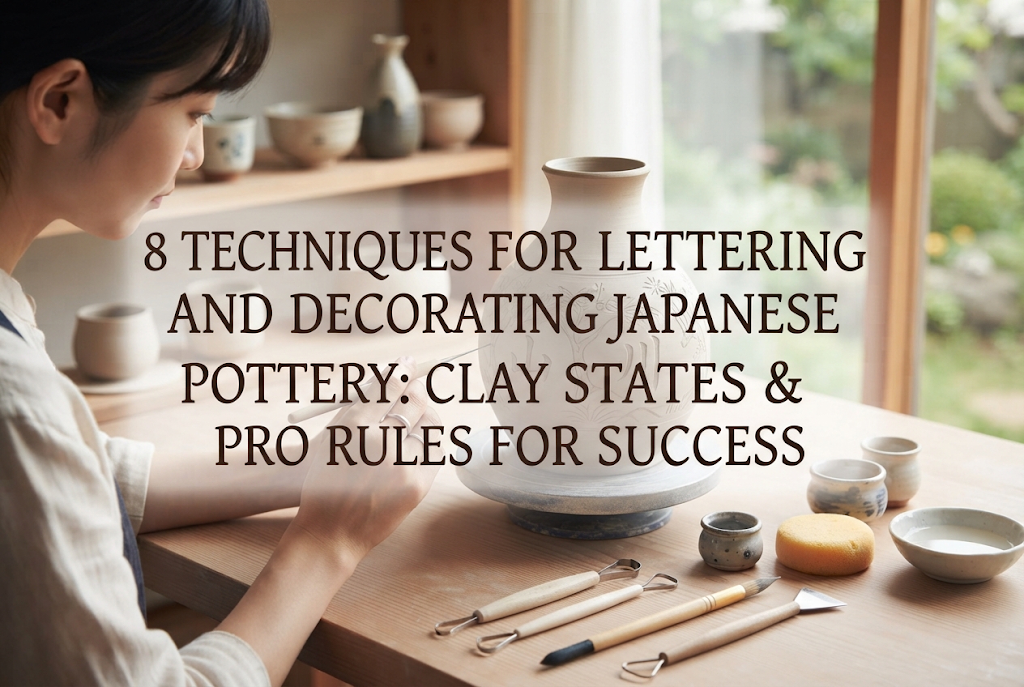
I love all aspects of craft life—making various handmade items, admiring beautiful works, and shopping at my favorite makers' stores. Among all the crafts out there, the representative favorite that brings joy during creation and enriches daily life when used is definitely pottery (Togei)!
When people hear the word "pottery," many think, "It requires huge equipment and looks difficult," or "Isn't that a world strictly for professional artisans?" However, to put it simply: as long as you properly understand how to choose your tools and environment, pottery is a fantastic craft that even complete handmade beginners can absolutely enjoy.
By kneading natural clay, shaping it with your own hands, and firing it in a high-temperature kiln, you create truly one-of-a-kind authentic tableware and goods. Drinking coffee from a mug you made yourself or serving meals on your own handmade plate can dramatically enrich your everyday life.
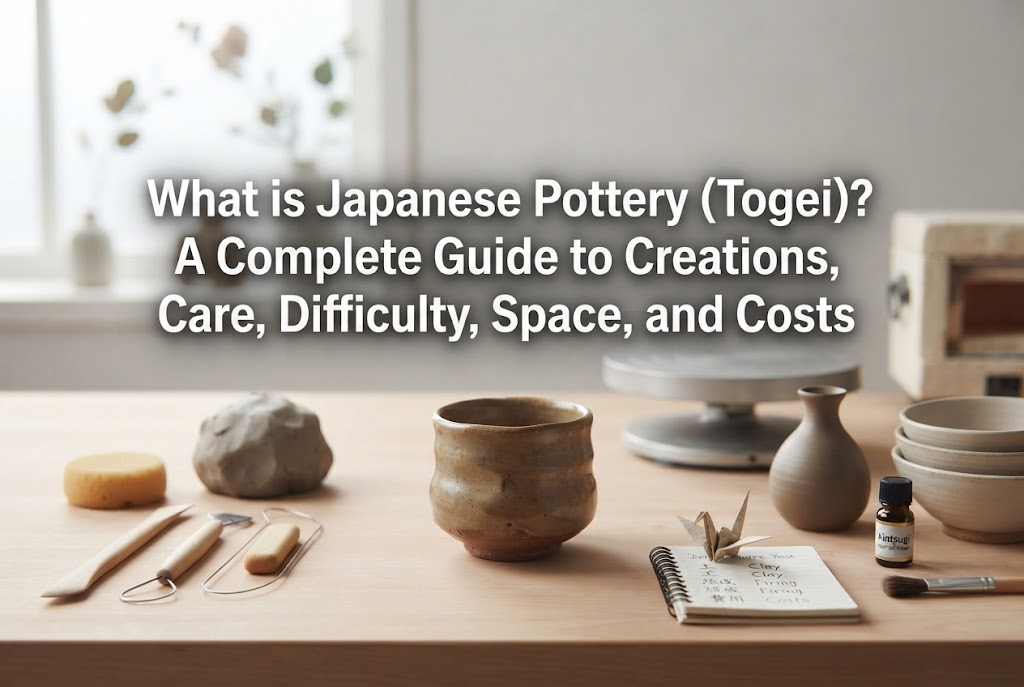
In this article, I will explain everything in thorough detail—from concrete examples of what you can make in pottery, proper daily care for finished pieces, actual difficulty levels, required workspace at home or in studios, to initial and ongoing costs!
If you are a beginner who wants to dive into the world of Japanese pottery but doesn't know where to start, reading this article to the end will clear up all your questions and concerns. Let's uncover the deep charm of pottery step by step together!
Pottery, known as Togei in Japan, is a traditional three-dimensional craft where natural clay is shaped and fired at high temperatures to create hard, beautiful, three-dimensional objects.
Unlike paper clay or resin clay, which harden simply by air-drying, pottery clay undergoes a dramatic chemical transformation into minerals through a two-step firing process: suyaki (bisque firing) and honyaki (glaze firing). This endows the finished piece with exceptional durability and water resistance, rendering it insoluble in water.
The mugs, teacups, bowls, and plates we use in our everyday lives are all made using pottery techniques. This high degree of practical usability—being able to use what you made in your daily life—is the primary reason pottery has been cherished across generations all over the world.
While many types of clay exist in the craft world, there is a fundamental difference between ceramic clay and general craft clays.
Resin clay, lightweight clay, and stone powder clay harden by drying at room temperature after modeling. They are easy to use and produce vibrant colors, making them suitable for decorative items like miniature foods or figurines. However, many are vulnerable to water and cannot be used as real tableware for daily dining.
In contrast, clay used in pottery originates from natural earth and weathered stone. After shaping, the piece is completely dried, subjected to a bisque firing (suyaki) at approximately 800°C to 900°C (1,470°F–1,650°F), coated with a glass-like liquid finish called glaze (yuyaku), and then fired a second time (honyaki) at ultra-high temperatures of around 1,200°C to 1,300°C (2,190°F–2,370°F).
During this ultra-high temperature firing, the components in the clay melt together, transforming it into hard earthenware or porcelain. The glaze adhered to the surface melts into a glossy glass layer, acting as a protective barrier against moisture absorption. Obtaining absolute strength and water safety directly suitable for genuine tableware is the fundamental difference separating pottery from other clay crafts.
Items you can make with pottery are not limited to dishes. With creative ideas and techniques, you can craft a wide range of three-dimensional items to brighten daily life.
First is the most popular category: tableware. Mugs, Japanese teacups (yunomi), rice bowls, ramen bowls, pasta plates, small bowls, side dishes (mamezara), and chopstick rests (hashioki)—you can freely design all kinds of tableware. Because you can tailor the size to fit comfortably in your hands and adjust the thickness to your liking, you get an ultimate sense of fit impossible to find in mass-produced store items.
Next are interior goods and gardening supplies. You can make single-flower vases, large flower vases, aroma diffuser bottles, plant pots, candleholders, and wall plaques. Rustic flower vases and unglazed plant pots that highlight the texture of natural earth pair exceptionally well with plants, greatly enhancing room decor.
Furthermore, fashion accessories have garnered immense attention in recent years. Ceramic earrings, kimono sash clips (obidome), brooches, and buttons possess a gentle, warm texture that plastic or metal cannot replicate. By shaping tiny pieces and applying vibrant colorful glazes before firing, you can craft sophisticated handmade accessories.
In this way, pottery holds infinite possibilities, allowing you to freely shape whatever you desire, from substantial practical dishware to delicate accessories.
To enjoy your handmade ceramic pieces or purchased pottery safely for a long time, proper knowledge of care and handling is essential.
Even if you spent time firing a vessel carefully, incorrect handling can cause cracking, mold growth, lingering odors, or peeling glaze. Here are the crucial care rules you must know when working with ceramics.
Ceramic works are broadly categorized into earthenware (tsuchimono, made from clay) and porcelain (ishimono, made from crushed stone). Beginners in pottery experiences and hand-building almost always handle earthenware first.
The body of earthenware contains microscopic pores and air pockets (water absorbency) invisible to the naked eye. If you pour stews, soups, or tea into untreated earthenware, oils and dark liquids will seep into the interior, causing stubborn stains and unpleasant moldy odors.
To prevent this, you must perform a process called medome (sealing) on brand-new, unused earthenware pieces before their first use.
The medome procedure is very simple:
The starch from the rice penetrates the microscopic pores of the earthenware to seal the gaps, completely blocking stains and odors from seeping in. Whenever my ceramic pieces finish firing, I always perform this medome process carefully before use. This simple extra effort extends the life of your piece several times over.
When using handmade ceramics daily, many readers wonder whether they are safe for home appliances. Here are the absolute rules:
Dishwashers: Using a dishwasher for handmade ceramic items is strongly discouraged. High-pressure water jets inside the dishwasher can cause vessels to collide, running a high risk of chipping edges or cracking. Rapid hot-air drying also subjects ceramics to thermal stress. As a strict rule, hand-wash handmade ceramics gently with a soft sponge, wipe off water, and let them dry thoroughly in a well-ventilated spot.
Microwaves: For simple earthenware made with standard ceramic clay and lead-free glazes, brief reheating in a microwave is generally fine. However, if a piece features gold (kinsai) or silver (ginsai) metallic leaf decorations, you must never place it in a microwave. Metal accents will spark, which can break the dish, ruin the appliance, or cause a fire hazard.
Ovens: Standard ceramic pieces cannot be used in ovens. Ordinary pottery clay cannot withstand the extreme heat or sudden thermal shock of oven cooking and will snap in half instantly. If you want to make oven-safe baking dishes or au gratin pans, you must specifically use a specialized flameproof clay containing petalite (a heat-resistant mineral) right from the modeling stage.
Selecting the right materials while anticipating how you plan to use the piece is the biggest key to preventing failure.
Many people assume pottery is difficult, but what is the actual level of difficulty?
In short, the difficulty of pottery changes dramatically depending on which shaping technique you choose. If you try to make perfectly symmetrical vessels like a professional from day one, you will hit a wall. However, if you understand the basic steps and proceed correctly, even beginners can create high-quality pieces on their very first day.
Let's look at common beginner stumbling blocks and difficulty differences between techniques.
A major difference between pottery and other crafts is that it doesn't end once you finish forming the shape. There are three critical hurdles—shaping, drying, and firing—each carrying risks of failure.
Hurdle 1: Shaping (forming by hand). If air bubbles remain trapped inside the clay while kneading, they will expand during firing, causing the piece to explode or crack inside the kiln. Additionally, if the walls of your piece are uneven in thickness, different areas will dry at varying speeds, leading to warping or surface cracks.
Hurdle 2: Drying. If shaped pieces dry too fast, they will definitely crack. You must carefully manage drying by avoiding direct sunlight or drafts from air conditioners, covering pieces loosely with plastic sheets, and allowing moisture to evaporate slowly over several days to a week.
Hurdle 3: Firing. As clay is fired, moisture escapes and particles compact, causing the piece to shrink in size by approximately 10% to 15%. If you fail to calculate this firing shrinkage beforehand, you might end up with a mug so small your fingers can't fit through the handle!
Understanding these characteristics and predicting shrinkage and drying speeds in advance is an absolute rule for successful pottery.
There are two main methods for shaping pottery: tebineri (hand-building) and the electric potter's wheel. Let's compare their difficulty levels so beginners know what to pick.
For beginners, I absolutely recommend starting with tebineri (hand-building). The difficulty level is 2 out of 5 stars (Beginner to Intermediate). Hand-building includes methods such as coil building (stacking clay ropes), slab building (assembling flattened sheets of clay), and pinch potting (shaping a ball of clay with your fingers)—using only your hands and simple wooden tools.
The advantage of hand-building is that you are not rushed by speed and can take your time adjusting shapes at your own pace. Minor warps or natural surface textures actually become charming features that highlight the warmth of handmade art.
On the other hand, the electric potter's wheel carries a difficulty level of 4 to 5 out of 5 stars (Advanced). You must shape spinning clay with your fingertips on a fast-revolving wheel head. While it looks stylish and fun, mastering centering (shin-dashi)—aligning the clay's center perfectly—takes months of practice alone. If you apply slightly too much force, the clay collapses in an instant.
I 100% strongly advise beginner crafters to start with hand-building. Learning the soft texture of clay and the feeling of drying through hand-building first is the fastest, frustration-free path to improvement before attempting the wheel.
Many readers wonder, "Do I need a large yard or a dedicated studio to start pottery?" Here is a realistic look at workspace and setup requirements.
You essentially have two choices: working at home or joining a pottery class/shared studio.
If you want to handle shaping at home, the actual workspace required isn't very large. A standard dining table covered with newspaper or a plastic tablecloth (about the size of one or two newspaper sheets) is more than enough for hand-building.
However, home crafting involves two critical non-space issues: hygiene and plumbing.
First is controlling clay dust. Dry clay powder floats easily in the air and settles everywhere. Cleaning up thoroughly with a damp rag after working is essential.
Second, and most crucial, is the drainage problem. Washing clay off hands or tools directly in a bathroom or kitchen sink will cause heavy clay particles to settle at the bottom of the plumbing, completely clogging your pipes. Fixing this can lead to costly plumbing repairs!
When working at home, direct sink washing is a strict NO. Always rinse your hands and tools in a bucket filled with water, then let the bucket sit until clay particles settle to the bottom. Pour off the clear topwater, scoop out the muddy clay at the bottom, wrap it in newspaper, and dispose of it as burnable trash. This water disposal system must be followed strictly.
Furthermore, installing a large ceramic kiln capable of reaching over 1,000°C (1,830°F) at home is usually impossible. Therefore, pieces shaped at home must be taken to a local pottery studio that offers firing services (shosei itaku).
For beginners, the smartest, safest, and most comfortable way to enjoy pottery is to use a pottery class or shared studio first.
Studios provide spacious, dedicated worktables, professional shaping tools, specialized sinks equipped with clay interceptor tanks to prevent plumbing clogs, and, above all, safe, high-performance kilns.
You won't need to buy expensive kilns or worry about clay disposal. Tools and materials are provided, so you can attend empty-handed with just an apron and a towel.
Moreover, receiving direct guidance on clay kneading and shaping steps from professional instructors drastically reduces the risk of making mistakes and giving up. Considering space and equipment hurdles, using a studio or class is ultimately the most affordable and smartest way to enjoy pottery.
When starting pottery, the real cost is a top concern. Here is a clear, transparent breakdown of the financial commitment involved.
Costs differ significantly between taking classes versus gearing up at home.
First, let's look at one-time workshop experiences—the easiest way to start.
Single-session beginner workshops at pottery studios across Japan usually cost around 3,000 to 6,000 yen (all-inclusive: materials, instruction, and firing fees). For this price, you can make one or two items like a mug, teacup, or small bowl, and pick up the fired piece later. It is an ideal way to taste the fun of pottery with zero initial tool investment.
Next, for regular monthly studio memberships where you work on whatever projects you like:
Monthly fees average 8,000 to 15,000 yen for 2 to 4 sessions per month. Additionally, studios usually charge a small extra fee for clay weight and firing (a few yen per gram, or around 500 to 1,500 yen per completed item). Enrollment fees around 5,000 to 10,000 yen are common at sign-up, but given full access to specialized equipment, it offers excellent value for a craft hobby.
If you prefer making pieces at home, here is the cost breakdown for tools and materials:
A basic hand-building starter kit—including a clay cutter wire, bamboo spatulas, wooden modeling tools, sponges, and chamois leather—costs about 2,000 to 4,000 yen at craft supply stores or online. A manual turn-table (hand-wheel) for smooth rotating work costs around 3,000 to 6,000 yen.
Ceramic clay itself is surprisingly inexpensive, costing around 1,500 to 3,000 yen for a 10 kg (22 lb) box. With 10 kg of clay, you can craft roughly 20 to 30 mugs!
However, you must pay a firing fee to drop off your home-built items at a local kiln or studio. Firing services typically charge around 800 to 2,000 yen per piece (covering both bisque and glaze firings combined), depending on size and weight.
Overall, home hand-building requires an initial tool setup of around 10,000 yen, plus materials and third-party firing fees. Buying an electric wheel or home studio electric kiln would require hundreds of thousands of yen, but adopting a hand-building plus firing service approach lets you enjoy pottery at a comfortable cost similar to other handmade crafts.
Now that you know the allure of pottery and want to give it a try, here is a step-by-step roadmap to guide you smoothly toward crafting your first wonderful pieces without getting lost!
If I were advising a beginner friend, I would strongly recommend following this exact sequence:
Your very first step should be booking a single workshop session at a local pottery studio without buying any tools or supplies.
Search online or use craft booking platforms to find nearby studios. Choose a hand-building beginner course, and experience the tactile feeling of authentic pottery clay, moisture control, and manual shaping under professional guidance.
Testing with your own hands whether kneading earth feels right and enjoyable to you is the most important first step.
Once you enjoy the workshop, join a regular studio class or try hand-building at home.
For your first projects, aim for small, practical items. Jumping straight into large platters or tall flower vases increases the chances of drying cracks or severe warping in the kiln.
Start with items featuring wide, stable bases and even wall thickness—such as chopstick rests, small bowls, side dishes, or basic mugs. Accumulating success with small pieces through the full cycle of shaping, drying, and firing is the fastest shortcut to improving your skills.
Once you are completely captivated by pottery, gradually buy tools and materials suited to your personal style.
My recommended tool upgrade is getting your own personal bamboo modeling tool and a favorite wooden manual turntable. Having reliable tools you are accustomed to dramatically elevates your carving precision and surface finishing quality.
By experimenting with glaze applications or trying underglaze painting (shitatsuke), your artistic style will expand infinitely, allowing you to produce unique, branded creations!
In this guide, we covered fundamental knowledge of pottery, item variations, daily care, difficulty comparisons, workspace setups, and realistic costs.
Let's recap the main takeaways:
There is a unique magic in pottery that no other craft can replicate: watching clay shaped by your own hands emerge from the high-heat flames of a kiln as a hard, beautiful ceramic vessel ready for your home.
Serving breakfast on a dish you crafted yourself or taking a relaxing break with your custom mug brings immense warmth and richness to daily living.
Don't overcomplicate it! Book a trial lesson at a studio nearby and feel the cool, soothing clay between your fingers. A one-of-a-kind creation made by your own hands will surely brighten your everyday life!
If you enjoyed this article, sharing it with your craft friends on social media or messaging apps would mean the world to me and keep me inspired! See you in the next article! This was Yassy from Crafters!



For example, if you are looking for articles about mizuhiki, try searching for "mizuhiki"; if you are interested in tools, try keywords like "nippers" or "pliers."
