How to Start Japanese Hand Embroidery Without Frustration: A Complete Beginner Starter Kit Guide
yassy
Crafters!

Hello everyone, it’s Yassy from Crafters! (・∀・)
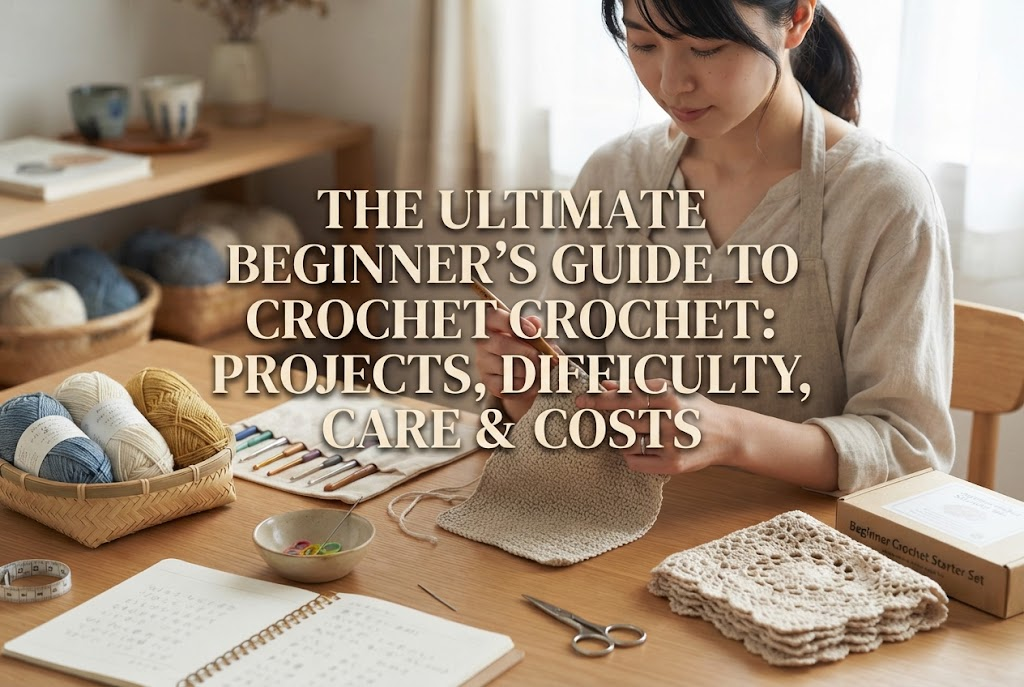
When you think about jumping into the world of hand-knitting and yarn crafts, crochet is usually the first technique that comes to mind. With just a single hook and a skein of yarn, it offers incredible portability while boasting one of the widest ranges of craftable items in the entire handmade world.
As someone who loves creating, viewing, and purchasing all kinds of handmade crafts, I am still constantly amazed by the mobility and expressive richness of crochet. If you are looking to start your crochet journey, this guide covers everything you need to know: basic concepts, beginner-friendly projects, difficulty levels, blocking and care, workspace requirements, and estimated costs.
Crochet is a yarncraft technique that uses a single tool—a needle with a hooked end—to pull loops of yarn through other loops, interlocking them into a chain-like fabric. The name comes from the French word crochet, meaning "small hook," and it stands as one of the most beloved traditional fiber arts.
When people think of yarn crafts, many immediately picture knitting with two long needles. However, crochet and knitting are fundamentally different techniques. The crucial distinctions lie in how the stitches are held and the texture of the finished fabric.
In knitting, dozens of active loops remain held on two needles at all times. If a needle accidentally slips out mid-project, those unsecured loops can unravel all the way down, risking total collapse. In contrast, crochet holds only one active loop on the hook at any given moment.
This "one-stitch-at-a-time" structure is crochet’s absolute greatest advantage. Even if you put your work down and pull out the hook, the fabric will never magically unravel on its own. You can comfortably crochet for just three minutes during a quick break, lay it on your desk, and walk away without worry. This flexibility makes crochet an absolute joy to fit into a busy lifestyle.
There is also a distinct difference in fabric texture. Knitting creates a thinner, stretchier, and softer fabric with a delicate drape, making it ideal for fitted garments. Crochet, on the other hand, produces a thicker, firmer, and sturdier fabric. Because it holds its shape remarkably well, crochet shines brilliantly when crafting 3D items like bags, pouches, and home decor objects.
If you think crochet is limited to simple coasters or granny squares, think again! The expressive potential of crochet is nearly endless, allowing you to create almost any daily accessory with your own hands.
For complete beginners, kitchen items like coasters, acrylic scrubbies (often called acrylic tawashi in Japan), and trivets are perfect starting points. Because you are simply crocheting flat shapes, achieving a practical finished piece provides a quick sense of accomplishment. Once you get used to the movement, you can expand into delicate doilies, cushion covers, and planter covers.
The thick and sturdy nature of crochet fabric is best showcased in bags and pouches. You can make stylish tote bags using classic motif joins like granny squares, rustic jute or hemp yarn bags for summer, or breathable mesh net bags that look just like store-bought items. Framed kiss-lock pouches and drawstring bags also pair delightfully well with crochet.
Winter classics like beanies, berets, scarves, cowls, and wrist warmers are easy to craft, but so are spring and summer fashion items like camisoles, bustiers, and detachable lace collars. Simply by swapping wool yarn for cotton or summer linen yarns, you can create wearable pieces for every season.
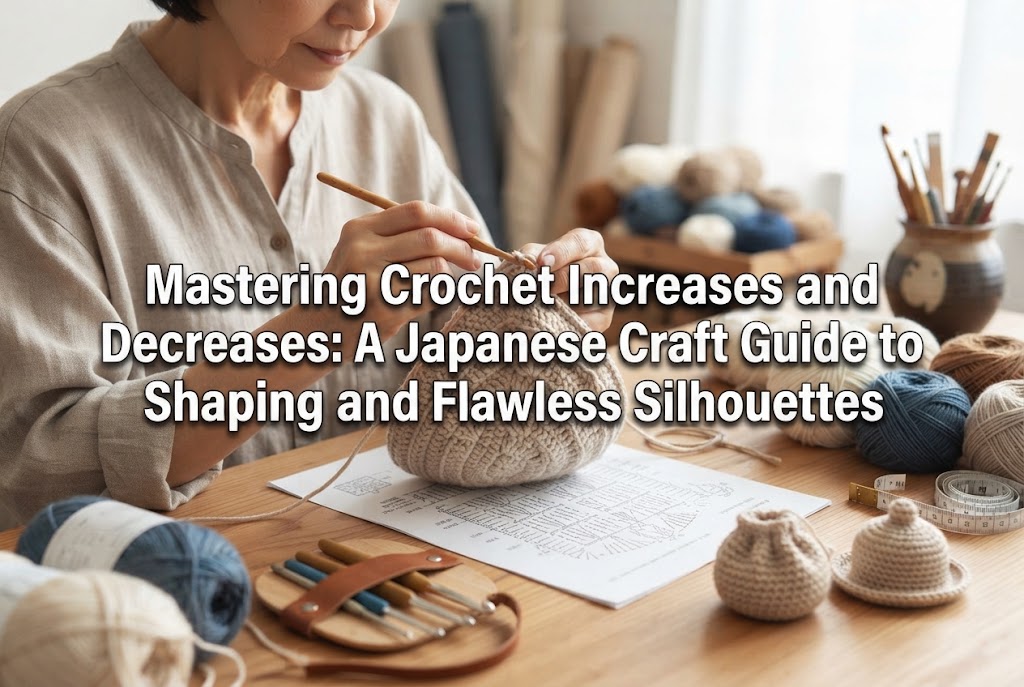
One of the most popular subgenres in crochet is Amigurumi—the Japanese art of crocheted stuffed toys. Leveraging crochet’s unique ability to build 3D spheres and cylinders with ease, you can create adorable animals, characters, and figures. Once you learn the basic rules of increasing and decreasing stitches, you can accurately sculpt almost any complex three-dimensional shape.
In the wider landscape of handmade crafts, crochet ranks as exceedingly accessible. It requires no heavy physical strength or complex mechanical tools. By mastering just a few basic stitches, you can create over 80% of the crochet patterns available in the world!
In fact, there are really only four basic stitches you need to learn at the start:
By combining these four stitches, you can complete almost any project. However, beginners teaching themselves often run into three common stumbling blocks. Let’s look at these traps and how to reliably overcome them.
A frequent struggle for beginners is saying, "The yarn gets tangled, and I can't tell where to insert the hook next." This usually happens because of selecting the wrong yarn for practice. Fluffy mohair, dark colors like black or navy, or super thin yarns make it nearly impossible to see the stitch structure with the naked eye.
As a rule, beginners should always choose light-colored yarns (such as beige or pastel shades) in a medium-to-thick smooth twist (worsted or aran weight cotton or acrylic yarn). Working with yarn where the top "V" shape of each stitch is clearly visible is the ultimate secret to avoiding frustration.
You set out to make a square coaster, but somehow it turns into a trapezoid or triangle! This happens when you accidentally miss or double-count the turning chain or the first and last stitches of a row.
The single best solution to eliminate this error is to use stitch markers (small plastic locking clips). Simply clip a marker into the first and last stitch of every row. This visual guide shows you exactly where to insert your hook, completely preventing accidental additions or drops in your stitch count.
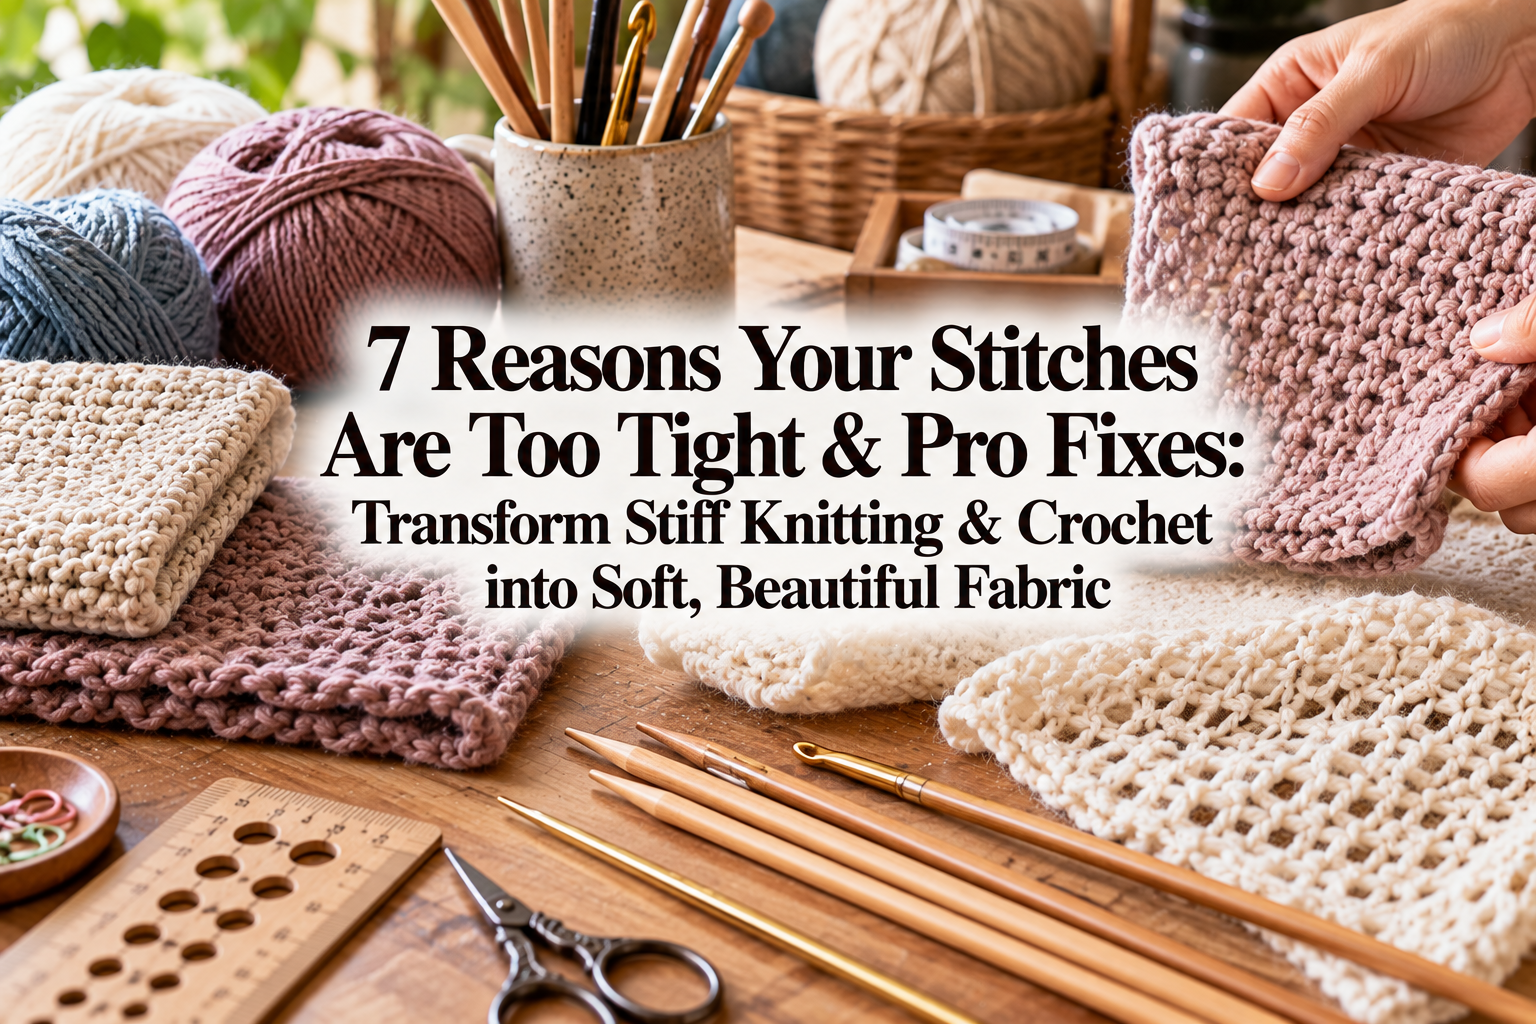
When starting out, controlling yarn tension can be tricky. Excessive tension creates fabric so tight you can barely push the hook through, while a grip that is too loose produces holey, shapeless work.
The secret to steady tension is keeping a gentle, consistent flow over your index finger and making sure each stitch loop glides up onto the main shaft (thick part) of your hook before starting the next stitch. If you try to form stitches using only the small hook tip, your stitches will inevitably be too tight. Utilizing the full diameter of the hook shaft ensures smooth, uniform stitches every time.
To keep your carefully handcrafted items beautiful for years, proper handling and washing knowledge is essential. Unlike woven fabrics, crochet fabric consists of interlocked yarn loops, meaning improper care can lead to shrinkage, felting, or severe warping in an instant.
When you finish crocheting a piece, the edges might curl or look slightly uneven due to yarn tension. To give your work a polished look, always perform steam blocking.
Place your finished piece flat on an ironing board, shape it into a clean square or circle, and pin the edges gently in place. Hold a steam iron slightly above the fabric—never touch the iron directly to the yarn—and let plenty of steam penetrate the fibers. The heat and moisture relax the yarn fibers, and as the piece cools, it remembers its clean, proper shape. This simple step dramatically transforms homemade work into a professional-looking finished product.
Avoid throwing crocheted items into a standard washing machine cycle. The harsh friction and high-speed spin cycle will cause wool fibers to felt into a stiff mat or stretch the stitches out of shape.
Follow this gentle hand-washing routine instead:
Hanging crocheted items on clothes hangers causes the heavy water weight to drag the piece downward, stretching it out of shape. Flat drying is an absolute rule for preserving your crochet work.
When picking up a new craft, space is a valid concern. Sewing requires a machine and a cutting table, resin crafts require chemical ventilation, and pottery needs dedicated setup space. Crochet, however, is one of the most space-efficient crafts in existence.
The workspace required for crochet consists of your own lap and a small surface area roughly the size of a sheet of paper to rest your yarn ball and scissors. You don’t need a specialized workbench at all. You can crochet comfortably sitting on your living room couch, relaxing in bed, or at a tiny cafe table.
There is no dust, no chemical smell, and no risk of liquid spills. If you have young children or pets at home and need to stop suddenly, you can simply pull your hook out of the active loop and slip everything into a small drawstring pouch in seconds. This remarkable compactness makes it ideal for modern, busy lifestyles.
While crocheting takes up little active workspace, stash buildup—commonly called a "yarn stash"—can take up room if left unchecked. Establishing clear storage rules early on is very helpful.
Always store yarn inside clear, sealable zipper bags categorized by fiber content or color. Yarn naturally attracts dust, and natural fibers like wool can be susceptible to moths. Sealing yarn in clear bags alongside small desiccant packs or cedar/moth-repellent packets keeps dust, moisture, and pests completely away. Furthermore, transparent bags let you see your inventory clearly, preventing accidental duplicate purchases.
When taking on a new hobby, starting costs are a big factor. Fortunately, crochet is one of the most budget-friendly crafts to begin.
If you want to test the waters with minimum investment to see if crochet suits you, you can easily gather the basics under $20:
With just a small amount of gear, you can start crafting right away!
If you want to enjoy the process smoothly without unnecessary hand fatigue, investing $25 to $40 is highly recommended. In this price range, you can purchase an ergonomic grip hook and high-quality yarn that glides effortlessly.
As a crafter, my main piece of advice for beginners is: Invest in a high-quality, name-brand crochet hook with an ergonomic grip right from the start.
While ultra-cheap hooks exist, the smoothness of the metal tip, hook angle, and handle comfort differ significantly from reputable craft manufacturers. A poor-quality hook can snag yarn fibers, making stitching frustrating and causing unnecessary wrist strain. Picking up a reliable ergonomic hook from a trusted brand dramatically increases stitching speed and overall comfort.
Here is a rough estimate of yarn costs per project:
Considering that a single project provides hours or days of relaxing craft time, crochet offers exceptional cost-performance as a long-term hobby.
A common beginner mistake is attempting a large sweater or intricate bag right on day one. Large projects that take weeks to finish often lead to burnout and unfinished work. Here is a step-by-step roadmap designed to build your skills steadily while keeping things fun!
Your very first project should be a flat, simple square piece like a coaster or cleaning scrubby. Start with a basic chain foundation and work back and forth using single crochet or double crochet. This step helps your hands memorize hook positioning, yarn tension, and clean edge turns. Checking that your edges remain straight ensures your stitch count stays accurate.
Once flat rows feel comfortable, try working in the round from the center outward. The classic Granny Square combines simple double crochets and chains to form a beautiful, timeless pattern. It teaches you how corner increases work, and individual motifs can eventually be joined together into large blankets or bags down the road!
Now you’re ready for 3D structures! By crocheting a flat circular base and then working upward without increases, you form a container shape. Adding a simple drawstring top results in a charming, functional pouch. Understanding this 3D transition sets the foundation for making tote bags and Amigurumi toys.
After completing Steps 1 through 3, you have all the fundamental skills needed! Try crocheting a sturdy summer tote using cotton or jute yarn, or a cozy winter beanie using soft wool yarn. Stepping out into the world wearing or carrying a practical piece crafted entirely by your own hands is an exceptionally rewarding feeling.
Crochet beautifully blends simplicity, creative freedom, low starting costs, and space-saving convenience into one wonderful fiber craft.
At first, holding the yarn might feel a bit awkward and your stitches might look slightly uneven. But as you keep going, your hands will find a natural rhythm, and watching uniform loops form before your eyes becomes delightfully addicting. And if you make a mistake? You can easily unravel the stitches and start that section over without wasting any material—that’s the forgiving beauty of yarn work!
Grab a skein of yarn in your favorite color and a comfortable crochet hook. A world of wonderful handmade creations is waiting right at your fingertips!
If you enjoyed this article, please consider sharing it with your craft-loving friends! See you in the next post—this was Yassy from Crafters!

For example, if you are looking for articles about mizuhiki, try searching for "mizuhiki"; if you are interested in tools, try keywords like "nippers" or "pliers."
