Punch Needle Craft Guide: Techniques, Projects, Difficulty, Workspace, and Startup Costs
yassy
Crafters!
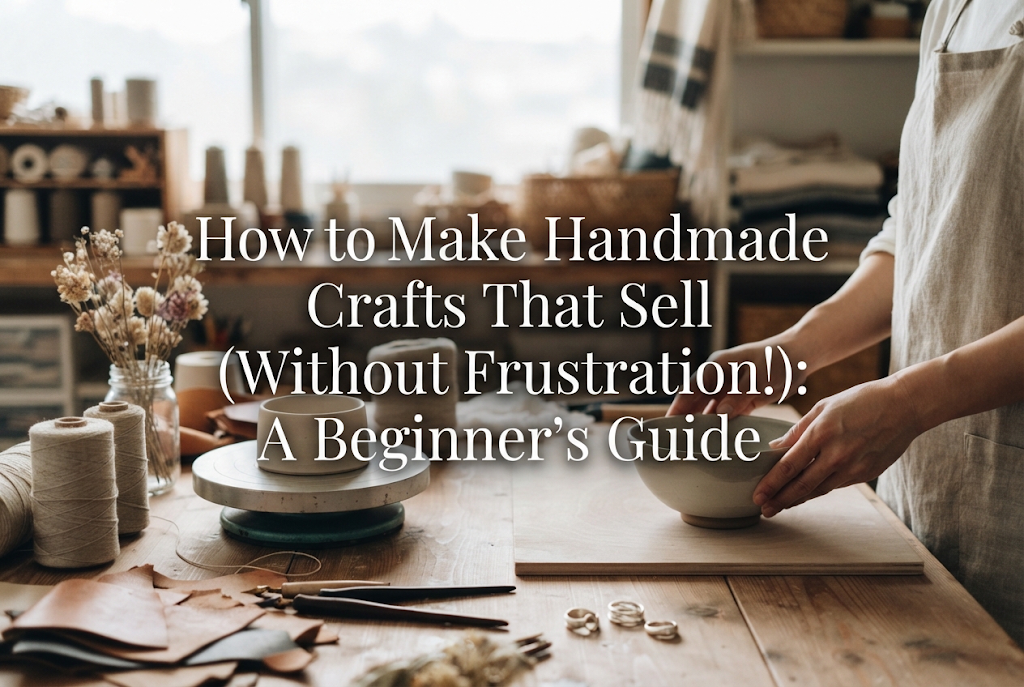

Welcome to the world of handmade crafts! I’m Yassy from Crafters. Creating something new with your own hands is truly exciting.
I regularly make my own crafts, but I also love browsing other makers' galleries and collecting items I fall in love with. Experiencing craft making from all three perspectives—creator, observer, and buyer—gives me a clear view of what moves people's hearts and makes them say, "I want this!"
The biggest hurdle beginners face is the frustration of spending time and money only to end up with items that don't sell or getting stuck on complicated techniques. It is disappointing when something you worked hard on goes unnoticed.
Rest assured, you do not need years of experience or innate artistic talent to create salable handmade items without getting discouraged. All you need is a clear step-by-step process and a few key techniques to make your work look professional. In this guide, I will walk you through the complete process to help you break free from beginner frustration and confidently sell your crafts.
First, let’s address the most crucial concept: what you can make and what customers want to buy are two completely different things. Confusing the two is the primary reason beginner crafters get discouraged.
Creating something solely because "I love this charm" or "this color is cute" often results in an item that satisfies only yourself. If you are crafting purely as a personal hobby, that is perfectly fine. However, to create items that sell, you must adopt a third-person perspective: how will the recipient feel, and when will they use it?
When I search for handmade items as a buyer, my eyes immediately go to pieces that help me picture a better daily life. Customers do not just pay for the physical object; they buy the joyful future experience of wearing or using it. Adopting this mindset is your very first step toward success.
Aim for polished craftwork that reflects thoughtful labor rather than a rough, amateurish look. Never use "handmade" as an excuse for sloppy execution. Visible glue stains or uneven stitching look like defective goods to a buyer.
The warmth of handwork that buyers seek comes from meticulous care, fine finishing, and unique design touches not found in mass-produced items. Rather than brushing off flaws as "handmade character," focusing on neat details gives your work real value.
When starting out, avoid overly complex techniques or intricate procedures. Failing mid-project wastes materials, damages confidence, and leads to giving up. Instead, choose items that feature simple processes, highlight high-quality materials, and have strong market demand.
When your skill is still developing, rely heavily on the quality of your materials. Using cheap plastic parts or low-grade fabrics will make your items look cheap, no matter how carefully you make them. On the other hand, using premium materials creates a sophisticated look even with simple construction:
When the materials themselves are attractive, a simple design is enough to achieve commercial quality. Leveraging fine materials early on is a smart strategy for beginners.
In the beginning, target practical items that people use daily rather than highly unique decorative pieces. Buyers find it much easier to purchase something they can use tomorrow rather than an item they might never find an occasion for.
Here are classic items with high year-round demand that are easy for beginners to tackle:
Because these items have simple structures, mastering their assembly allows you to reproduce them easily and scale up production without burnout.
Once you choose your product category, you can structure your design. Even if you lack confidence in your artistic taste, following a few fundamental rules will help you create attractive products.
A common beginner mistake is using too many colors, resulting in a cluttered design. The more colors you introduce, the harder it is to maintain visual harmony.
Limit your design to a maximum of three colors using this classic balance rule:
Following this ratio brings cohesive elegance to your work, catching the buyer's eye with a refined impression.
When designing, picture the exact scenario where your customer will use the product. Trying to design a universal item that fits everyone often results in a bland piece that appeals to no one.
For example, instead of making a general pouch, specify the use case:
Narrowing down the scene determines the ideal size, fabric durability, and closure type. When your design solves a practical problem, it transforms into an irresistible product.
When it comes to crafting, meticulous finishing separates items that sell from those that do not. Here are the main details I examine as a buyer.
A neat front side is expected. The difference between a novice and a professional shows on the reverse side, inside linings, and finished edges. When buyers pick up a piece, they almost always check the back.
Pay close attention to these points:
A beautifully finished back reassures buyers that the product is durable and well-crafted. Spending time on hidden details builds genuine customer trust.
Receiving complaints about an item breaking right after purchase is disheartening and damages your confidence. Before selling, rigorously test prototype pieces yourself.
Try these practical checks:
Using the items yourself reveals flaws like loose hardware or easily scuffed corners before your customers do, allowing you to refine your construction with confidence.
Making a single beautiful piece is not enough; as a maker, you need to recreate the same high quality every time. Once a prototype is complete, write a spec sheet for your record:
Avoid relying solely on intuition. Recording exact parameters ensures consistent quality, speeds up production, and reduces stress.
Your work is not finished when the craft itself is done. Presentation and packaging complete the final product. Even a remarkable piece loses appeal if presentation is neglected.
Buyers look forward to the special moment of unboxing their purchase. Shipping an item in a plain clear bag misses a great opportunity to delight them.
You do not need an exorbitant budget to elevate your packaging:
Thoughtful packaging makes the item feel valuable and generates glowing reviews from happy customers.
When selling online, photographs are everything. Customers cannot hold the item, so poor lighting under fluorescent lamps makes products look dull and unappealing.
Follow these essential photo guidelines:
You do not need a fancy camera; a modern smartphone camera in bright natural light yields crisp, professional photos.
A common mistake among beginners is underpricing out of fear that nobody will buy at full price. Selling barely above material costs causes serious drawbacks:
Use this foundational formula for pricing:
Retail Price = (Material Cost + Production Time × Reasonable Hourly Rate) × 2 to 3
Set a fair price for your labor and craft. Sustainable pricing allows you to reinvest in quality supplies and refine your skills over time.
Every maker encounters challenges. Knowing common pitfalls and their solutions keeps you moving forward smoothly.
This frustration happens when you try to construct your final piece directly using premium materials without testing. The solution is simple: make a test prototype (a toile). Use inexpensive sample fabric or scrap materials to check sizing and step sequences. Resolving mistakes during prototyping saves precious materials and prevents disappointment.
When sales are slow, the issue is rarely the product itself; it is usually visibility or presentation. Before remaking items, improve your shop listing:
Juggling daily responsibilities with crafting often leads to unfinished projects. Break your process down into small, daily micro-tasks:
Setting modest daily goals keeps your projects moving forward effortlessly without requiring long, uninterrupted crafting blocks.
Creating handmade items that sell requires thoughtful consideration for the buyer and careful attention to your crafting workflow rather than raw luck.
To recap our main takeaways:
We all start as beginners—my own very first project had shaky stitching that makes me laugh today! But by making steady improvements with the buyer in mind, you can build a successful craft collection you are proud of. Wishing you the absolute best on your creative journey!
Until next time, this was Yassy from Crafters!


For example, if you are looking for articles about mizuhiki, try searching for "mizuhiki"; if you are interested in tools, try keywords like "nippers" or "pliers."
