Upgrade Your Japanese Mizuhiki Craft: The Essential 4-Step Tool Order Beyond Starter Kits
yassy
Crafters!
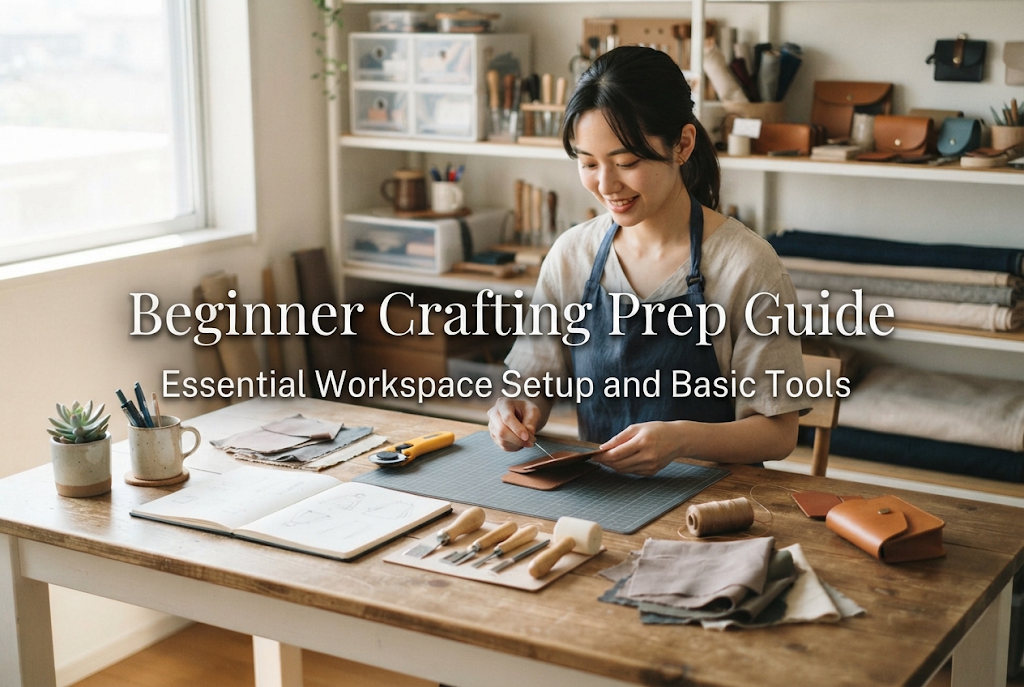

Hello, everyone! This is Yassy from Crafters! (・∀・)
When you feel like picking up a new hobby, crafting is often one of the first things that comes to mind. Spending time creating something cute and unique with your own hands brings a sense of relaxation that is truly hard to replace.
Personally, I not only love making handmade pieces, but I also enjoy admiring other crafters' work and discovering lovely creations at craft markets. Handmade crafts are deeply woven into my everyday life.
However, beginners wanting to jump into crafting almost always hit the same stumbling block: "I have no idea what to prepare first!"
When you walk into a craft supply store or a 100-yen shop, shelves are packed with dazzling beads, fabrics, and tempting tools. Getting overwhelmed, buying whatever catches your eye, and ending up with materials buried in the back of a closet is the most common pitfall for new crafters.
In this guide, I will walk you through the essential preparations every beginner needs. Consider this your roadmap to avoiding wasted purchases and starting a smooth, enjoyable handmade journey from day one.
When people decide to start crafting, their instinct is usually to rush out and buy supplies like beads, fabrics, or UV resin liquid. However, this is a major misstep.
The first things you should actually prepare are your "workspace" and your "basic tools." If your foundation is missing, jumping straight into buying materials will only lead to frustration, and you will struggle to make steady progress.
Years ago, I did the exact same thing: I bought an enormous stash of beads for a project, only to realize I had no proper pliers and nowhere clean to sit. The clutter was so overwhelming that I nearly gave up before I even started.
Preparing for crafts requires a clear set of steps. Following the correct order is the real secret to enjoying the creative process without throwing in the towel halfway through.
Preparation breaks down into three distinct stages. You should assemble them strictly in this order:
Keep this overall framework in mind. You can always pick up materials once your space and basic tools are completely in place.
Crafting demands surprising precision and quickly drains your focus. Working in a poorly planned space quickly leads to stiff shoulders and eye strain, leaving you exhausted rather than inspired.
To elevate the quality of your finished work and keep your workflow smooth, carving out a comfortable crafting corner in your home is essential.
Using your regular dining table is completely fine. However, always lay down a cutting mat or silicone mat to establish your designated workspace.
This protects your furniture from sticky adhesives, gouges from metal tools, and blade scratches from scissors. Using newspaper or flyers is dangerous because they slip, tear easily, and provide minimal protection.
Additionally, choose a chair that encourages good posture. Working on an overly soft sofa causes your hands to become unstable, leading to mistakes and even accidental cuts.
Standard ceiling lighting often casts your own shadow over your work area, making fine details hard to see. In the crafting world, proper illumination makes all the difference in the final quality of your piece.
Equip your space with an LED desk lamp featuring an adjustable arm so you can direct light right where you need it. For the light temperature, choose "neutral white" or "daylight" bulbs so you can see colors accurately.
Be cautious with warm, orange-tinted bulbs, as they distort color perception and can cause the finished piece to look totally different under regular daylight.
Whether you work with resin adhesives, paints, or fine fabric dust, crafting releases airborne particles. Pick a well-ventilated spot, preferably near a window.
Also, place a small trash bin within arm's reach. Making a habit of tossing scrap threads and used cotton swabs immediately keeps your desk neat and uncluttered.
Today, the craft sections at Japanese 100-yen shops (like Daiso and Seria) are remarkably well-stocked, making them wonderful allies for beginners.
However, relying solely on 100-yen shops for everything can backfire. There are certain key tools where quality directly dictates how your project turns out.
To help you avoid wasted spending, here is a clear breakdown of what you can safely buy at a budget shop and what is worth investing in at a dedicated craft store.
For storage and consumables, budget-friendly items work wonderfully. Save your budget where it makes sense:
Never rely on ultra-cheap versions of tools that touch your materials directly or apply pressure to shape metal. Low-grade options lower your efficiency and can easily scratch or ruin your materials.
Budget pliers often have misaligned jaws that leave prominent marks on delicate metal findings. When it comes to blades and shaping tools, invest in reliable, well-made options right from the start.
Different crafting genres require completely different toolsets. Check the list for the genre you want to explore and gather only what is necessary.
Creating earrings, necklaces, and charms is one of the most accessible genres because it requires very little physical space. Your primary focus will be tools for handling metal components.
Resin crafting yields stunning, crystal-clear pieces, but it requires curing equipment and safety precautions.
Small fabric items, such as pouches and totes, rely heavily on clean cutting and accurate seams.
Clay crafting—including miniature fake sweets and food replicas—centers on shaping and curing tools.
There is no need to spend tens of thousands of yen right away. Here is how I would invest a sensible budget of around 5,000 yen if I had to start completely from scratch, keeping risks low and fun high.
Trying to tackle resin, embroidery, and beading all at the same time is the fastest route to overspending. Pick one project you want to create first and focus entirely on that.
Invest in the primary tools that dictate your craft's quality at a specialty craft shop—such as a good pair of flat-nose and round-nose pliers for jewelry, or sharp shears for sewing. Spending a bit here guarantees a smooth workflow and neat results.
Grab around 10 basic utility items from a 100-yen shop: a cutting mat, storage cases, disposable gloves, and masking tape.
Finally, buy just enough materials to build a single item. For beginners, a starter kit from a reputable craft brand that includes both parts and instructions is an ideal choice.
A kit leaves you with no excess leftover parts, and following the pattern guarantees the rewarding experience of finishing a real project.
With this gradual approach, even if you realize the craft is not for you, your financial loss remains minimal. Once you experience the satisfaction of completing your first piece, you can steadily add more supplies as you go.
Based on my own early mistakes and observations of many new makers, here are three typical traps to watch out for:
Avoid buying materials simply because "this bead is so pretty" or "this pattern is lovely." Supplies bought without a clear purpose almost always end up abandoned in a storage bin.
Before you go shopping, decide clearly on the specific design and quantity of what you plan to make. Sketching a quick drawing on a notepad to take with you is a great habit.
Most craft components measure just a few millimeters across. If your work area is cluttered, components will roll off the desk, vanish on the floor, or get mixed up with other findings.
Make a point of tidying your desk before you begin and right after you finish. A clean, organized space is the foundation for staying focused and working stress-free.
Avoid improvising with mismatched tools, such as using regular wood glue on metal because you lack jewelry adhesive, or substituting household slip-joint pliers for jewelry pliers.
Metal pieces glued with standard craft glue will pop off in a matter of days. Household pliers feature coarse, serrated teeth that leave deep scratches on delicate findings.
Using the wrong tool simply ruins your hard work. If you do not have the proper tool, hold off until you can acquire the right one.
Getting ready for your crafting journey begins not with a shopping cart full of materials, but with setting up a dedicated space and choosing reliable core tools.
By ensuring bright lighting, good organization, and protected work surfaces, you can craft comfortably for hours without unnecessary fatigue.
Take advantage of handy organizers from 100-yen shops, but make sure to invest in proper, specialized versions of the tools that directly shape your work. Starting with a modest 5,000-yen budget to finish one single project is more than enough to get going.
The joy of shaping an idea into a tangible finished piece with your own hands is truly special. Embrace the excitement and take that first creative step!
If you found this guide helpful, sharing it with your creative friends on social media means the world to me. See you in the next post! This was Yassy from Crafters!




For example, if you are looking for articles about mizuhiki, try searching for "mizuhiki"; if you are interested in tools, try keywords like "nippers" or "pliers."
