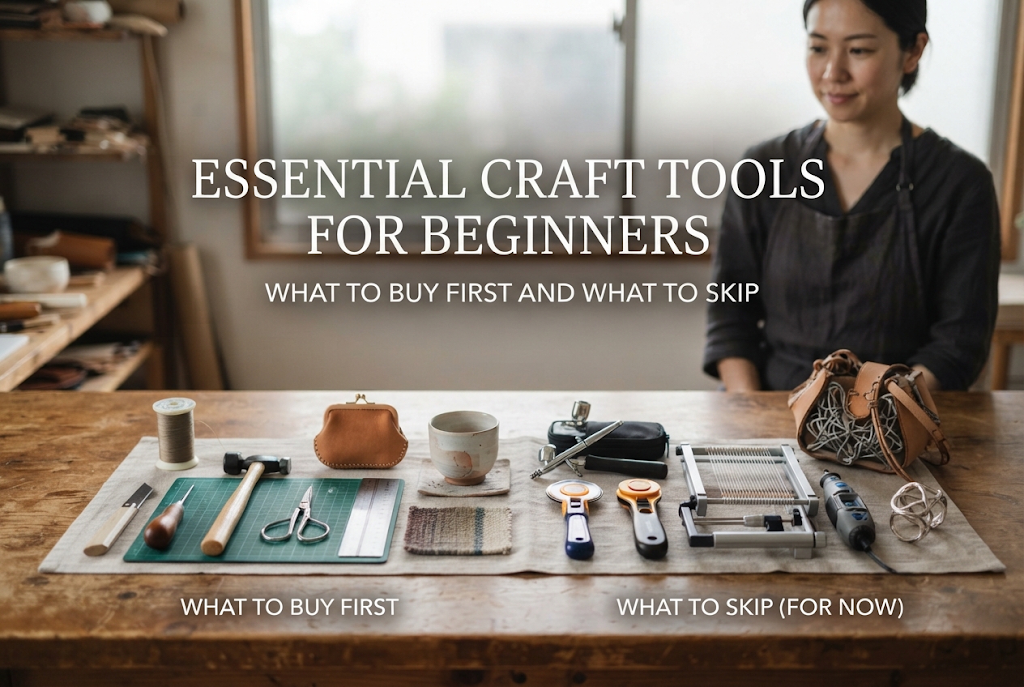
Essential Craft Tools for Beginners: What to Buy First and What to Skip
yassy
Crafters!

Hello, everyone! I'm Yassy from Crafters! (・∀・)
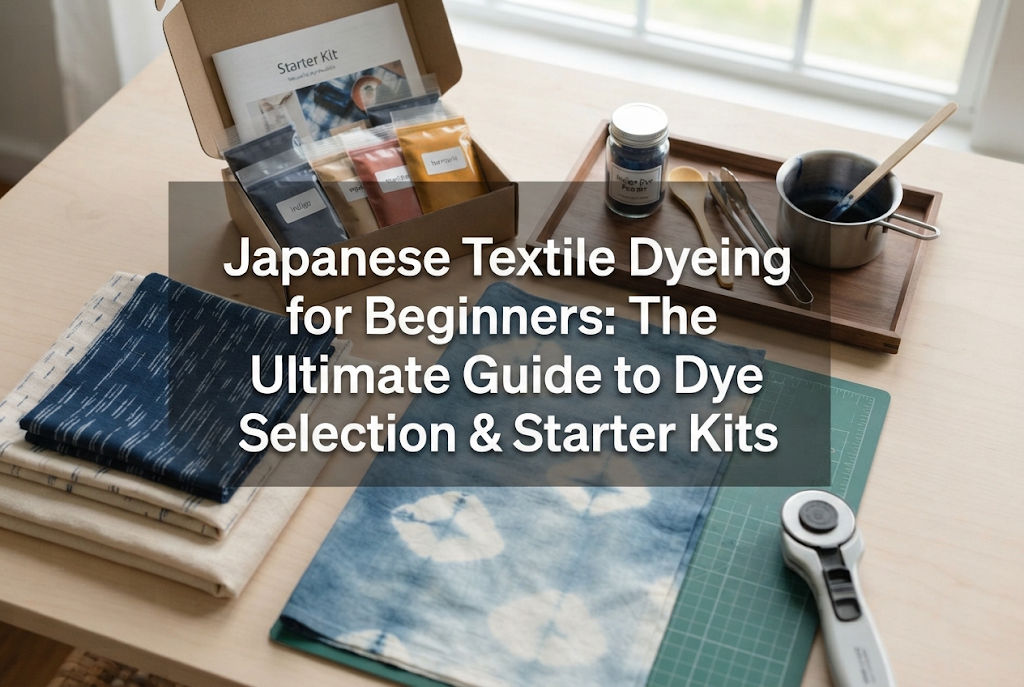
I absolutely love making handmade crafts, but I also love admiring and collecting wonderful handmade pieces! Sewing fabric accessories and assembling jewelry are both delightful hobbies, but "textile dyeing"—the art of transforming a piece of plain white cloth into your favorite color with your own hands—is the ultimate genre that multiplies your handmade creative expression many times over!
Are you thinking, "Doesn't dyeing require specialized tools and sound difficult?" or "Won't it ruin my room? Isn't the hurdle too high for a beginner?"
That assumption is completely mistaken! Nowadays, starter kits containing dye and all necessary supplies can be easily purchased online via shops like Amazon or Rakuten. As long as you follow the basic rules, even complete beginners can achieve a gorgeous, shop-quality dyed finish on their very first try.
In this article, I've packed in all my knowledge and experience to provide a clear, comprehensive guide for anyone looking to start textile dyeing. We'll cover fabric-dye compatibility, how to gather tools without failing, step-by-step procedures, and pro secrets for a flawless finish. Don't waste time hesitating—once you finish reading, check out the supplies and take on the challenge of creating your very own custom fabric!
"Textile dyeing" refers to all techniques used to dye woven or knitted fabrics into your desired colors and patterns. In the world of handcrafts, the advantages of being able to dye your own fabric are immeasurable. You can create subtle nuance shades that simply do not exist in ready-made goods, or transform your favorite worn clothes and fabric accessories into something better than brand-new.
A common point of confusion for beginners is how textile dyeing differs from "tie-dye." Tie-dye is a specific form of resist dyeing (known in Japan as shibori-zome), where fabric is bound with string or rubber bands before dye is applied to create vibrant spirals or marbled patterns. While it's ideal for making pop, casual patterns, it is not suitable for dyeing an entire piece of fabric into a clean, uniform color or creating elegant gradients.
In contrast, the textile dyeing techniques explained here cover solid immersion dyeing (where the whole fabric is dyed evenly), beautiful smooth gradients, and advanced techniques like layering multiple colors. It offers a far broader range of expression than tie-dye and directly translates into crafting fabrics for sophisticated interior decor or luxury-feel handmade projects.
The feeling of excitement when you use your custom-dyed fabric to sew a pouch, bag, or fashion accessory is truly special. Acquiring the joy of "crafting right from the raw material" is the greatest charm of textile dyeing!
The very first obstacle where beginners stumble and fail in textile dyeing is fabric material selection. If you don't understand this point correctly, even the most expensive dye won't stain your fabric a single millimeter, leading to a complete waste of time and materials. Be sure to memorize this absolute rule of dyeing right now.
Fabric fibers are broadly categorized into "natural fibers" and "synthetic fibers." The standard household dyes available on the market excel specifically at natural fibers.
Natural fibers include plant-derived fibers like cotton, linen, and rayon, as well as animal-derived fibers like silk and wool. These materials greedily absorb dye molecules, allowing even beginners to achieve shockingly vivid and beautiful results.
On the other hand, synthetic fibers such as polyester, acrylic, and nylon will NEVER dye with standard household dyes! Synthetic fibers have a plastic-like structure that repels standard dye solutions. A major mistake beginners often make is trying to dye a cotton-polyester blend. For instance, if you attempt to dye a 50% cotton / 50% polyester blend, only the cotton fibers will absorb the dye, leaving you with a blotchy, pale color that is only half as intense as intended.
Another unexpected trap is sewing thread. Many commercially sold garments and fabric goods use high-strength polyester thread even if the main body fabric is 100% cotton. If you dye such an item, the fabric will dye beautifully, but the stitching will remain stark white. Unless you are intentionally aiming for a contrast-stitching design, this will result in a disappointing failure.
The ultimate rule for guaranteed success as a beginner is to choose 100% cotton or 100% linen plain white, untreated fabric! To start, prepare a 100% cotton handkerchief, tote bag, or plain cotton fabric for dyeing available at craft shops or online. This alone will boost your success rate to over 90%.
Home textile dyeing primarily uses two techniques: hot water dyeing (high/medium heat) and cold water dyeing (low heat). Depending on which you choose, the required tools, procedure, and durability of the finished product will vary significantly.
Hot water dyeing uses hot water of 80°C (176°F) or higher to push dye deep into the fabric fibers. To put it simply, if you are seeking professional completeness, vibrant color payoff, and high wash resistance for your craft projects, hot water dyeing is the clear choice!
Applying heat opens up the fiber structure, allowing dye molecules to firmly settle inside. As a result, dark or deep shades turn out amazingly clear, and the fabric becomes highly durable against fading in the wash. Although preparing a large pot and boiling water takes extra effort, you should definitely choose hot water dyeing if quality is your top priority.
Cold water dyeing uses lukewarm water around 40°C (104°F) or cold water. Because you don't need to keep water boiling on the stove, there is less risk of burns, and households without large cooking pots can easily work using plastic buckets or containers.
This method is extremely easy to handle for beginners who want a quick dyeing experience, or for those dyeing small 100% cotton fabric items (avoiding polyester blends). However, compared to hot water dyeing, the color intensity tends to be slightly more subtle, and extra care must be taken during the color-fixing process.
When dyeing fabric, simply putting cloth into water with dissolved dye will cause the color to rinse right out. To chemically bind the fibers and dye molecules together, a fixing agent (auxiliary) is essential.
When dyeing plant-based fibers (cotton, linen, rayon), use standard table salt or the color fixative included with the dye (such as sodium carbonate). The sodium ions in salt act as a force that drives dye molecules into the fabric fibers. When dyeing animal-based fibers (silk, wool), use white vinegar (acetic acid) instead of salt.
Always add the specified amount of salt or fixing agent along with your dye. Whether you include this step or not dramatically changes the color depth and longevity of your finished piece.
The biggest mistake you can make when starting textile dyeing is visiting multiple home centers or craft stores to buy separate tools one by one. Beginners cannot easily tell which fixing agent or volume is required for a specific dye.
At first, purchase a complete "Textile Dyeing Starter Kit" or a packaged product from a trusted household dye brand on online platforms like Amazon! This is the cheapest, most reliable, and fastest route to kickstart your journey.
Household dye brands with proven track records worldwide include classic names like Dylon, as well as Japanese craft dyes like Miyuki Dye (Miyuki-zome) and Nippon Nijimi-zome.
In particular, Dylon Premium Dye (for cold water) and Dylon Multi (for hot water) are staples loved by everyone from beginners to professional crafters. While individual dye packets are quite inexpensive, choosing a beginner starter kit that includes dye, fixative, instruction manual, and rubber gloves is the safest path.
With a kit, you can prepare a perfect dye bath simply by following the enclosed instructions.
Here is a summary of essential tools and whether household items can be repurposed:
Once your setup is ready, it's time to dye your fabric! Here are the practical steps for solid immersion dyeing (the foundation of craft fabric) and sophisticated gradient dyeing.
Step 1: Weighing & Scouring (Pre-washing)First, measure the weight of your dry fabric. Next, thoroughly hand-wash the fabric in warm water with a mild neutral detergent. This step is called "scouring." Even brand-new fabrics carry sizing, oils, or dust from storage. If left unwashed, these agents will repel dye and cause harsh blotches. After washing, do not wring it dry; proceed to the next step while the fabric is wet. Dye liquid penetrates evenly precisely because the fabric is already wet.
Step 2: Dissolving the Dye CompletelyIn a small container, mix the specified amount of dye with a small quantity of hot water, using a whisk to dissolve every single particle. If undissolved dye remains, it will stick to the fabric and create dark speckles (dye spots). Pouring the dissolved liquid through a fine strainer or tea strainer into the main container guarantees 100% protection against this issue.
Step 3: Preparing the Dye Bath & Adding SaltFill the main container with the required volume of hot or warm water, add the dissolved dye liquid and specified amount of salt (or fixing agent), and stir well.
Step 4: Submerging Fabric & Continuous StirringUnfold the wet fabric completely and submerge it all at once into the dye bath! The first 10 minutes after immersion determine everything! During these initial 10 minutes, use your tongs to continuously move the fabric up, down, left, and right so it swims freely without folded sections. Leaving the fabric unattended right after immersion causes dark streaks along folds that cannot be fixed. After the first 10 minutes, stir occasionally for a total immersion time of 20 to 30 minutes.
Step 5: Rinsing, Color-Fixing, and DryingRemove the fabric from the dye bath and rinse it thoroughly under running water until the water runs completely clear. Next, soak it in warm water mixed with color fixative for about 15 minutes to lock in the color. Gently squeeze out excess water and hang it to dry in the shade. Exposing wet dyed fabric to direct sunlight causes UV fading during the drying process. Ironing the fabric from the reverse side when it is about 80% dry will dramatically enhance color payoff and produce a crisp, professional surface!
Gradient dyeing, one of the highlights of textile dyeing, is simple once you know the technique:
By varying the exposure time in stages, the bottom section soaked longest turns out deepest, creating a seamless gradient that softens toward the top. Gently moving the fabric up and down at the water boundary is the professional tip for blending lines naturally!
Dyeing troubles always have clear causes. Here are 5 major mistakes beginners make and how to prevent them completely:
If a beginner came to me today for advice on starting textile dyeing, I would offer this advice without hesitation:
"First, order a Dylon starter kit on Amazon alongside one plain white 100% cotton canvas tote bag, and try solid immersion dyeing!"
Attempting to dye garments or large bedsheets right away requires oversized containers and heavy stirring work, which can lead to frustration. A compact tote bag or handkerchief fits perfectly into standard household buckets or small pots.
Dyeing a plain canvas tote into a lovely nuance shade—like dusty pink, olive green, or mustard yellow—yields a stylish, one-of-a-kind bag impossible to find in mass retail stores.
Once you get used to the process, expand your creations with these ideas:
In this guide, we covered everything from basic textile dyeing knowledge, fabric selection, and tool prep to fail-safe practical steps and troubleshooting!
While textile dyeing might seem daunting at first glance, it is straightforward once you grasp the basic principles:
By keeping these simple rules in mind, anyone can produce breathtaking custom textiles!
While making crafts from store-bought fabric is fun, starting from scratch by mixing dyes and coloring your own cloth expands the joy of handmade creation many times over.
Take a moment to search online shops like Amazon or Rakuten for starter kits, dye colors you love, and plain white cotton totes or fabrics. The day your supplies arrive at your doorstep marks the start of a wonderful, highly creative craft journey!
If you enjoyed this guide, sharing it with friends on social media would mean the world to me and keep me motivated! See you in the next article! This was Yassy from Crafters!



For example, if you are looking for articles about mizuhiki, try searching for "mizuhiki"; if you are interested in tools, try keywords like "nippers" or "pliers."
