Upgrade Your Japanese Mizuhiki Craft: The Essential 4-Step Tool Order Beyond Starter Kits
yassy
Crafters!

Hello, fellow makers! It’s Yassy from Crafters! (・∀・)
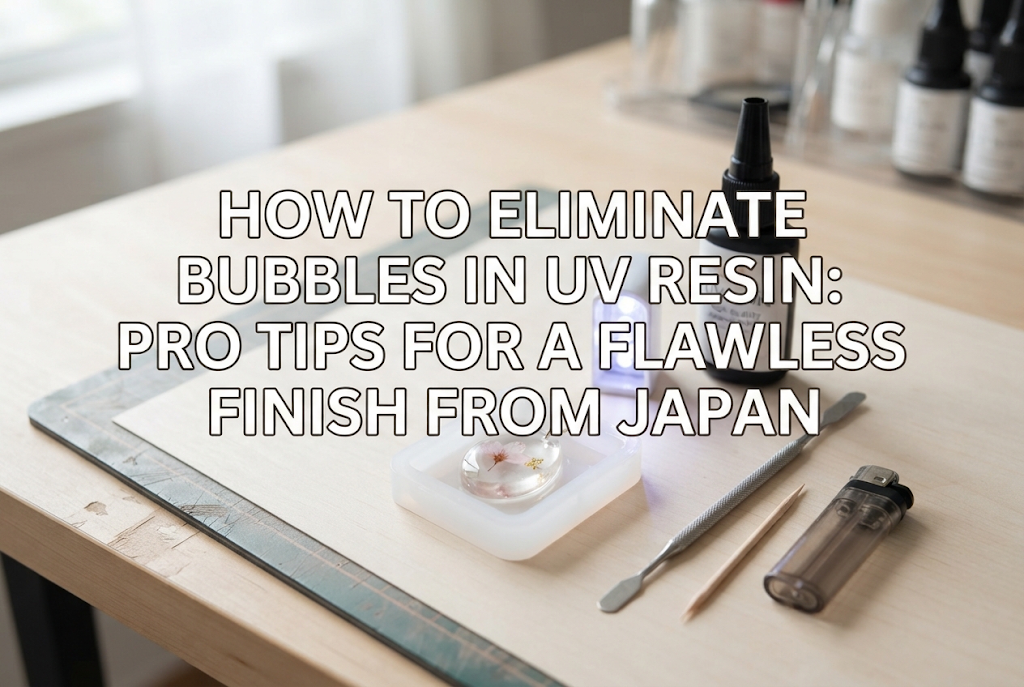
As someone who loves making, admiring, and collecting handmade crafts, today I’m sharing a comprehensive guide on tackling one of the biggest headaches in resin crafting: the dreaded bubble problem.
When working with UV resin, air bubbles are an obstacle every single crafter encounters. You spend so much time mixing the perfect shade and arranging your favorite charms, only to find unsightly, tiny pockets of trapped air frozen inside your piece once it comes out from under the lamp. It’s an experience every resin artist knows all too well.
Whenever I browse handmade markets or online shops for resin pieces, the first details I inspect are clarity, surface luster, and whether there are trapped bubbles. No matter how brilliant a design is, a piece riddled with bubbles loses its commercial appeal—and even when creating pieces purely for yourself, cloudy air pockets take away from the satisfaction of the finished project.
Please don’t write bubbles off as "unavoidable bad luck." Trapped air occurs for specific, physical reasons. Once you master the underlying causes and the proper techniques, anyone can achieve crystal-clear, bubble-free results.
In this guide, I will break down the primary sources of bubbles, preventive measures before you start, techniques for removing bubbles that do appear, and tailored strategies for different mold shapes. By the time you finish reading, the quality of your resin crafts will reach a whole new level!
If you think a few micro-bubbles won't hurt, it is time to rethink that assumption. Bubbles are not merely cosmetic flaws; they directly affect the structural integrity, safety, and longevity of your work.
Understanding why bubbles must be eliminated comes down to three key reasons:
Letting bubbles slide directly compromises the quality of your craft. If you want a glossy, professional finish, aiming for zero bubbles is non-negotiable.
Before jumping into solutions, you must pinpoint exactly how and where air enters the resin. Trapped air rarely comes from a single mistake; it sneaks in at various stages of the process.
Here are six common causes beginners often trigger without realizing it:
Now that we understand the causes, let's explore practical solutions. The secret to bubble-free resin is not fixing bubbles after they happen—it is preventing them from entering in the first place. Solid preparation alone can eliminate up to 80% of bubble risks.
Before you uncap your bottle, warming your resin to lower its viscosity is a crucial first step. Thin, runny resin releases bubbles dramatically faster.
The simplest method is a warm water bath. Ensure the bottle's cap is tightly secured, seal it inside a watertight ziplock bag, and let it rest in a mug or bowl filled with warm water (around 40°C–50°C / 104°F–122°F) for 5 to 10 minutes. Avoid soaking it too long, as excessive heat can degrade the formula over time.
Alternatively, wrap an adhesive hand warmer (kairo) around the bottle, or hold a craft heat gun several inches away, sweeping warm air over the container for a few seconds. Never heat resin in a microwave, as this can cause the bottle to rupture or ignite.
Once warmed, resin pours like water, minimizing air intake and letting any accidental bubbles float swiftly to the surface.
Your work environment matters just as much as the resin bottle. If your studio is cold, warmed resin will immediately thicken upon hitting the mixing palette.
Keep your crafting room at or above 20°C (68°F). A comfortable room temperature keeps your resin workable throughout the entire session.
Keep in mind that airborne dust is often mistaken for tiny bubbles. When a speck of dust lands on wet resin, surface tension pulls a tiny pocket of air around it. Wipe your workstation down with a damp cloth beforehand, and avoid shaking curtains or making abrupt movements that kick up dust.
With your materials prepped, let’s look at proper handling during mixing, pouring, and inserting inclusions.
Wooden toothpicks and bamboo skewers have porous fibers filled with air, which can leach tiny bubbles directly into your resin as you stir. Instead, use a smooth silicone stick or a stainless steel spatula to ensure no air escapes from the tool itself.
When blending colors, avoid whisking in rapid circles. Instead, press the flat tip of your tool against the bottom of the palette and move it slowly in a gentle zigzag motion. Keep the tool submerged without lifting it in and out, smoothly blending the pigments without dragging air into the pool.
Do not let resin fall freely through the air into your mold. Place the nozzle tip directly against the inner wall or edge of the mold, allowing the resin to glide gently down the side.
If you need to add more resin to an existing puddle, dip the nozzle slightly below the liquid surface and squeeze gently. This submerged pouring eliminates the boundary where air usually gets caught.
Never drop dried botanicals or dimensional charms directly into a mold dry. Always apply a thin preparatory base coat.
Place a small drop of clear resin on a separate palette. Using tweezers, dip the charm or flower into the puddle, using a brush or fine tool to work resin into overlapping petals, textured metal backs, and hollow corners. You will see trapped air escape immediately on the palette, where it can be brushed away. Once fully coated and saturated with resin, transfer the piece into your main mold.
Even with careful preparation, a rogue bubble can still appear. Here are three reliable methods to eliminate bubbles before placing your project under the UV lamp:
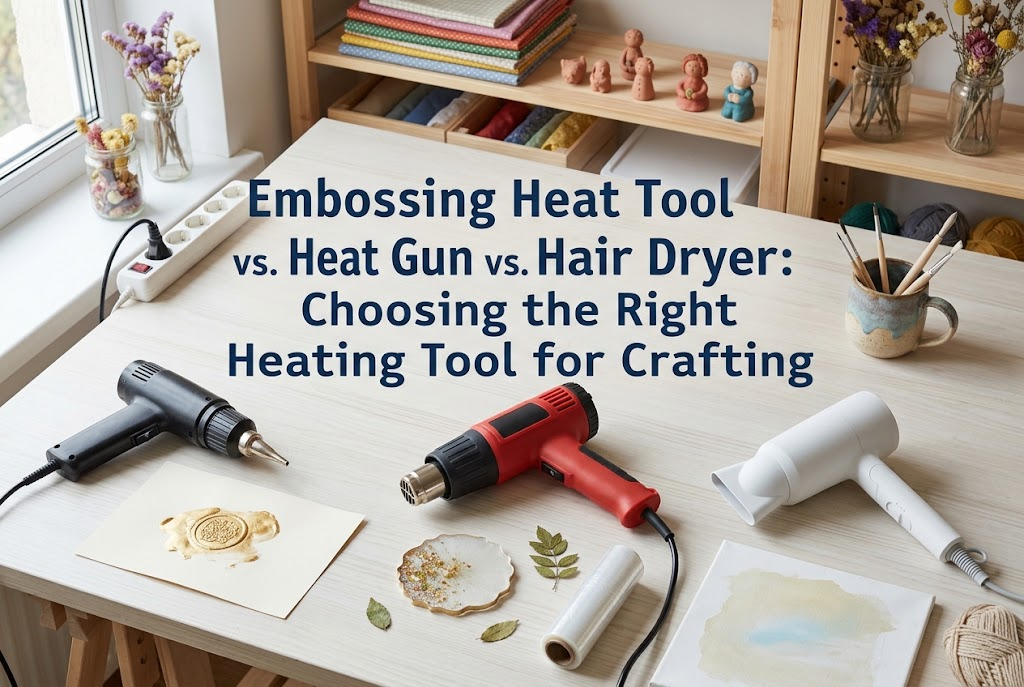
A craft heat gun (emboss heater) is one of the most effective tools for bubble removal. Unlike a standard hair dryer, which blows strong gusts that send liquid flying, a craft heat tool delivers low airflow at high heat (around 250°C / 480°F), allowing you to warm the resin without disturbing your design.
Hold the heat gun 10 to 15 cm (4 to 6 inches) away from the mold, sweeping it in small circles for 5 to 10 seconds. The localized heat instantly thins the resin surface, causing submerged bubbles to pop. Avoid lingering on one spot for too long, as overheating can scorch the resin, damage silicone molds, or cause yellowing.
For stubborn micro-bubbles clinging to corners where heat cannot reach, manual removal is the most reliable approach.
Use a very fine needle, sewing pin, or the edge of a thin metal spatula. Large surface bubbles can be popped with a quick prick. For smaller, resilient bubbles, catch the bubble with the tip of your needle and drag it up along the mold wall to the surface, lifting it out onto a paper towel or lint-free wipe.
One of the simplest yet most overlooked tricks is giving your resin a brief resting period before curing. Do not rush to hit the UV light button the moment your mold is filled.
Cover your mold with an inverted clear plastic cup or dust cover to protect it from stray particles, and let it sit undisturbed for 5 to 10 minutes. In a warm room, this rest gives microscopic bubbles time to rise and disperse on their own. Give your project one final inspection before curing to ensure a flawless finish.
Different mold shapes present distinct challenges when it comes to trapping air. Here is how to handle three common formats:
Deep spheres and mineral geodes have narrow openings that obscure visibility, making bubbles easy to miss.
The secret is pouring in thin, measured layers rather than filling the mold to the brim at once. Pour the first third, then gently massage the outside of the silicone mold or tap its base against your desk. These subtle vibrations dislodge bubbles clinging to the bottom, sending them up to the surface. Pop the surfaced bubbles and cure this initial layer.
Add your inclusions in the second layer, tap again to release air, and cure. Finally, top off the mold to the brim and cure. Building your piece in stages guarantees the interior remains crystal-clear.
Molds featuring star points, cat ears, or alphabet letters often end up with missing tips because air gets stuck in the corners.
To prevent this, "pre-fill" the sharpest details. Dip a needle or fine pick into clear resin and manually press a droplet into every pointed tip and corner before filling the rest of the mold. Because the corners are already wetted with liquid, the poured resin will merge seamlessly without leaving air bridges behind.
When working with open-backed metal frames, backing tape holds the resin in place. Bubbles frequently get trapped along the inner seam where the metal frame meets the tape.
Success starts with a clean foundation layer. After burnishing the tape firmly onto the back of your frame to eliminate gaps, use a fine nozzle or needle to trace a thin line of clear resin along the inner perimeter where the frame touches the tape. Let the resin wet the seam, spread a thin layer across the base, pop any edge bubbles, and cure. This creates a tight seal so subsequent layers won't seep under the frame or generate rim bubbles.
Whenever I visit craft fairs or look through handmade marketplaces, the pieces that consistently stand out are those crafted with meticulous attention to detail.
In the world of resin, absolute clarity is a direct reflection of the maker's care, patience, and dedication. Holding a bubble-free piece makes you immediately appreciate the careful work behind it.
When I craft my own pieces, checking for bubbles takes up the largest portion of my working time. Even if my color gradients and charm arrangements turn out beautifully, I will stop and remove an air pocket rather than rush it under the lamp.
Moving past the temptation to settle for "good enough for personal use" and committing to a bubble-free standard is the fastest way to elevate your craft from beginner to professional. A well-finished piece catches the light like a cut gemstone, and that stunning visual payoff makes every extra minute spent removing bubbles worth the effort.
Banishing bubbles from UV resin isn't about complex secrets—it comes down to executing the fundamentals with patience and care.
While clearing bubbles might feel deliberate at first, these steps will quickly become second nature. Try these techniques in your next crafting session and enjoy the stunning, glass-like finish on your projects!
Wishing you clear, sparkling results in all your handmade creations! If you found this guide helpful, please share it with your fellow makers. Until next time—happy crafting from Yassy! (・∀・)



For example, if you are looking for articles about mizuhiki, try searching for "mizuhiki"; if you are interested in tools, try keywords like "nippers" or "pliers."
