The Ultimate UV Resin Curing Equation: Master Thickness and Light for Perfect Japanese Resin Crafts
yassy
Crafters!

Hello crafters, it's Yassy from Handmade Crafters! (・∀・)
The world of needlework—transforming simple fabric and thread into beautiful creations with your own hands—is an absolute delight that is hard to leave once you take your first step. I love making, admiring, and collecting handmade crafts, and my room is perpetually overflowing with my favorite threads and fabrics.
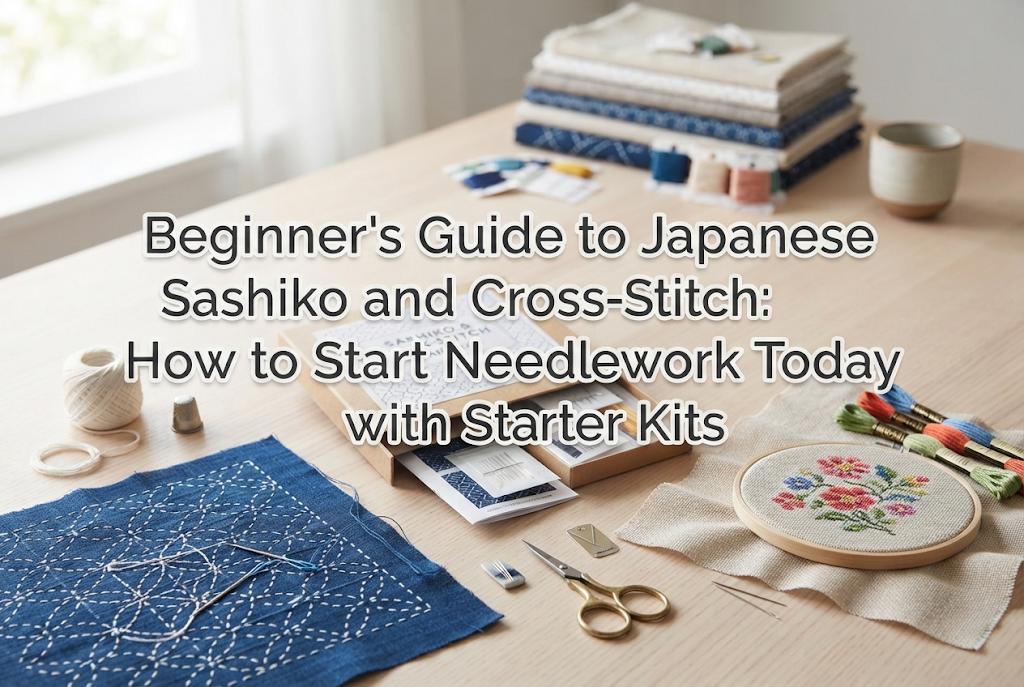
Among all forms of needlework, two crafts stand out as especially approachable and rewarding for beginners: traditional Japanese Sashiko and Western Cross-Stitch. Neither requires intricate techniques or years of experience. As long as you understand the basics, anyone can produce stunning, professional-looking finished pieces.
However, when beginners decide to take up needle and thread, they often ask the same questions: "What is the real difference between Sashiko and cross-stitch?", "Which tools do I actually need to buy?", and "Which craft suits me best?"
In this guide, I will walk you through the core concepts of both Sashiko and cross-stitch, share practical criteria for choosing tools without trial and error, and provide a clear, step-by-step roadmap to start stitching today. By the end of this article, you will know exactly which craft aligns with your creative style and how to begin your needlework journey immediately.
While both Sashiko and cross-stitch share the foundational act of following a design on fabric with thread, their origins, techniques, and tactile results could not be more distinct. Understanding the character of each will help you decide where to begin.
Sashiko (literally "little stabs") is a traditional Japanese folk embroidery technique that originated in the cold Tohoku region of northern Japan. Historically, it developed as practical domestic wisdom: rural communities layered fabrics together and reinforced them with running stitches to protect against severe winter cold and mend worn clothing.
The charm of Sashiko lies in how a simple running stitch—known as unshin (運針)—can form breathtaking geometric patterns and heritage motifs. You simply advance the needle at steady, regular intervals, meaning there are no complex embroidery stitches to master.
Sashiko uses a thick, softly twisted 100% cotton thread, which gives finished pieces a plump, warm texture. It is wonderfully suited for practical, everyday household items like drink coasters, placemats, and hanafukin (decorative kitchen cloths). The steady, rhythmic motion of passing the needle creates a soothing, meditative rhythm that clears the mind after a busy day.
Cross-stitch is a form of counted-thread embroidery developed across Europe. As the name indicates, stitches are formed by crossing two diagonal threads into an "X" shape.
Working on woven evenweave fabric where the warp and weft form a visible grid, you fill in square by square. The experience feels delightfully similar to solving a puzzle or creating pixel art. As long as you follow the chart accurately, you can reproduce intricate, delicate illustrations and elaborate motifs with complete fidelity, even without any drawing talent.
The finished piece can be framed as wall art, sewn into pouches, or added as decorative accents to everyday items, offering both display appeal and practical craft utility.
Getting started with Sashiko requires very few items: fabric, Sashiko thread, a Sashiko needle, and thread snips or scissors. However, choosing the wrong materials can make stitching frustrating. Here are the standards you should look for.
When starting your very first Sashiko piece, avoid tracing patterns onto plain fabric yourself. Transferring intricate traditional patterns with chalk or tracing pens requires rulers and careful symmetry, which often leads to distortion and discouragement.
Instead, choose pre-printed Sashiko fabric featuring water-soluble guidelines (often double-layered bleached cotton, or sarashi). You simply stitch along the printed lines. Once your piece is finished, a quick rinse in water washes away the printed markings completely, leaving only your clean stitches behind. This is the single most effective way to ensure a rewarding first experience.
Sashiko calls specifically for dedicated Sashiko thread rather than standard sewing thread or stranded embroidery floss. Sashiko thread is a matte, loosely twisted cotton thread that blooms softly on the surface of the fabric. Threads come in fine, medium, and heavy weights; beginners should look for medium-weight thread. Fine thread takes longer to fill a pattern, while heavy thread requires extra pulling force through the cloth.
Use dedicated Sashiko needles. They have an elongated eye designed to accommodate thicker cotton thread without fraying, and a long, sturdy shaft that allows you to gather several stitches onto the needle at once during running-stitch work. Standard sewing needles are too short and fine, which will strain your fingers.
Cross-stitch requires dedicated fabric, size 25 stranded cotton thread, a blunt tapestry needle, an embroidery hoop, and scissors. Understanding standard specifications will keep you from purchasing unsuitable materials.
Cross-stitch fabric features distinct square openings. In Japan, cotton Aida-style cloth is commonly known as Javacross.
The key metric is "fabric count"—the number of squares (or holes) per inch (2.54 cm). Higher counts create finer, more detailed work, but tiny squares can be difficult for beginners to see clearly. The ideal starting point is an 11-count cloth (roughly 4.5 stitches per cm) or a 14-count cloth (roughly 5.5 stitches per cm). The grid holes are clearly visible, eliminating guesswork when placing your needle.
Standard size 25 embroidery floss comes in a skein composed of six separable strands. Rather than stitching with all six strands at once, you cut a working length and gently pull out individual strands one at a time, then reassemble the specified number (typically 2 or 3 strands for 11- or 14-count fabric).
Using the proper number of strands ensures the cross stitches cover the fabric squares with a plump texture without overcrowding the holes. Always pull strands upward one by one; tugging multiple strands at once will knot the thread.
Cross-stitch needles (tapestry needles) feature a rounded, blunt tip rather than a sharp point. This prevents the needle from piercing the fabric threads, allowing it to slide cleanly through the open grid holes.
An embroidery hoop (typically 10 to 15 cm in diameter, wood or plastic) holds the fabric taut like a drumhead. Maintaining even fabric tension ensures your stitch tension remains uniform, resulting in a flat, tidy finish.
Most frustrations in early needlework stem from a few predictable oversights. Keeping these five points in mind will keep your projects on track.
Pulling thread with too much force causes the surrounding cloth to pucker and lose its flat dimension. Once fabric has severely warped under tight stitches, pressing it with an iron cannot fully restore it.
In Japanese needlework, the remedy is a habit called itokoki (糸こき). Every few stitches, gently smooth and stretch the fabric along the stitched line horizontally and vertically with your fingers to release excess tension. Think of laying the thread gently on the surface of the fabric rather than pulling it tight.
Thread that is cut too long will tangle, fray, and form knots from repeated friction against the cloth. The ideal working length is roughly from your fingertips to your elbow (around 50 cm / 20 inches).
For cross-stitch, sort your threads by color code before starting, matching each symbol on your chart to its assigned skein to prevent accidental color swaps.
Using a sharp sewing needle for cross-stitch will split the fabric weave, resulting in uneven crosses. Conversely, trying to stitch Sashiko with a blunt cross-stitch needle requires excessive force to push through dense cotton layers, tiring your hands. Always pair Sashiko needles with Sashiko, and blunt tapestry needles with cross-stitch.
Messy threads, giant knots, or long travels on the back of your fabric can show through to the front or unravel when washed.
In Sashiko, knots are traditionally avoided; instead, secure ends with overlapping backstitches (kasane-zashi) across the first and last three stitches. In cross-stitch, skip starting knots entirely and anchor your thread tails by sliding them beneath existing stitches on the reverse side.
Assembling needles, threads, and fabrics from random budget stores often results in mismatched specifications—threads too thick for needle eyes, or fabric too dense to work comfortably. Starting with an all-inclusive kit eliminates compatibility issues entirely.
Here is a simple framework to help you choose your first project based on what kind of crafting experience you want right now:
For your initial project, ordering an all-in-one starter kit from Amazon is generally the most straightforward option. Sourcing individual fabrics, correct thread weights, and matching needles across various stores can be confusing when you have not handled the materials before.
A dedicated beginner kit supplies coordinated materials in one package: pre-printed or stamped fabric, measured thread skeins, proper needles, a hoop when required, and visual instructions. All you need on hand is a pair of scissors.
When searching for a starter kit on Amazon, use these guidelines:
Both Sashiko and cross-stitch are wonderfully approachable crafts that yield satisfying, beautiful results without requiring years of prior practice. If you want tactile, practical items infused with Japanese folk heritage, choose Sashiko. If you want colorful, graphic precision and counted art, choose cross-stitch.
Select a beginner-friendly kit that catches your eye, set up your work space, and enjoy the calming, rewarding hours of making something by hand. Handmade Crafters is rooting for your needlework journey!

For example, if you are looking for articles about mizuhiki, try searching for "mizuhiki"; if you are interested in tools, try keywords like "nippers" or "pliers."
