Are Japanese 100-Yen Shop Craft Supplies Worth It? What to Buy and What to Avoid
yassy
Crafters!

Hello, everyone! Yassy here from Crafters! (・∀・)
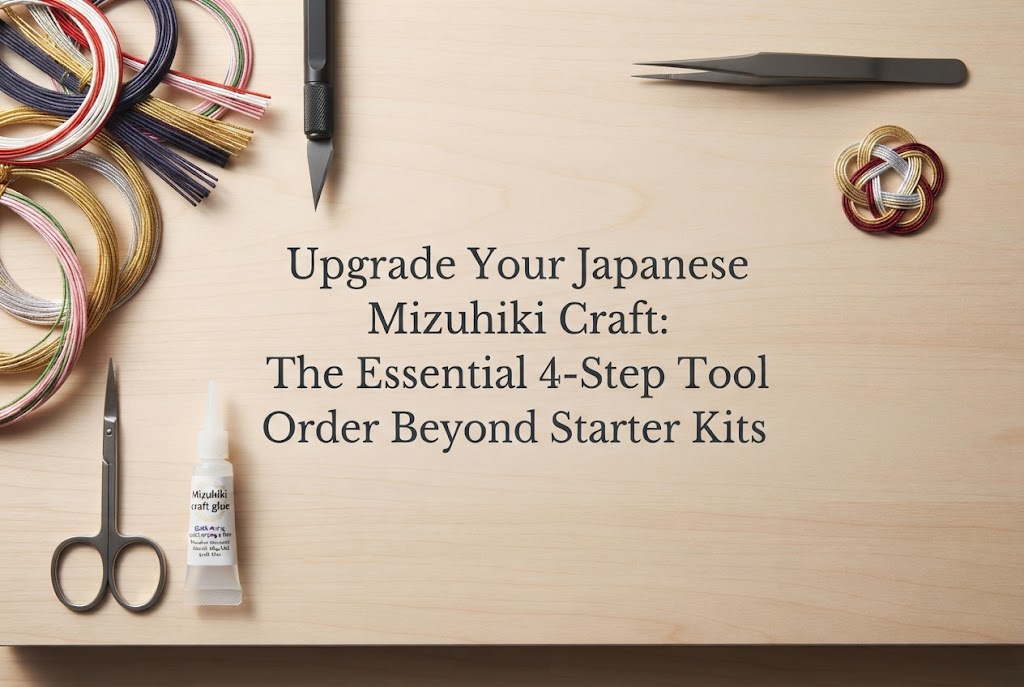
As someone who absolutely loves making, viewing, and collecting all kinds of handmade crafts, today I want to talk about taking your Japanese Mizuhiki crafting to the next level!
Mizuhiki craft is beloved for its elegant curves and refined traditional beauty. Once you buy a starter kit and learn basic knots like the Awaji knot (Awaji-musubi) or the Plum Blossom knot (Ume-musubi), you naturally feel a surge of passion to create more varied accessories and decorative goods.
However, if you continue using only the tools that came in your starter kit, your work will eventually hit a quality ceiling. Have you ever experienced a situation where your knots are tied correctly, yet the overall piece somehow looks unrefined or the surface of the Mizuhiki cord ends up frayed? That issue is not caused by a lack of skill—it comes down entirely to your tools.
Among various handmade crafts, Mizuhiki is particularly sensitive to tool precision. The quality of your tools translates directly into the finished product. To graduate from beginner starter kits and produce beautifully crisp, professional-looking pieces, let's look at the exact order in which you should invest in better equipment.
Upgrading your tools in the wrong order can lead to unnecessary spending without actually improving your results. Keep this golden order of tool upgrades in mind to dramatically elevate your craft!
Mizuhiki starter kits are wonderful for trying out the craft for the first time. However, the scissors, pliers, and adhesives included in these kits are usually basic, low-cost sample items intended only for trial use.
Mizuhiki cord has a delicate traditional structure: thin strips of washi paper are tightly twisted into a cord, stiffened with water glue, and wrapped with decorative silk threads, metallic foil, or film. Handling such a delicate material requires tools with corresponding precision and functionality.
Continuing to use inadequate tools leads to four main flaws in your finished work:
No matter how much you practice your tying technique, these four issues cannot be solved without changing your tools. Conversely, upgrading to high-precision tools can instantly boost the visual quality of your pieces. Let's look at how to upgrade step-by-step without wasting money.
You do not need to replace all your tools at once. The ironclad rule is to start with the items that contribute most directly to visual quality while reducing crafting stress.
Here is my recommended upgrade sequence:
There is a clear reason for this order. About 80% of what makes a viewer think "That Mizuhiki piece is so neat and beautiful!" comes down to two factors: clean cuts and crisp knotting. Investing first in the tools that handle cutting and shaping is the most effective approach.
Let's dive into the details and selection criteria for each step.
If there is one tool every Mizuhiki crafter should upgrade immediately, it is scissors. If you are currently using household stationery scissors or cheap craft scissors from a starter kit, I recommend setting them aside for Mizuhiki work.
When you cut the ends of a Mizuhiki cord at an angle, any fraying thread or squashed edge is almost always caused by dull or thick blades. Clean, sharp cut ends are an absolute requirement for polished Mizuhiki work, as cut quality determines the neatness of the entire piece.
When selecting scissors, look for high-quality items sold as "fine-work," "embroidery," or "precision craft" scissors rather than general stationery shears. Make sure they meet these three criteria:
Look for precision craft scissors, patchwork shears, or fine Japanese tailoring scissors (usually in the $15–$30 price range). This single upgrade can virtually eliminate messy cord fraying in your projects.
The next tool to upgrade is the flat-nose pliers used for tightening knots and adjusting the shape of your design.
Starter kit pliers or basic jewelry pliers often leave ugly dents on the Mizuhiki surface the moment you squeeze them. Because Mizuhiki has a paper core, once it is crushed, it cannot be restored to its original round form.
To create neat, firm knots, you need specialized pliers that grip strongly without scratching or indenting the surface.
The most common mistake when buying pliers is ignoring the interior texture of the jaws. Keep these points in mind:
Switching to smooth, high-precision craft flat-nose pliers (typically around $10–$25) allows you to pull knots tight with confidence, producing firm, uniform motifs every time.
Step 3 focuses on upgrading the glue and holding tools used to secure cord ends and attach hardware.
Standard white wood glue included in basic kits can be slow to dry, may leave a hazy white residue, or contain too much water, causing the paper core to soften and warp. Secure, clean gluing directly affects both the durability and neatness of your work.
Through testing various adhesives, I have found that the ideal Mizuhiki glue requires three things: fast tack, clear drying, and precise control.
Moving to a dedicated fast-drying clear craft glue with a fine nozzle gives the back of your work a clean, professional finish sturdy enough for wearable items.
The final upgrade is refining your measurement tools with a grid cutting mat and a steel ruler.
Beginners often use soft sewing tape measures or clear plastic stationery rulers. However, because Mizuhiki comes bundled in coils and retains a curved memory, soft tape measures make accurate straight measurements difficult.
Furthermore, when crafting matching pairs like earrings, small length discrepancies lead to noticeable asymmetry.
Combining these two tools ensures consistent cutting lengths, allowing you to create balanced, symmetrical motifs with ease.
Here are three common misconceptions beginners often have when upgrading tools. Knowing these in advance will save you time and money!
Many crafters think they should wait until they are experienced before buying quality tools. In reality, it is the opposite! Beginners benefit the most from reliable tools because good tools compensate for a lack of technique. Even a master cannot get a clean cut with dull scissors. Starting with proper tools speeds up your learning process dramatically.
Some cheap tool sets labeled "Mizuhiki Kit" are simply low-grade general tools repackaged under a custom name. Instead of relying only on marketing labels, check the physical features yourself—such as smooth flat jaw interiors on pliers or non-stick thin blades on scissors.
Some people try using a utility knife or box cutter to chop Mizuhiki cords against a mat. Please avoid this! Mizuhiki is a round bundle of paper fibers and threads. Pressing a single blade down from above flattens the cord into an oval shape. A proper shearing motion from sharp scissor blades is necessary to slice clean through without crushing the round profile.
Along with better tools, adopting the traditional prep technique called shigoki (straightening the cord) makes a huge difference.
Fresh Mizuhiki strands retain a curve from being packaged in coils. If you start knotting immediately, the cord may spring in unexpected directions or cause distorted knots. Gently removing this coil memory beforehand makes the strand supple and straight.
While basic instructions often suggest running the cord between your thumb and fingernail, friction can tire your fingers or transfer skin oils to delicate metallic threads.
Instead, use the smooth side of your upgraded steel ruler or the outer smooth metal jaw of your flat-nose pliers. Lightly drawing the Mizuhiki cord across a smooth metal edge flexes the paper core safely, relaxing the curve instantly without damaging the outer threads.
To preserve the performance of your upgraded tools, follow these basic maintenance steps:
To recap, here is the golden sequence for upgrading your Mizuhiki craft tools beyond starter kits:
Stepping up your equipment in this order transforms the making process, helping your handmade Mizuhiki accessories and decor reach a clean, market-ready level of quality.
The moment you try proper tools, you'll likely think, "Wow, I can knot so much more neatly now!" Investing in your tools is one of the best ways to support your own creative growth.
Equip yourself with confidence, and enjoy bringing your unique, beautiful Mizuhiki designs to life!
If you found this guide helpful, please feel free to share it with your fellow crafters. See you in the next article! This was Yassy from Crafters! (・∀・)





For example, if you are looking for articles about mizuhiki, try searching for "mizuhiki"; if you are interested in tools, try keywords like "nippers" or "pliers."
