Beginner’s Guide to Japanese Kirie & Shadow Box Papercraft: From Tool Selection to Instant Starter Kits
yassy
Crafters!

Hello everyone, this is Yassy from Crafters! (・∀・)
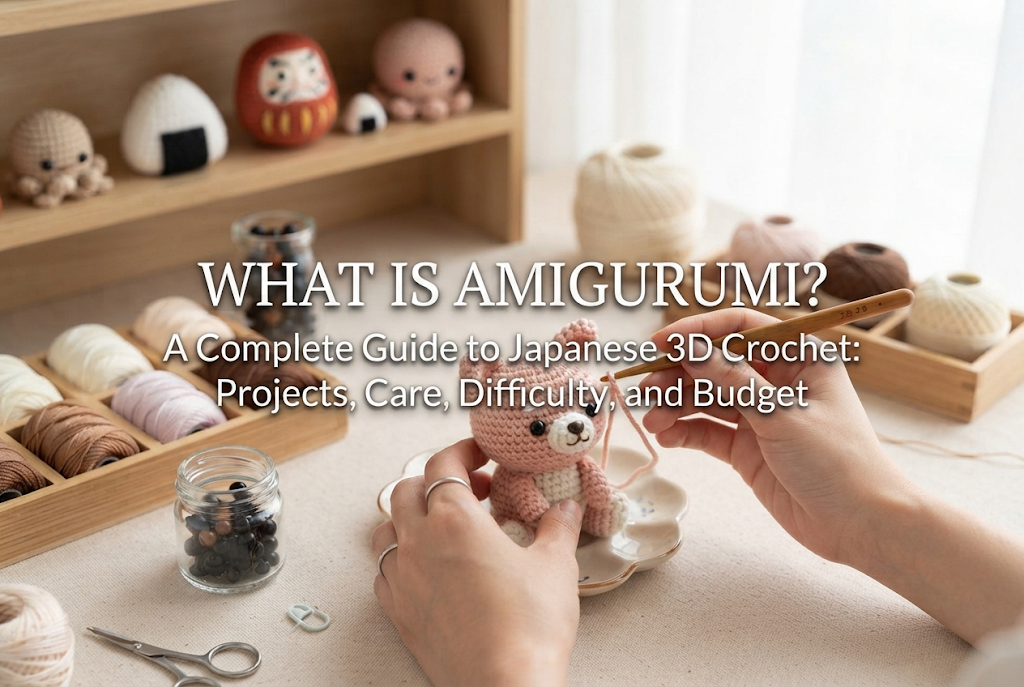
I am so thrilled that you are interested in the world of amigurumi! Creating adorable, rounded 3D figures from just yarn and a single crochet hook is one of the most rewarding and heartwarming crafts in the handmade community. I spend my days creating, looking at, and buying all kinds of crafts, but I firmly believe that having a single amigurumi piece in a room brings a special warmth and brightness that no other genre can match.
You might be thinking, "Crochet seems difficult… Can someone clumsy like me really make a 3D stuffed plush?" If you are feeling anxious, let me give you the reassuring answer right away: as long as you learn the most basic crochet stitch, amigurumi is an extraordinarily beginner-friendly craft with high success rates!
In this comprehensive guide, I will share all of my knowledge and experience as a Japanese craft writer—covering the fundamental definition of amigurumi, project variations, care and maintenance methods to make your work last for years, difficulty levels, required workspace, and budget details. Let's dive in and clear up all your questions!
Amigurumi (あみぐるみ) refers to three-dimensional stuffed dolls or animals crafted using yarn and fiberfill stuffing. While it originated as a unique handmade craft culture in Japan, it is now celebrated worldwide under the universal term "Amigurumi."
Unlike flat items such as scarves or sweaters, the defining characteristic of amigurumi is its soft, plush 3D volume created by firmly packing stuffing into the crocheted fabric.
By definition, amigurumi pieces are constructed by crocheting basic spherical or tubular shapes centered around the single crochet stitch (known as koma-ami in Japanese) and sewing those individual parts together.
The fabric of an amigurumi piece is crocheted much tighter and firmer than standard garments or scarves. If the stitches are too loose, the stuffing inside will poke out through the gaps.
Packing polyfill securely into a tightly crocheted fabric creates a sturdy yet soft touch, resulting in charming forms that can sit or stand on their own.
Even though amigurumi uses crochet, there are three decisive differences between making flat items/garments and making amigurumi:
When people hear "amigurumi," many imagine small stuffed teddy bears or bunnies. However, amigurumi allows for endless artistic expression, offering a much wider range of projects than you might expect.
Here are some of the most popular items you can create:
The most iconic and popular motifs in amigurumi are animals. Classic pets like bears, rabbits, cats, and dogs are ever-popular, but you can also make pandas, penguins, jellyfish, whale sharks, dinosaurs, or mythical creatures. Because they are designed with rounded forms, the finished pieces look charmingly stylized compared to real-life animals. You can easily create original characters just by playing with color combinations.
In addition to animals, human dolls are extremely popular. Crafters make dress-up girl dolls, boy dolls, or wedding dolls designed to decorate reception display spaces. You can add yarn hair, crochet small removable dresses or hats, and enjoy the double delight of crafting both dolls and doll clothes. Creating "oshi-nui" (custom plushies representing favorite anime characters, idols, or media figures) has also become a massive trend in amigurumi culture.
Non-animal items turn out amazingly cute when recreated as amigurumi. Fruit motifs like strawberries and apples, alongside desserts such as cakes, donuts, and bread, are wonderful beginner projects because their base shapes rely on simple spheres or cones. Additionally, "fake green" amigurumi—crocheted cacti and succulents displayed in pots—have become widely popular as zero-maintenance home decor for adults.
Amigurumi isn't just for decoration; it can be adapted into functional goods for daily life. By adding keyrings or metal fittings, your plush becomes a bag charm, keychain, or strap. Designing a larger head with a hollow, tubular body turns an amigurumi into a cute pouch for lip balms, eye drops, or Japanese name seals (hanko). Incorporating tape measures inside or using them as pincushions are classic ways to add cuteness to practical tools.
You might worry, "Since it's made of yarn and fiberfill, is it ruined if it gets dusty or dirty?" Not at all! By following the correct handling and care principles, you can keep your amigurumi looking beautiful for years or even decades.
The two golden rules for daily care are preventing dust accumulation and avoiding direct sunlight.
Because yarn fibers naturally attract dust, clean the surface regularly using a soft clothes brush or a clean powder makeup brush to gently sweep dust away. For display, avoid window sills with direct sun exposure, as ultraviolet rays degrade yarn fibers and cause fading. Always choose a well-ventilated shelf or desk away from direct sunlight. If you want 100% dust protection, displaying your work inside clear acrylic or glass cases is highly recommended.
Yes, amigurumi can be washed! However, throwing it into a washing machine is strictly forbidden, as it causes severe warping and pilling. Follow these hand-washing steps to restore cleanliness safely:
It takes 2 to 3 days for the core stuffing to dry completely. Ensure it dries thoroughly to prevent mold or unpleasant odors.
If frequent hugs or long-term display make the stuffing flatten or cause yarn ends to pop out between stitches, you can easily fix them:
Overall, amigurumi falls into the beginner-to-intermediate difficulty range. Within the broader realm of crochet and knitting, it is actually one of the most accessible entry points!
Even if you have never held a crochet hook before, you can successfully make an amigurumi project. More than 80% of an amigurumi piece relies on just three basic techniques: the single crochet (koma-ami), increases (fue-me), and decreases (herashi-me).
You don't need to memorize dozens of complicated stitch symbols. You simply learn one basic stitch and work it continuously in spiral rounds—much like assembling a simple puzzle or 3D model. Rather than complex hand dexterity, all you need is the care to count your stitches accurately.
Beginners often encounter three main stumbling blocks. Knowing how to handle them beforehand guarantees success:
Attempting complex dolls with long limbs or microscopic miniatures on your first try often leads to frustration. For your very first project, choose a palm-sized (approx. 7–10 cm / 3–4 inches) simple, round animal or food motif—such as a chick, seal, strawberry, or Japanese rice ball (onigiri). These require very few parts to assemble, letting you enjoy a fast sense of accomplishment.
One of the best aspects of amigurumi is how little equipment and space it requires. Without heavy machinery or messy liquids, you can start right at your living room table.
All you need is a workspace equivalent to an A4 piece of paper or a small cafe table! Unlike resin, pottery, or painting crafts, there is no need for special ventilation, water access, or protection against dust. With just yarn, a hook, and scissors, you can crochet on the sofa, in bed, or while traveling on a train. When you need to pause, placing your work-in-progress into a small pouch takes only seconds.
Compared to other craft genres, amigurumi is incredibly budget-friendly with very low initial setup costs!
You can literally start crocheting for under $10! In Japan, 100-yen stores carry hooks, darning needles, yarn, fiberfill, safety eyes, and stitch markers.
However, my personal recommendation is to invest in a quality brand-name crochet hook (around 500–800 JPY / $5–$7 USD). Brand-name hooks slide smoothly through yarn and feature ergonomic grips that drastically reduce hand strain compared to budget hooks. Buying a good hook while sourcing yarn and fiberfill from budget shops gives you the ideal starting setup for around $15–$20.
The material cost for one palm-sized amigurumi is surprisingly low—typically around 50 to 150 JPY ($0.40–$1.20 USD). A single skein of yarn (approx. 100–300 JPY) can yield 2 to 3 small amigurumi pieces. This cost-efficiency allows you to practice endlessly without worrying about expensive mistakes!
If I were starting over from scratch today, here is the exact roadmap I would follow to achieve beautiful, professional-looking amigurumi as quickly as possible:
The two items I never compromise on are an ergonomic crochet hook and long craft tweezers.
An ergonomic hook from a reputable craft manufacturer prevents yarn splitting and turns the stitching process into pure enjoyment. Meanwhile, long curved craft tweezers allow you to pack stuffing firmly into tiny corners where fingers or chopsticks cannot reach, raising your finished quality to a professional level.
The final finish of an amigurumi depends more on the final assembly than on pure stitching skill:
Amigurumi is a wonderful craft that requires only yarn, a crochet hook, fiberfill stuffing, and a bit of creativity to bring adorable 3D figures to life.
You don't need expensive equipment or a dedicated studio space. With an A4-sized workspace and a modest initial budget, you can begin making soft, delightful creations right from home.
I hope you grab a hook and some yarn, and step into the heartwarming world of amigurumi! If you found this article helpful, please share it with your craft-loving friends. See you in the next article—this was Yassy from Crafters!


For example, if you are looking for articles about mizuhiki, try searching for "mizuhiki"; if you are interested in tools, try keywords like "nippers" or "pliers."
